

Easy no-knead rustic wheat bread loaf recipe! A perfect beginner’s bread with a handful of ingredients and without any fancy gadgets!
What fascinates me about bread baking is every time you bake, you learn something new. It took me some time to understand the yeast and work with it. I can confidently say that now I am comfortable working with yeast but still learning a lot.
Jump to:
Homemade bread has its charm. I got into bread baking only after joining the blogging marathon group. And this no-knead wheat bread was the very first bread that I tried with yeast. Of course, I got this base recipe from Varada’s kitchen, one of my blogging friends from this group. I followed the measure precisely, but I had to adjust the water measure.
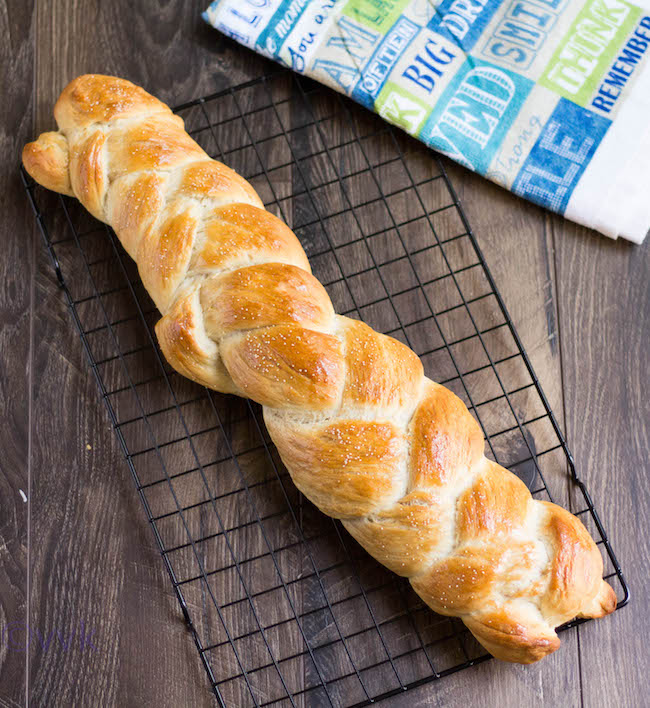
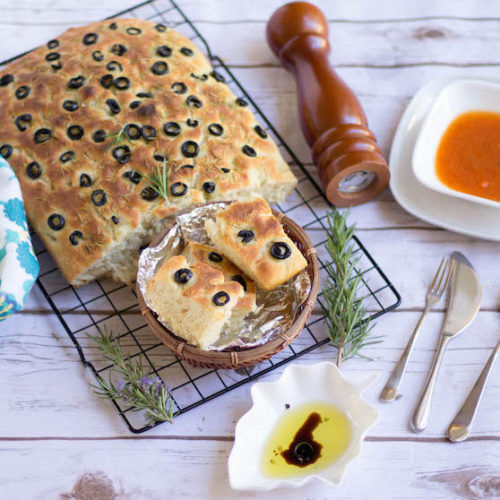
You can find basic homemade white bread, semi-fried bread, and braided bread like challah, vanocka, focaccia, and zaatar bread recipe and many more on my blog. But all these bread require kneading. While kneading and baking are therapeutic, sometimes we need easy no-knead bread recipes as well. This no-knead wheat bread is a perfect one for all, especially beginners.
Rise time
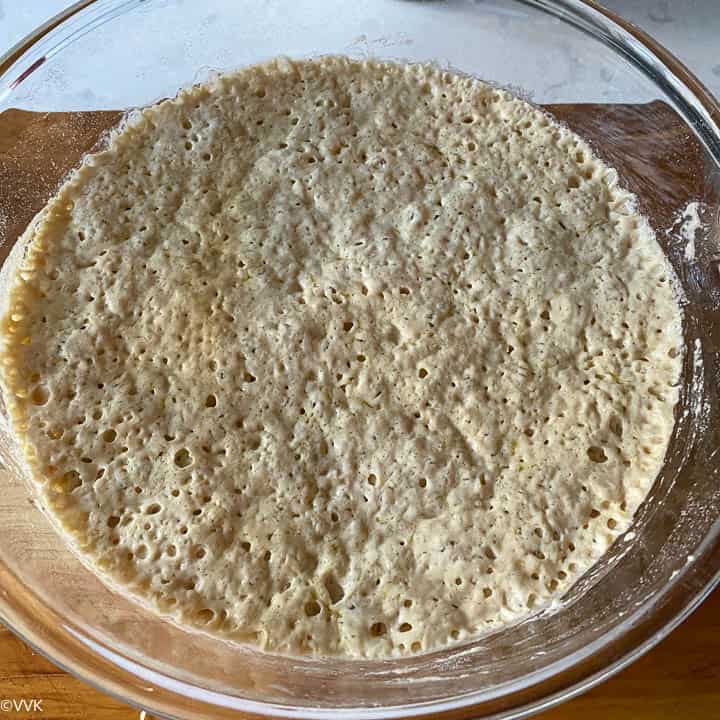
As a general rule, you need patience with baking, and with this no-knead bread, you need a little bit more. :-) The rise time of this bread is 10 to 12 hours, and yes, we want that slow rise. That’s the secret behind the rustic, flavorful, and yeasty bread. So let the bread rise slowly. If the temperature is warm, you can keep it in the refrigerator and rise for 18 hours.
No gadgets required!
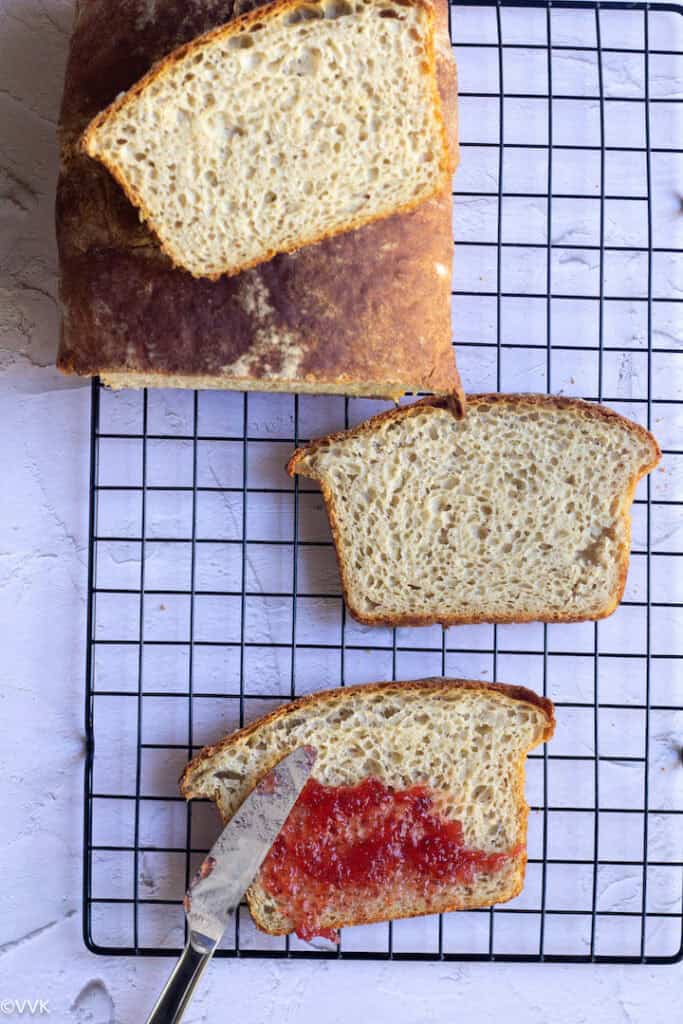
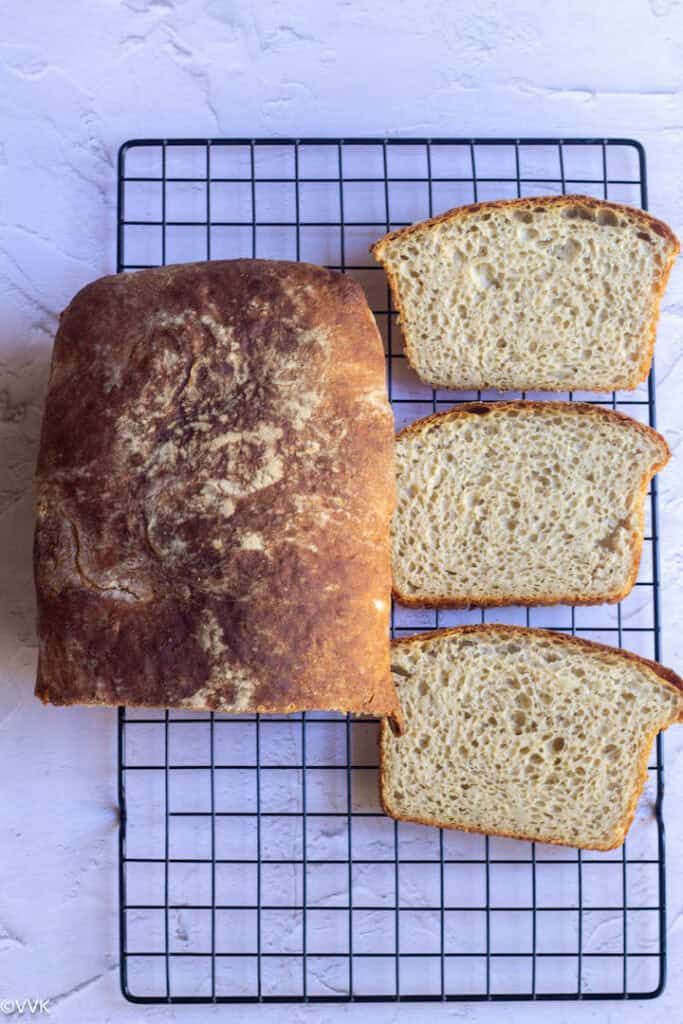
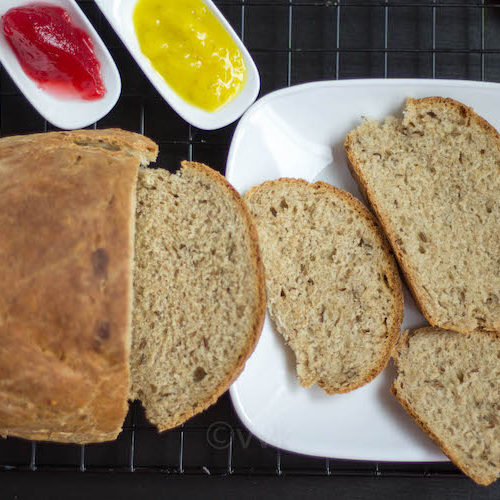
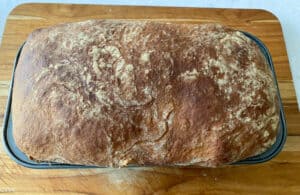
Most of the no-knead bread recipes call for a Dutch oven, but I baked this bread in the loaf pan following Varada’s instruction, and somehow I still bake this bread in a loaf pan even though I have a Dutch oven. It has always worked for me, and as I mentioned before, you don’t need any fancy gadgets for this bread. All you need is a mixing bowl, cling film, or wrap and loaf pan. I used my 9X5 inch loaf pan.
Let’s get straight into the ingredients and the procedure.
Ingredients required
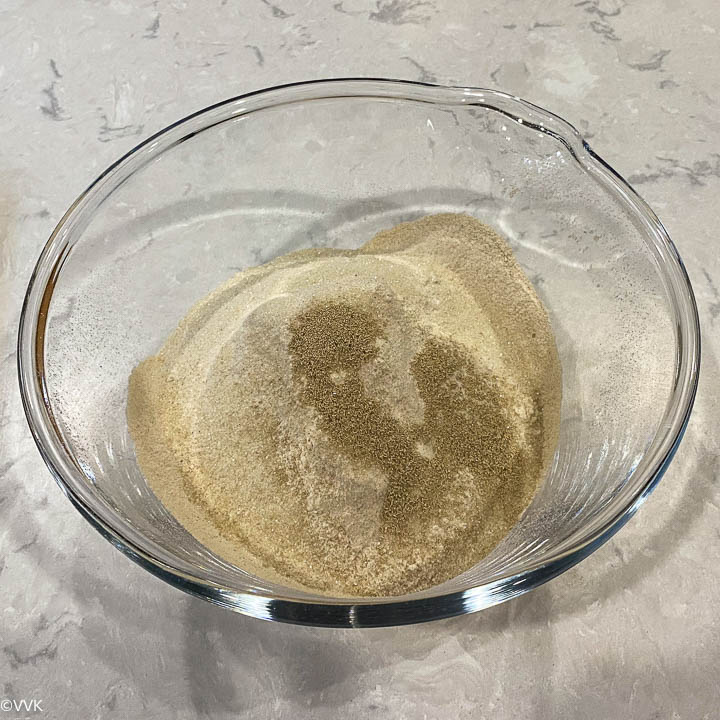
Flours: I used equal measures of all-purpose flour and whole wheat flour. We need 2 cups of each for this bread. I went with organic flours for this recipe.
Yeast: The original recipe calls for instant yeast. But I have tried this recipe with both active dry yeast and instant/rapid rise yeast. If you use active dry yeast, you don’t need proofing as it’s a slow-rise bread. But make sure the active yeast is not expired, and it’s of good quality. If you want to be on the safer side, you can proof it too.
Water: The original recipe calls for 2 cups of water, but I have always used more than 2 cups of water. For this recipe, I had to use 2.5 cups, but I have used 3 cups also. I make this bread frequently, and I have always used 2.5 to 3 cups of water. I would recommend starting with 2 cups of water and then increase it as needed. This recipe is a wet dough, so a little extra water hasn’t harmed me before. I am sure you won’t need more than 2 cups of water.
Salt, sugar, and oil: We also need salt, sugar, and oil for the flavor and yeast to do their magic.
If you want to fine-tune and experiment with ingredients, I recommend reading this article from NYTimes.
How to make no-knead wheat bread
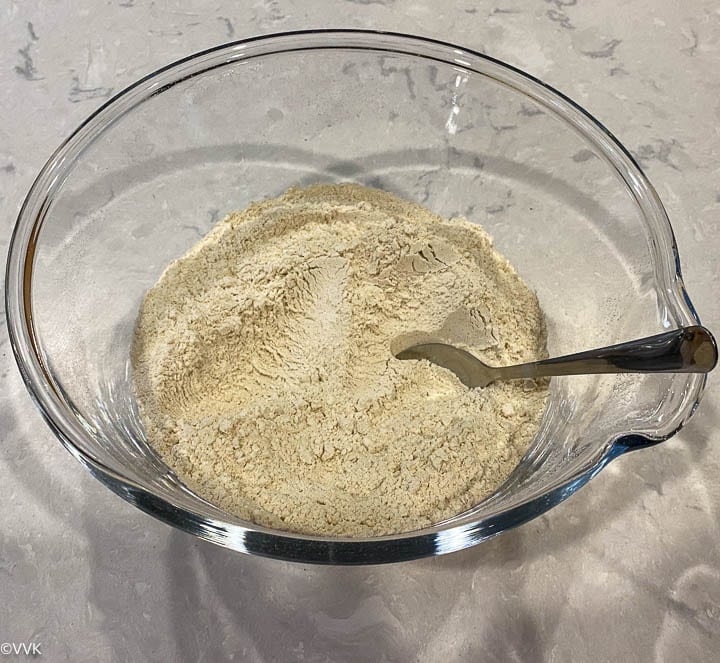
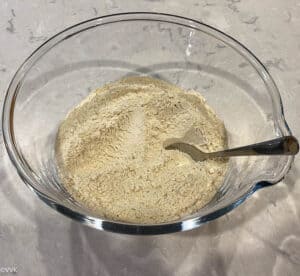
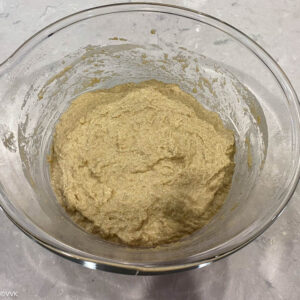
- Sift both the flours in a large mixing bowl (make sure it has enough space for rising). Add the sugar, salt, and yeast.
- Gently mix before adding the wet ingredients.
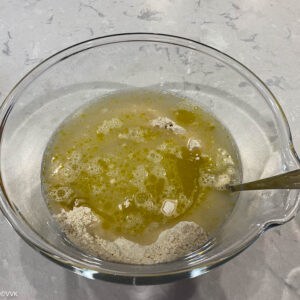
- Now add oil and water.
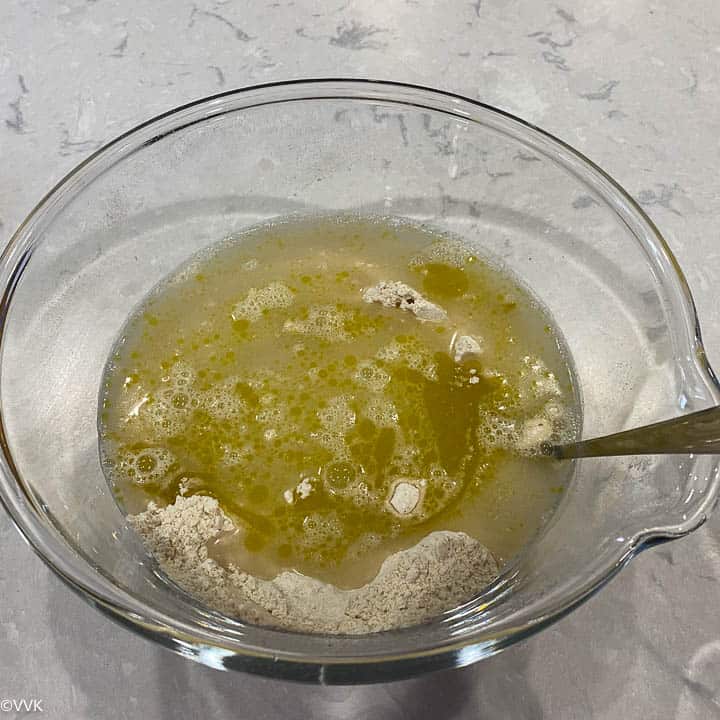
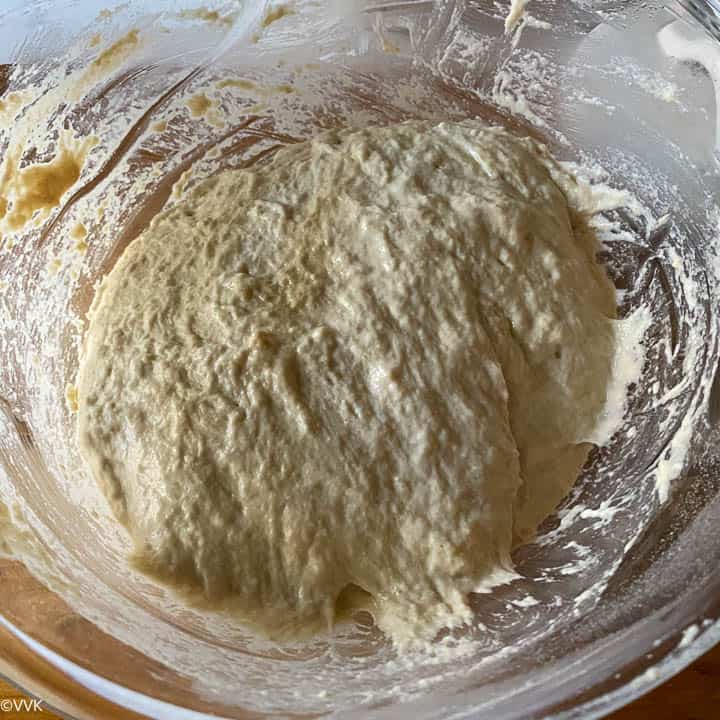
- Whisk(you can use a wire-whisk or spoon or fork) until all the ingredients are well combined. You don’t need to knead.
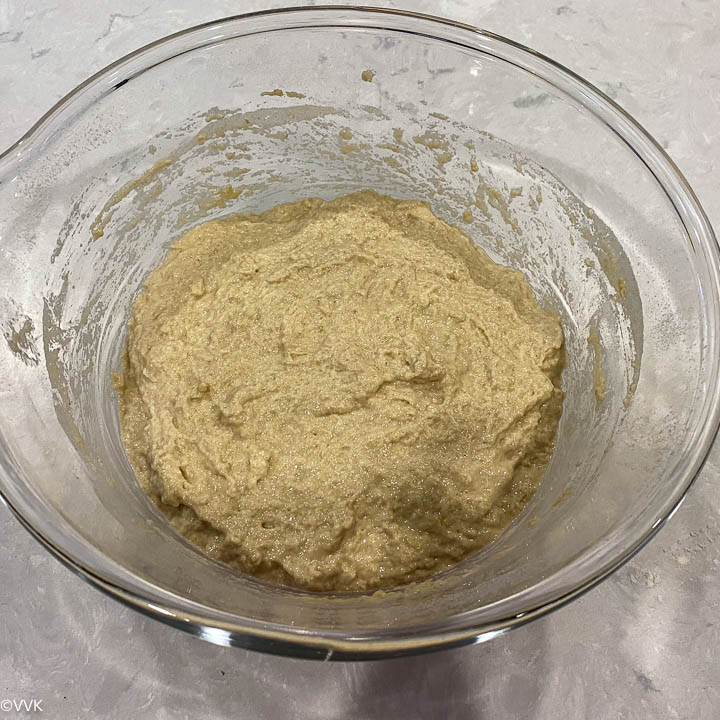
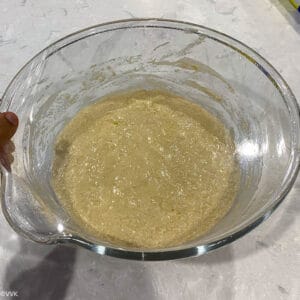
- Spread some oil on top and cover it with plastic wrap, and set it aside in a warm place.
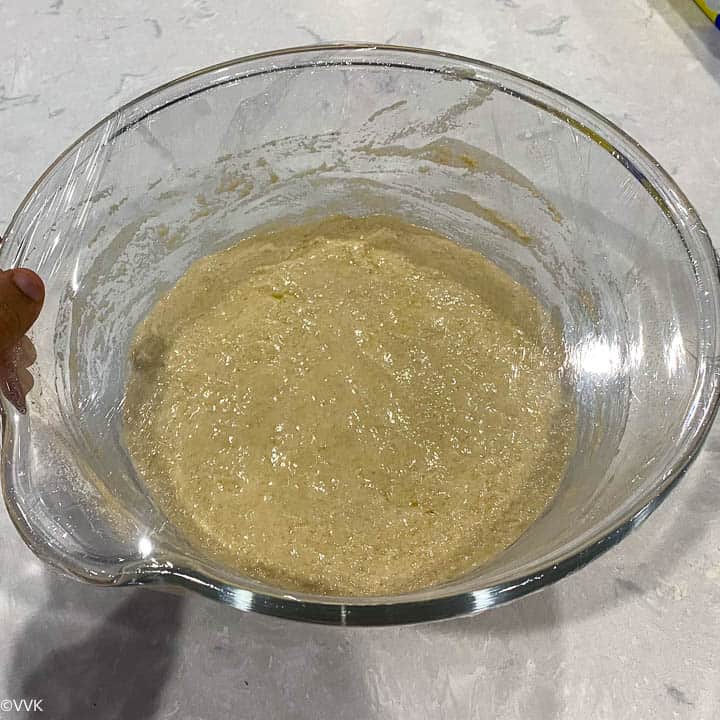
- We need to wait till the dough has risen to twice its original volume. It took me 12 hours for the rise. Depending upon the temperature, it varies. If the day is warm, keep the dough in the fridge, and let it for 12 to 18 hours.
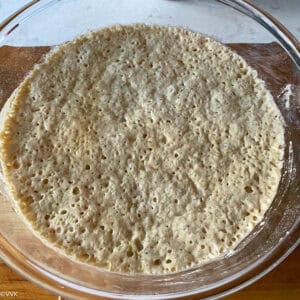
- Wet your palms and mix the dough gently. Fold it a couple of times, and again no need to knead.
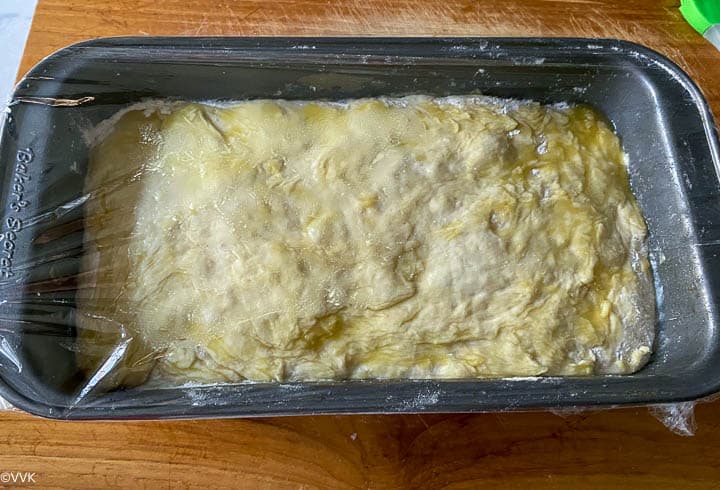
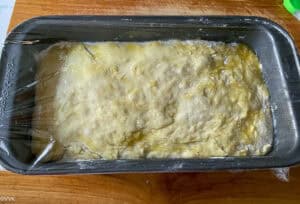
- My loaf pan size is 9X5. Place the dough in the loaf pan and brush the top with oil. Sprinkle some flour on top, cover it with oiled plastic wrap again, and sit for a couple of hours for the second rise, just a ¼ inch over the loaf pan sides. Do not let it rise more than that height. (Sorry missed taking the second rise picture. I will update it soon) Preheat oven to 375 F during the last 15 minutes of the rise.
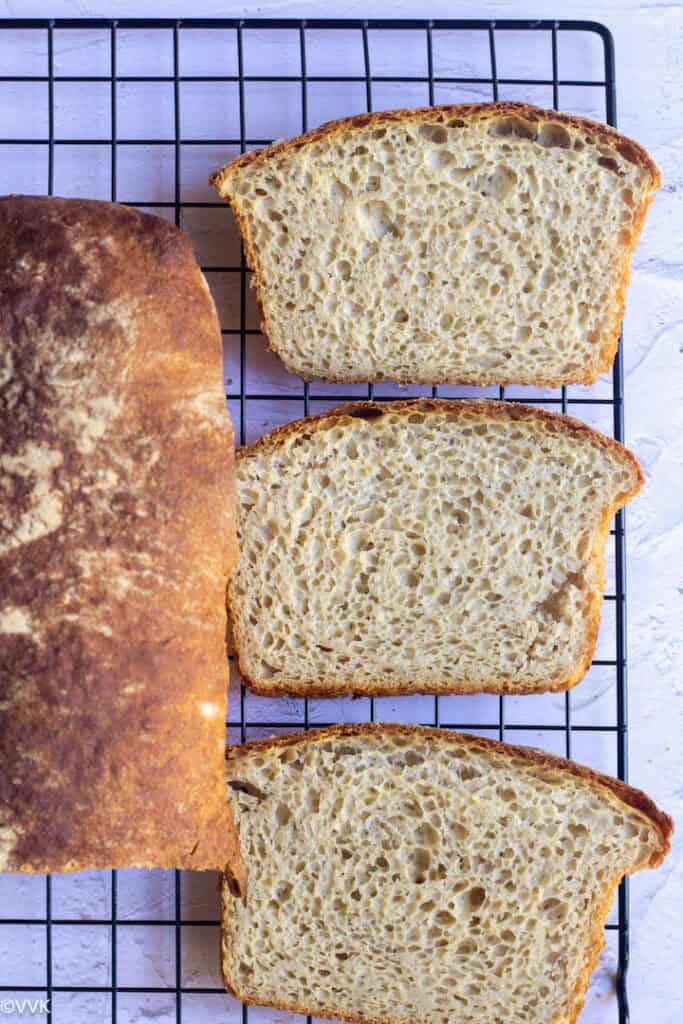
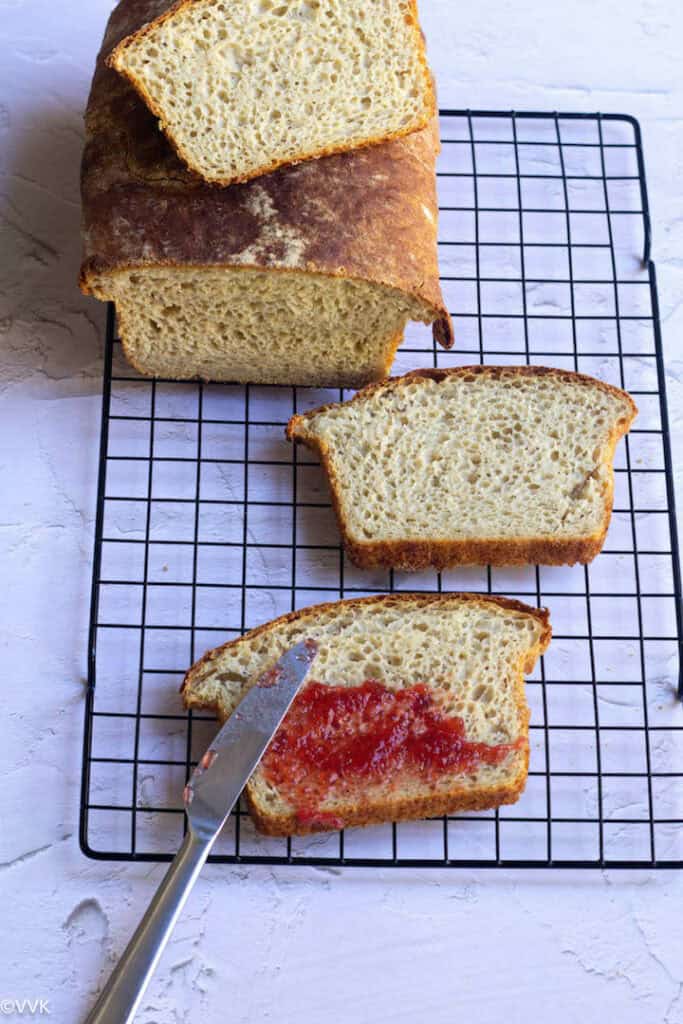
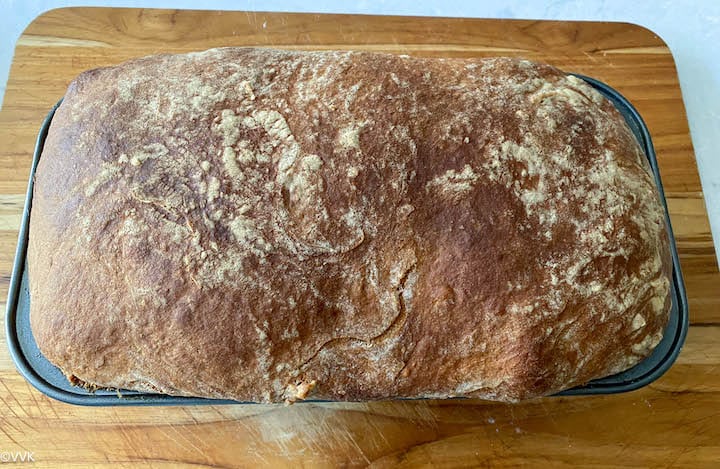
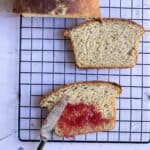
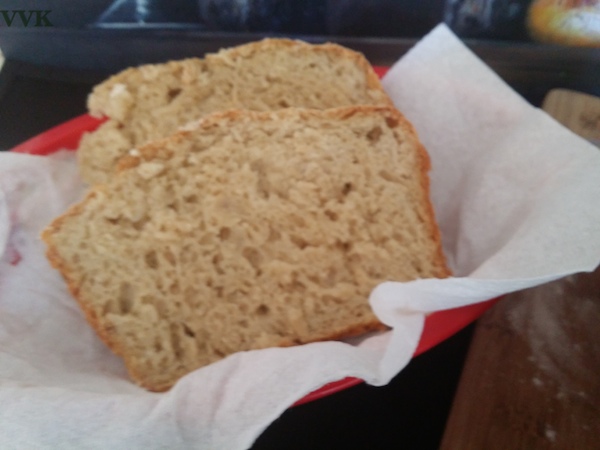
- Bake it for up to 50 -60 minutes. I did not cover the loaf with foil. If the top is browning up too fast, then cover it with a foil. Once the baking is complete, let the loaf cool a bit, remove it from the loaf pan, and cool completely on a cooling rack before slicing.
Recipe Notes
- You can use instant yeast or active dry yeast, and no need to proof the active yeast . Make sure the active yeast is not expired.
- After the first rise, the dough will be slightly tricky to handle. So wet your hands and start folding them.
- Start with 2 cups of water and, if needed, add more. You won’t need more than 3 cups of water for this recipe.
- I highly recommend olive oil for this bread as it adds more flavor.
- Slow-rise is the key. Let the bread rise for atleast 8 hours. If the temperature is warm, do keep it in the refrigerator.
- I have shared a lot of tips and tricks on my homemade white bread recipe. Do check it out.
Explore more bread recipes
If you try this no-knead wheat bread, please don’t forget to comment and rate this recipe. If you have any questions, please leave a comment, and I will get to it asap. Make sure to follow me on my Pinterest for more healthy and delicious ideas! Follow me on Instagram or join my Facebook Group for more gardening and recipe updates.
📖 Recipe
No Knead Wheat Bread
Equipment
- Mixing bowl
- Loaf pan
- conventional oven
Ingredients
Measurement Details: 1 cup = 240ml; 1 tbsp=15ml ; 1 tsp = 5ml;
- 2 cups all-purpose flour
- 2 cups whole wheat flour
- 3 tbsp sugar
- 1.75 tsp salt
- ¾ tsp instant yeast
- 3 tbsp olive oil plus 2 tsps for brushing
- 2.5 to 3 cups of water
Instructions
- Sift both the flours in a large mixing bowl (make sure it has enough space for rising). Add the sugar, salt, and yeast.

- Gently mix before adding the wet ingredients.

- Now add oil and water.
- Whisk(you can use a wire-whisk or spoon or fork) until all the ingredients are well combined. You don’t need to knead.
- Spread some oil on top and cover it with plastic wrap, and set it aside in a warm place.
- We need to wait till the dough has risen to twice its original volume. It took me 12 hours for the rise. Depending upon the temperature, it varies. If the day is warm, keep the dough in the fridge, and let it for 12 to 18 hours.
- Wet your palms and mix the dough gently. Fold it a couple of times, and again no need to knead.
- My loaf pan size is 9X5. Place the dough in the loaf pan and brush the top with oil. Sprinkle some flour on top, cover it with oiled plastic wrap again, and sit for a couple of hours for the second rise, just a ¼ inch over the loaf pan sides. Do not let it rise more than that height. (Sorry missed taking the second rise picture. I will update it soon) Preheat oven to 375 F during the last 15 minutes of the rise.

- Bake it for up to 50 -60 minutes. I did not cover the loaf with foil. If the top is browning up too fast, then cover it with a foil. Once the baking is complete, let the loaf cool a bit, remove it from the loaf pan, and cool completely on a cooling rack before slicing.


Notes
- You can use instant yeast or active dry yeast, and no need to proof the active yeast . Make sure the active yeast is not expired.
- After the first rise, the dough will be slightly tricky to handle. So wet your hands and start folding them.
- Start with 2 cups of water and, if needed, add more. You won’t need more than 3 cups of water for this recipe.
- I highly recommend olive oil for this bread as it adds more flavor.
- Slow-rise is the key. Let the bread rise for atleast 8 hours. If the temperature is warm, do keep it in the refrigerator.
- I have shared a lot of tips and tricks on my homemade white bread recipe. Do check it out.
Nutrition
I am not a nutritionist. The nutritional information is provided as a courtesy and is an estimate only. It varies depending upon the product types or brands.
The recipe was originally posted in April 2015 but updated to include new photos, content, and recipe cards.

The bread looks good. Now that you have tamed the yeast I am sure we will see a lot more interesting breads from you.
Wow! The bread has come out really well :)
Thanks sandhya
Yeah, this is a great bread to bake — almost fool proof. Yours turned out great.
fool proof I totally agree. After my two disasters this was lovely
Bread is perfectly baked nice texture.
Thanks Sneha
Wonderful..I guess this was one of the favorite of all..kudos it’s perfectly baked.
Yeah.. no knead is easy. Thanks
The bread has tuned out great Vidhya. I made this and can recollect how good it tasted!
Thanks a ton PJ
Your no knead bread has come out with perfect texture…
Thanks
This no knead bread rocks, my favourite whenever i feel like baking no knead, i bake this bread definitely.
It was my first bread. So always this bread rocks.
That’s a lovely bread .. On my bookmarks too
Thanks.
Well the Tame the yeast was a prelude to this baking theme..:)..so it was there for a reason..good that you tried this bread…bread baking gets on to us..and in time we do learn if we keep track of our progress..good job!
Yeah valli. I was scared initially. I thought pav buns will be easy but it became a stone. Glad this bread turned out ok. Thanks a lot
That bread looks great! I love the no knead technique!
Welcome here karen. Thanks a bunch
Thanks for trying rout the recipe and your sweet comments. You got great texture on the crust and the crumb. Great job!
My pleasure Varada. Really love all your breads and Thanks a lot.
It seems that the bread was a hit at your home.
Yeah Suma very true. :-)
I haven’t used yeast yet.. Ur bread looks perfect
Thankooo
Loaf has turned so well. Just a suggestion you can keep the dough on top of the fridge for it to raise, it will not take more than an hour to raise if you do it in afternoon time in this case. Try it the next time :)
Sure Malar. Thanks for d suggestion. I just went with the recipe. The baking has given me lot of topics to research too.
Your loaf turned out beautiful. Even I made this bread and in fact it was my yesterday’s post.
Oh great. I havent seen the past two posts at all. Need to get back to them. Thanks
Keep it up,Vidhya…It has come so well…
Thank you so much Swapna. Learning each and every day