
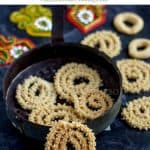
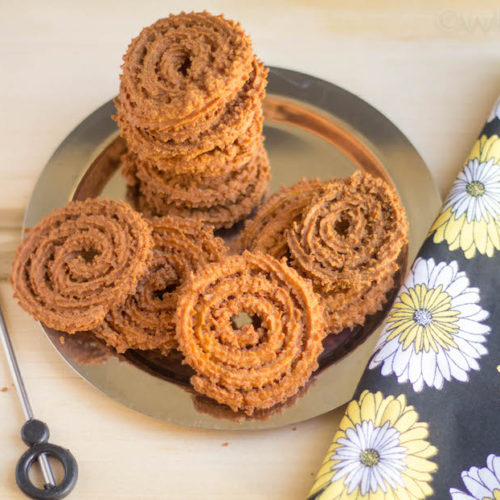
Here is the recipe for easy peasy baked coconut milk chakli or thengai paal murukku. A guilt-free munch for sure!
After posting back to back sweet recipes, I am with a savory recipe that is too popular – murukku or chakli, precisely coconut milk murukku. As I mentioned in ragi murukku, murukku means twisted in the Tamil language. If you notice, the shape of the murukku is twisted and turned and hence the name.
Why baked murukku
Ok, many might roll their eyes on looking at the title “baked” murukku. I know murukku is traditionally deep-fried, and I have both my quinoa murukku and ragi murukku deep-fried.
Ok, let me make it clear. I don’t have any aversion to deep-frying, but a few weeks back, I had some oil splattering during frying, so I decided to skip fried goodies for a while. (Yes, for a while I can’t resist frying)
Murukku is something we all love, so I decided to bake. Many might not consider baked murukku as murukku, but folks think about some who are following a restricted diet and wanted to enjoy murukku. Or think about folks who are not comfortable deep-frying. For those, these baked goodies come in handy for sure. Let everyone enjoy the traditional dishes in their preferred way.
By the way, I am not the first one to bake murukku. You can find a lot of baked and air-fried versions of murukku online.
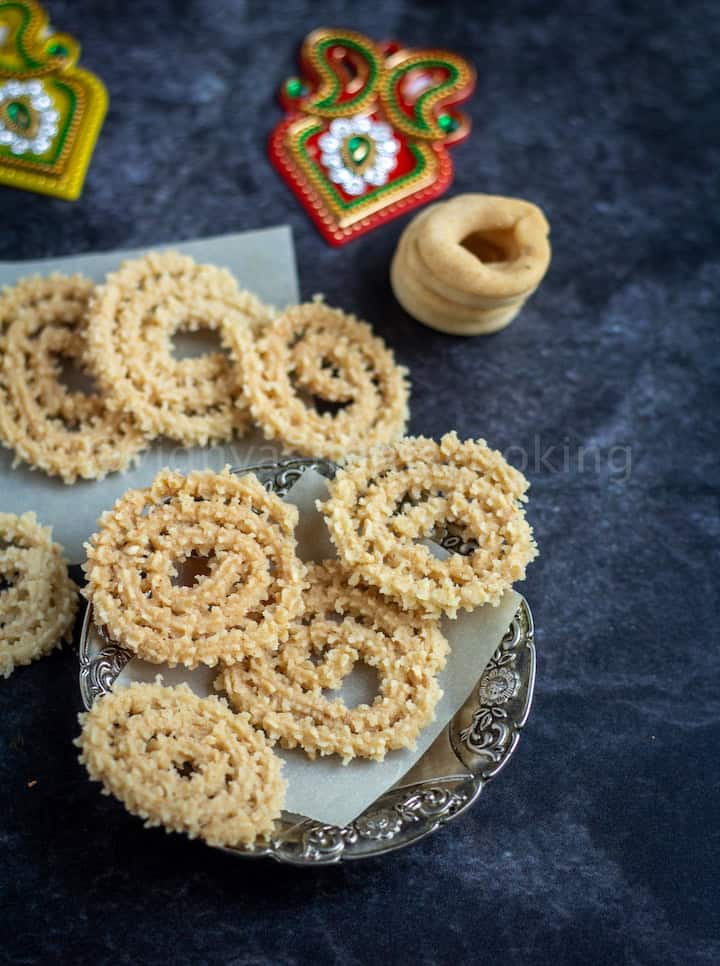
Thengai paal murukku | Coconut milk chakli
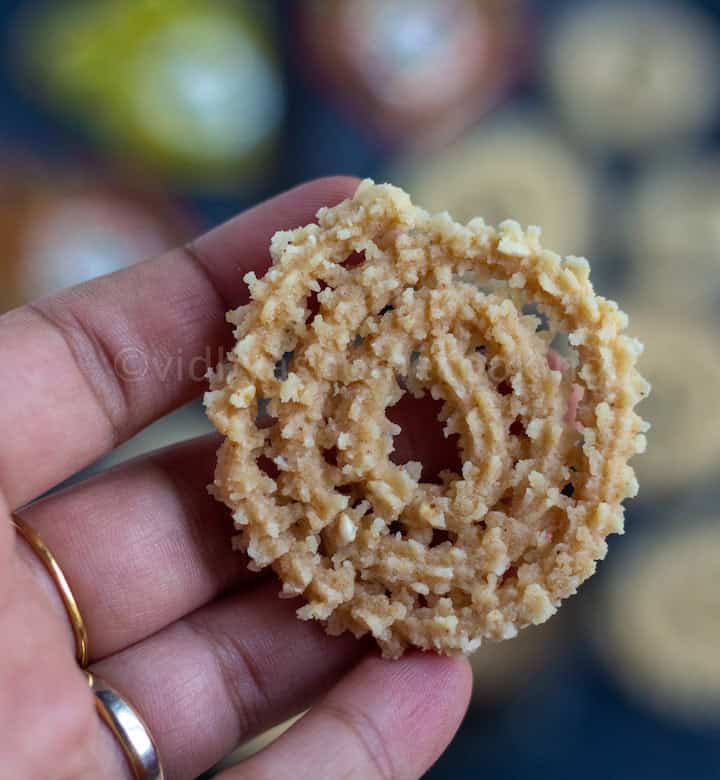
I got introduced to this murukku during my undergrad days. My friends used to bring this murukku from Tirunelveli (a famous city in Tamil Nadu), and I think it’s quite famous. This murukku is white in color, more like thenkuzhal, and of course, it’s crunchy and loaded with coconut milk and coconut oil flavors.
Instead of water, we use coconut milk to prepare the dough. Also, we add coconut oil instead of butter. You can include butter too, but I wanted to keep the murukku vegan, so skipped the butter altogether. Yes, it’s a vegan murukku, and I used less than 2 tbsps of oil for this entire batch. As I mentioned before, it is a guilt-free munch for sure.
Baking Time
The baking time for this murukku is 16 to 18 minutes at 375 deg F. ( I went with this timing) And I baked the murukku in the middle rack. Every oven is different. So keep an eye on the murukku after 15~16 minutes and check for the doneness. Letting it sit in the oven after turning off the heat makes it more crispy.
You can also bake it at 350 deg F for a longer time or bake it at 375 deg for 5 minutes and reduce the temperature to 350 deg F and bake for 12 ~ 15 minutes at 350 deg F.
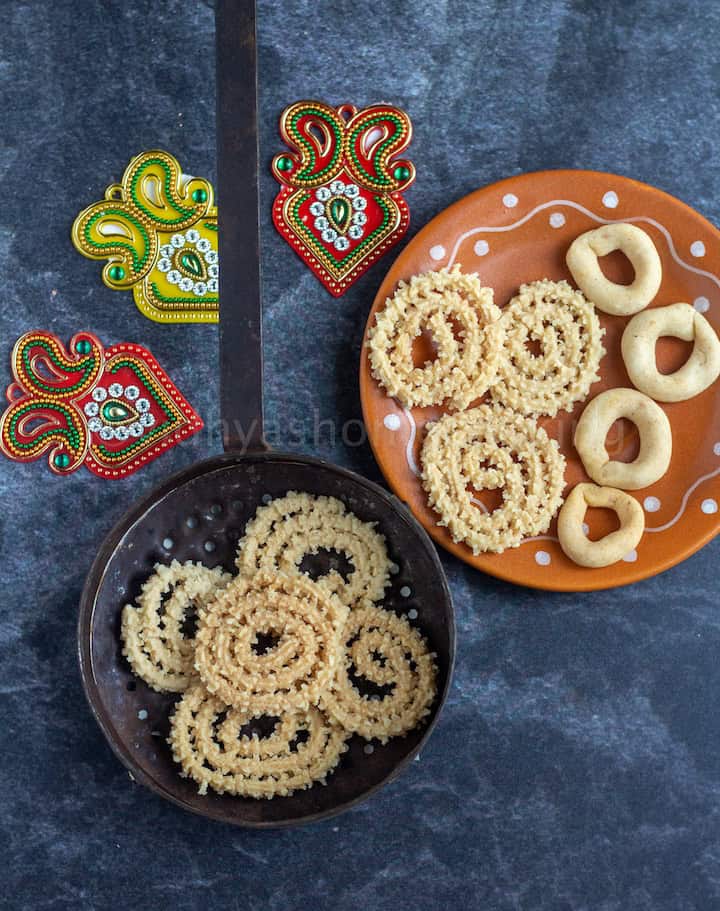
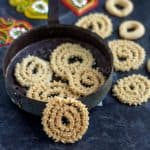
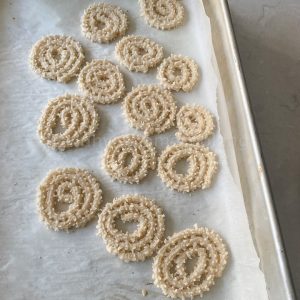
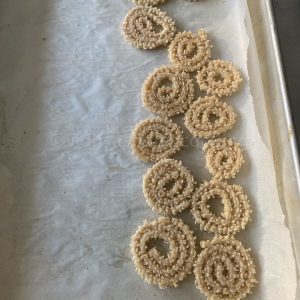
Ring Murukku
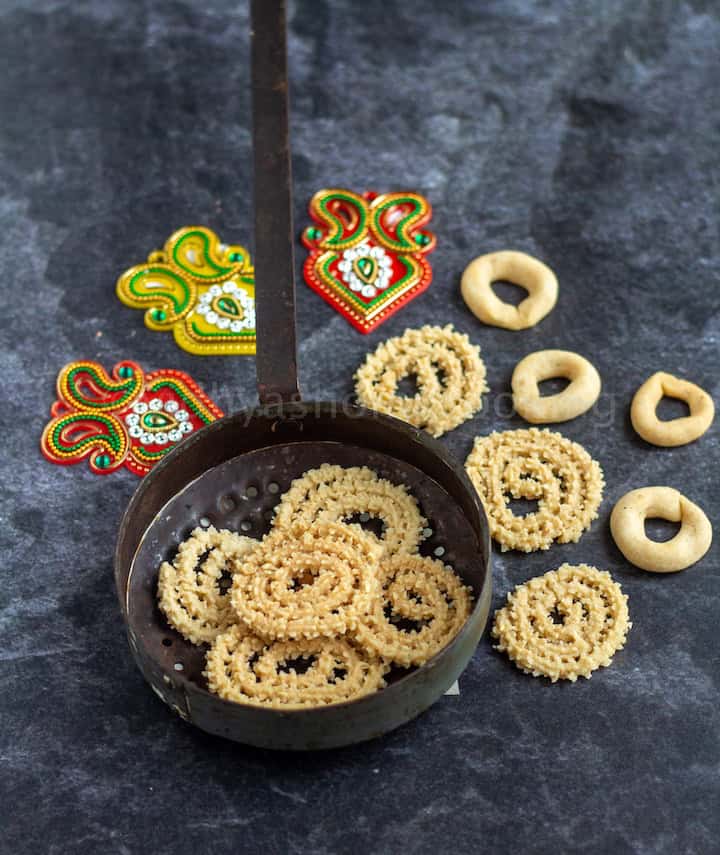
It’s hard to press the murukku when the dough reaches the bottom part of the press. I usually take it out and either press it to thattai or rink murukku like below.
- Make small marble-sized balls like below.
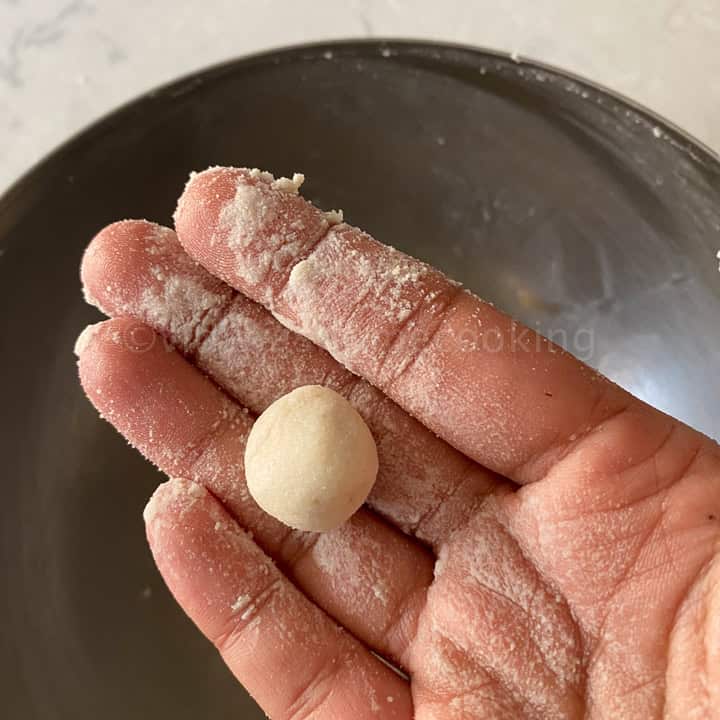
- And roll them into thin ropes. I know my ropes are not even. I rolled them on the cutting board.
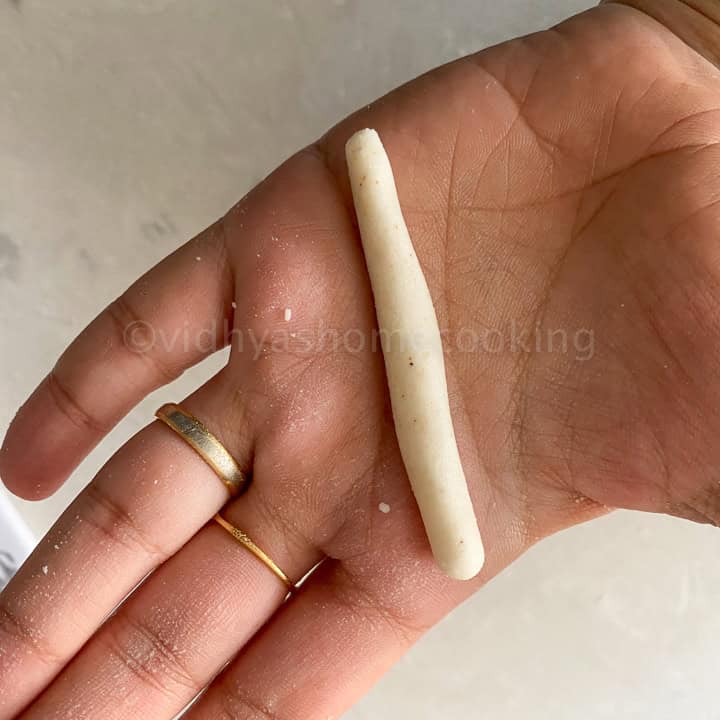
- Join the ends and make small rings like below.

I baked them separately in a small tray lined with parchment paper for 20 minutes at 375 deg. I flipped them once in between. As I wanted to note down the right timing, I did not bake it with the murukku.
Now without any further ado, let’s see how to bake coconut milk murukku.
How to make baked thengai paal murukku/coconut milk chakli?
Preparing the murukku dough
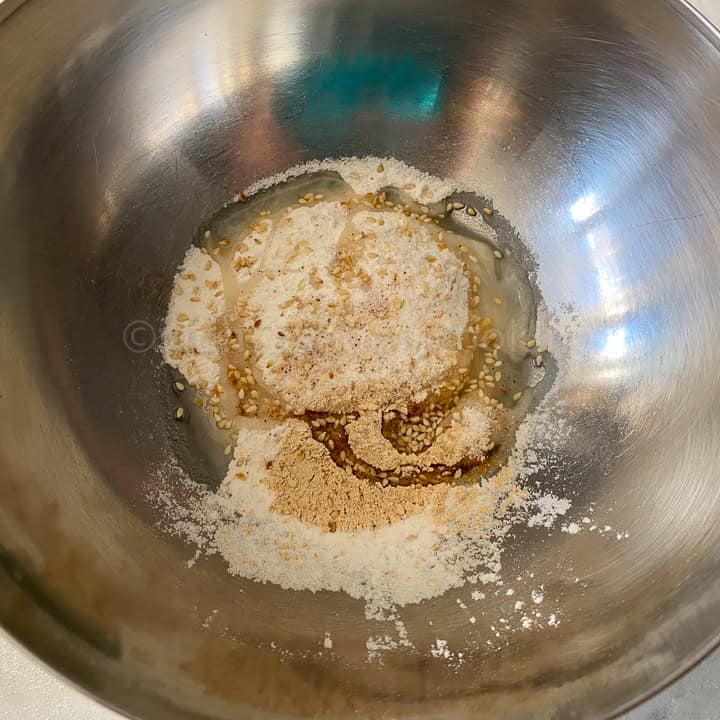
- In a wide bowl, add the rice flour, urad dal flour, 1 tbsp of coconut oil, sesame seeds, salt, and asafoetida. Mix well, and the flour should be more like coarse cornmeal.
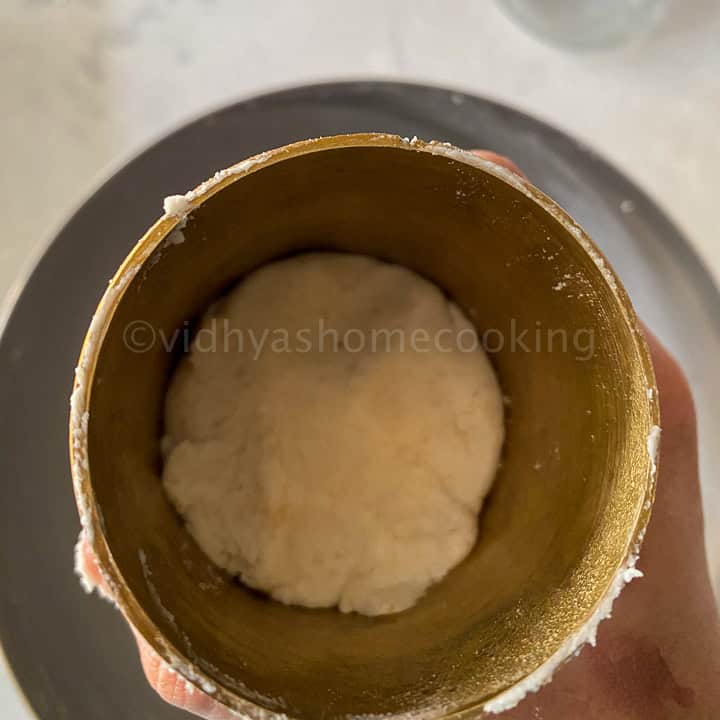
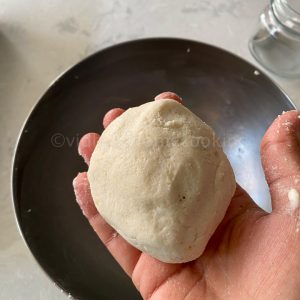
- Now add coconut milk little by little and make a soft and smooth dough. I used about ¼ cup + 2 tbsp of coconut milk. Make sure the dough is not too hard. It becomes hard to press, and also, the murukku breaks if it is too hard. If it’s too soft with more moisture, you need to bake it for a longer time. The coconut milk quantity entirely depends upon the quality of the flour used. So add little by little as required.

Pressing the murukku
- Now preheat the oven to 375 deg F. Line a baking tray with parchment paper or aluminum foil.
- I used the star-shaped mold for this murukku. You can use your preferred mold. Grease the murukku press with oil.

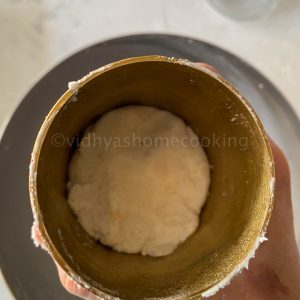
- Then add the dough in the murukku press. I was able to add the entire dough into the press.
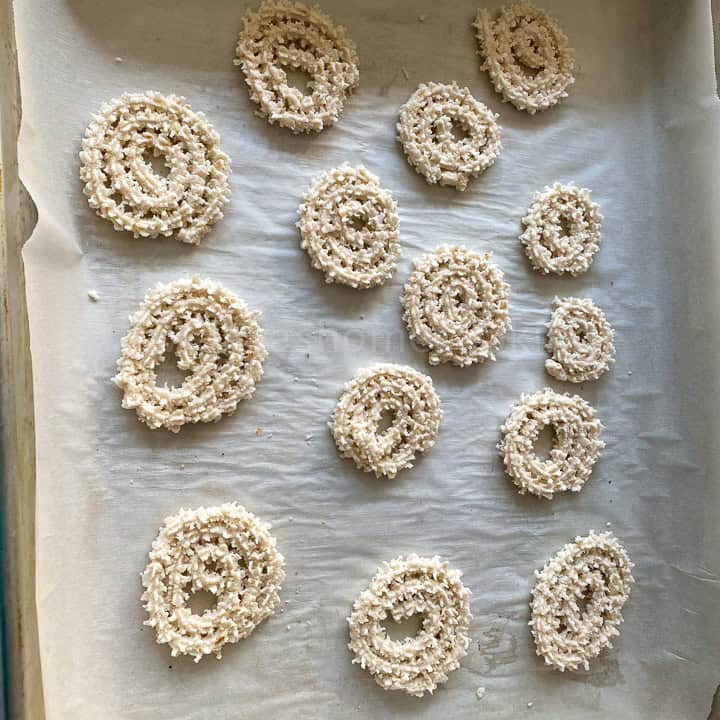
- Slowly press the murukku in the baking tray lined with parchment paper. As you can see from other murukku pictures, I pressed the murukku in different sizes. :-) You can very well learn pressing the murukku when you bake it. There is no hot oil, and if you are not getting proper round-shaped murukku, you can mix it and add it back into press and practice. If the dough gets dry, sprinkle some water and mix again.
Baking the murukku
- Brush the murukku with coconut oil and bake the murukku in the preheated oven for 8 minutes.
- After 8 minutes, the murukku will be all dry, and it is moving freely.

- Now carefully lift the murukku and flip it. Use a spatula and flip it.
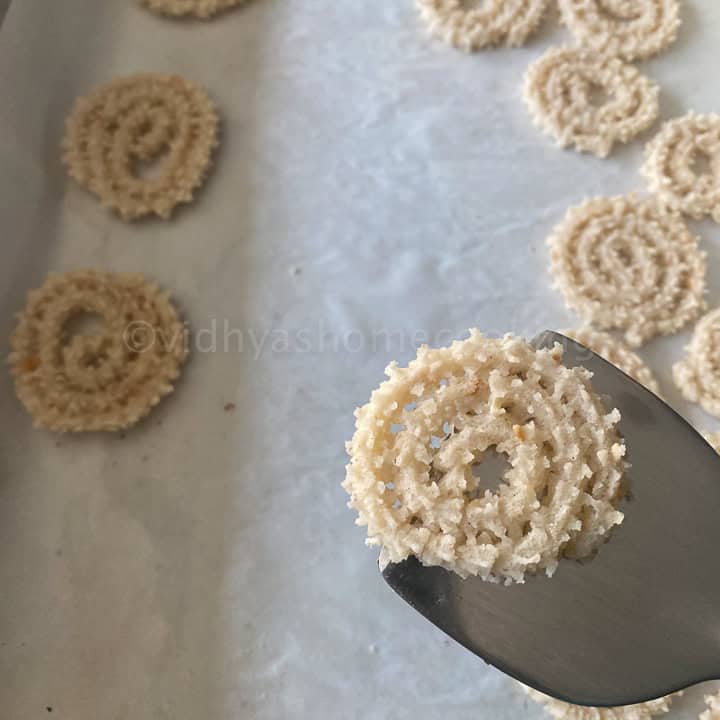
- Brush the other side of the murukku with coconut oil and bake again for 8 minutes.

- After 8 minutes, turn off the oven and let the murukku sit in the oven for 5 minutes. The total baking time is 16 minutes, and I let it sit in the residual heat for five more minutes. Every oven is different. The baking time for this murukku is 16 to 18 minutes.
- Let the murukku cool completely for one hour and relish it.
Recipe Notes
- If you keep the rice flour in the refrigerator, you can slightly roast the rice flour for a couple of minutes.
- I used light coconut milk. If you are using full-fat, use ¼ cup of coconut milk and add 2 tbsp of water. Or dilute the thick coconut milk with water.
- Do not add all the coconut milk at once. Add little by little and knead the dough.
- Adjust the salt according to your preference. You can add ½ tsp of red chili powder too, but the color will be different.
- Skip hing to make it a gluten-free murukku or add gluten-free hing.
- Make sure the dough is not too stiff and not too soft.
- Every oven is different. The baking time for this murukku is 16 to 18 minutes. Keep an eye on the murukku after 15~16 minutes and check for the doneness. Letting it sit in the oven after turning off the heat makes it more crispy.
- With the leftover batter, you can make thattai or ring murukku like how I did. For ring murukku, I had to bake it for 20 minutes.
- Store it in an air-tight container, and it stays crispy for 10 days.
More murukku recipes for this Diwali

PS: If you try this baked murukku, please don’t forget to comment and rate this recipe. If you have any questions, please leave a comment, and I will get to it A.S.A.P. Make sure to follow me on my Pinterest for more healthy and delicious ideas! Follow me on Instagram or join my Facebook Group for more gardening and recipe updates! You can also sign-up for my newsletter for weekly updates.
📖 Recipe
Baked Coconut Milk Chakli | Thengai Paal Murukku
Equipment
- Mixing bowl
- Murukku press
- conventional oven
Ingredients
Measurement Details: 1 cup=240ml; 1 tbsp=15ml; 1 tsp=5ml;
- ½ cup rice flour or idiyappam flour
- ½ tbsp urad dal
- 2 tbsp coconut oil divided
- ½ tsp sesame seeds toasted
- ½ tsp salt or to taste
- ¼ tsp asafoetida
- ¼ cup coconut milk + 2 tbsp, light coconut milk
Instructions
- In a wide bowl, add the rice flour, urad dal flour, 1 tbsp of coconut oil, sesame seeds, salt, and asafoetida. Mix well, and the flour should be more like coarse cornmeal.

- Now add coconut milk little by little and make a soft and smooth dough. I used about ¼ cup + 2 tbsp of coconut milk. Make sure the dough is not too hard. It becomes hard to press, and also, the murukku breaks if it is too hard. If it’s too soft with more moisture, you need to bake it for a longer time. The coconut milk quantity entirely depends upon the quality of the flour used. So add little by little as required.
- Now preheat the oven to 375 deg F. Line a baking tray with parchment paper or aluminum foil. I used the star-shaped mold for this murukku.
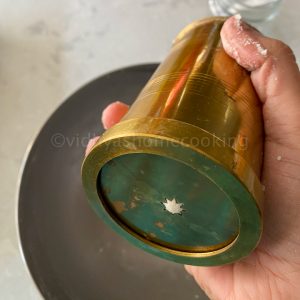
- You can use your preferred mold. Grease the murukku press with oil. Then add the dough in the murukku press. I was able to add the entire dough into the press.
- Slowly press the murukku in the baking tray lined with parchment paper. As you can see from other murukku pictures, I pressed the murukku in different sizes. :-) You can very well learn pressing the murukku when you bake it. There is no hot oil, and if you are not getting proper round-shaped murukku, you can mix it and add it back into press and practice. If the dough gets dry, sprinkle some water and mix again.

- Brush the murukku with coconut oil and bake the murukku in the preheated oven for 8 minutes. After 8 minutes, the murukku will be all dry, and it is moving freely.
- Now carefully lift the murukku and flip it. Use a spatula and flip it.

- Brush the other side of the murukku will coconut oil and bake again for 8 minutes.
- After 8 minutes, turn off the oven and let the murukku sit in the oven for 5 minutes. The total baking time is 16 minutes, and I let it sit in the residual heat for five more minutes. Every oven is different. The baking time for this murukku is 16 to 18 minutes. Let the murukku cool completely for one hour and relish it.
Notes
- If you keep the rice flour in the refrigerator, you can slightly roast the rice flour for a couple of minutes.
- I used light coconut milk. If you are using full-fat, use ¼ cup of coconut milk and add 2 tbsp of water. Or dilute the thick coconut milk with water.
- Do not add all the coconut milk at once. Add little by little and knead the dough.
- Adjust the salt according to your preference. You can add ½ tsp of red chili powder too, but the color will be different.
- Skip hing to make it a gluten-free murukku or add gluten-free hing.
- Make sure the dough is not too stiff and not too soft.
- Every oven is different. The baking time for this murukku is 16 to 18 minutes. Keep an eye on the murukku after 15~16 minutes and check for the doneness. Letting it sit in the oven after turning off the heat makes it more crispy.
- With the leftover batter, you can make thattai or ring murukku like how I did. For ring murukku, I had to bake it for 20 minutes.
- Store it in an air-tight container, and it stays crispy for 10 days.
Nutrition
I am not a nutritionist. The nutritional information is provided as a courtesy and is an estimate only. It varies depending upon the product types or brands.
Updates Notes: Earlier posted in 2015, now updated with detailed step-wise pictures, alternate baking timings and ring murukku details with leftover dough.

Healthy murukku…will try it soon..loving it :) :)
Thanks Ranjani
Love the baked version and that too with coconut milk :)
I love coconut milk in murukku and this sounds like a great guilt free snack…
Sounds delicious. I dont think the main purpose of the visit is temple..:D
A guilt free munching.
Thanks Sneha
U definitely got me there girl .. First I stopped at baked murukku cz I haven’t baked them . Next surprise was thengai paal.. Man U rock :)))
You made my day. Thanks a ton Kalyani.
What a delicious murukku!! sure coconut milk have enhanced its flavour and taste..
Yeah. Thanks a lot
I really like the idea of baking these snacks, the use of coconut milk will surely enhance the flavor. Good one !
Thanks a bunch :-)
I have tried baked chakli too and prefer the baked version. I am not familiar with this version of chakli but it looks really good.
Thanks Varada
This baked murukku rocks, now i know wat to do if i want a guilt free snacks.
:-) :-) Thanks priya
Wow we can dig in without any guilt..though I love deep fried version ..
Agree.. baked versions are aquired..
I have tried baked murukku but coconut milk murukku s something new to me.. Attimes When thinking about temples prasadam comes to my mind ;-)
These murukkus are famous in Nelli and Tuticorin area. Agree with you regarding temple prasadam :-)
Wow, baked murukkus are totally new to me. Adding coconut milk to murukkus is definitely new to me :-) They look crunchy & delicious.
Thanks Pavani
Guilt free version. Never made chaklis with coconut milk. have to try sometime.
Thanks yeah give it a try
Thanks Suma
Awesome murukku, Sri….I think paati adds coconut milk in some dish , I don’t remember. But it would taste fabulous!!! And this is guilt free, super!!! Enjoy your trip :)
Thanks a lot Malar.
wow though my native is Nellai..have never had this..Arasan was always for Ice cream and Juices :) this looks so tempting..let me try this ASAP..and I am loving all your baking recipes..good job…thanks for sharing all the wonderful and easy recipes..
Bhavani..
Hi Bhavani,
Wow R u from nellia?My friends used to get them. I could be wrong too. I love Arasan’s cakes and stuff… Missing that place for sure. Thanks a lot. Glad you like all these recipes.
Coconut milk must have enhanced the flavor of the muruku.
yup. Totally
The murukku looks fabulous.. As you said guilt free murukku.. :)
Thanks Arasi
this recipe is good! i love murukku a lot but don’t dare to eat too much of it because those store-bought ones are so oily. i’m going to look for the presser and try making it at home. thanks for sharing!!
Welcome here. Thanks a lot. Glad you liked it. Let me know how it came out.
Sounds absolutely delicious! I like the disclaimer “The main purpose of the Nellai visit is the temple though” :D
he he he Thanks Aruna. ;-) ;-)