

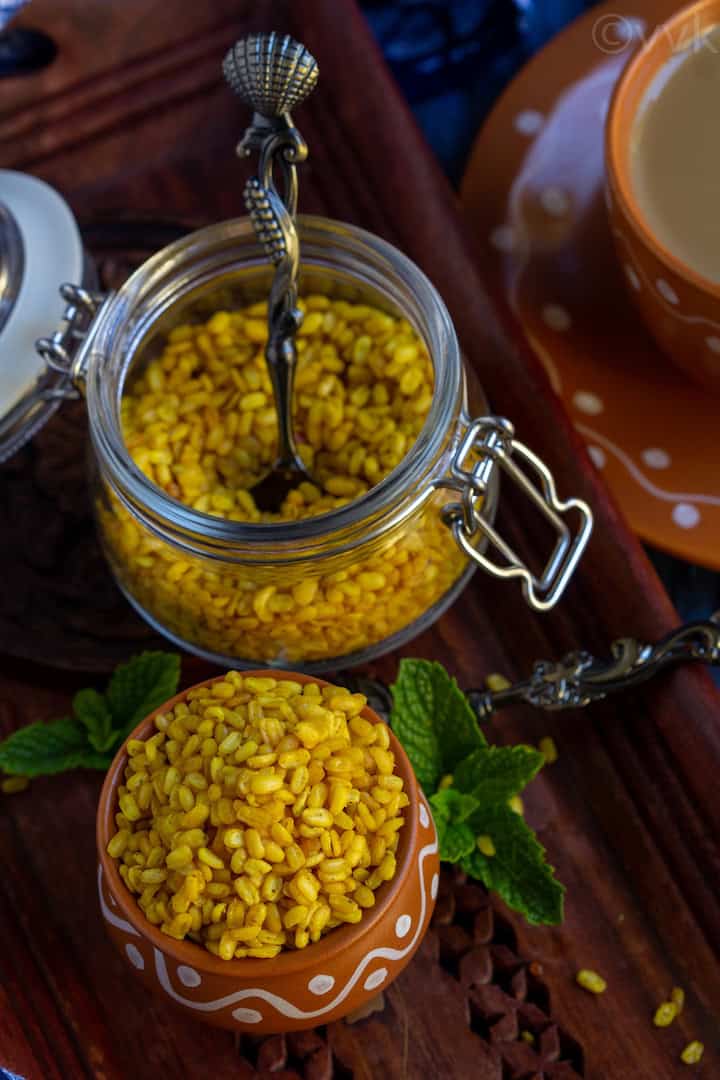
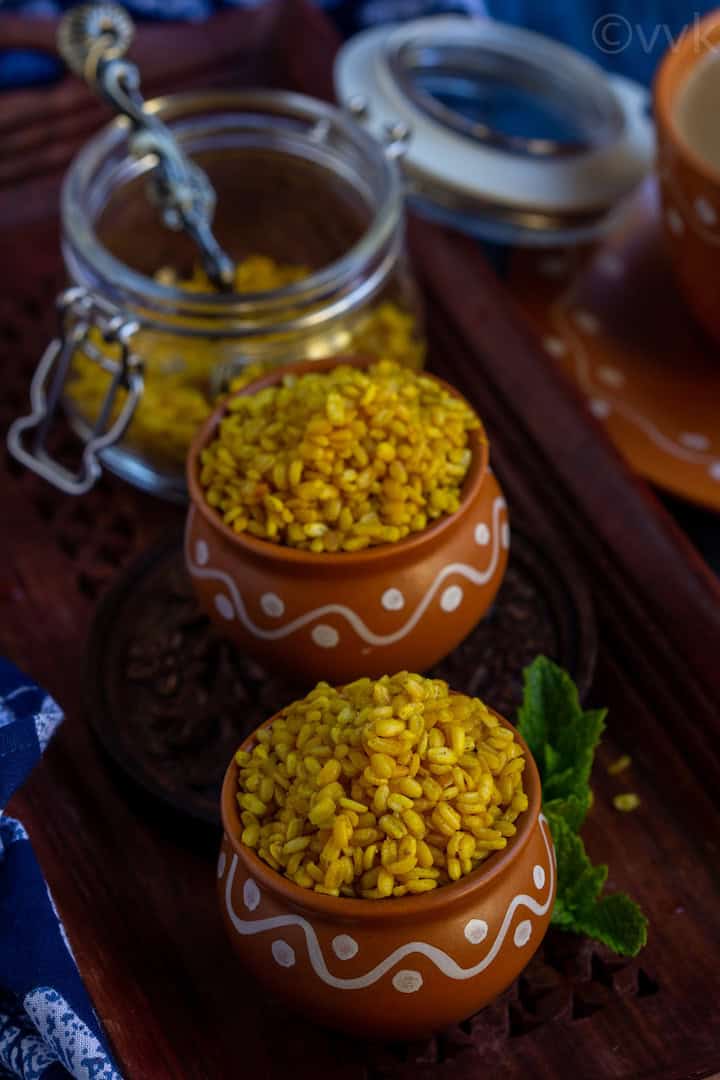
Enjoy your tea/coffee time with this guilt-free non-fried moong dal namkeen or the moong dal chaat. Check out how to easily make this Haldirams’s style moong dal namkeen in your microwave oven and conventional oven with detailed step-wise pictures.
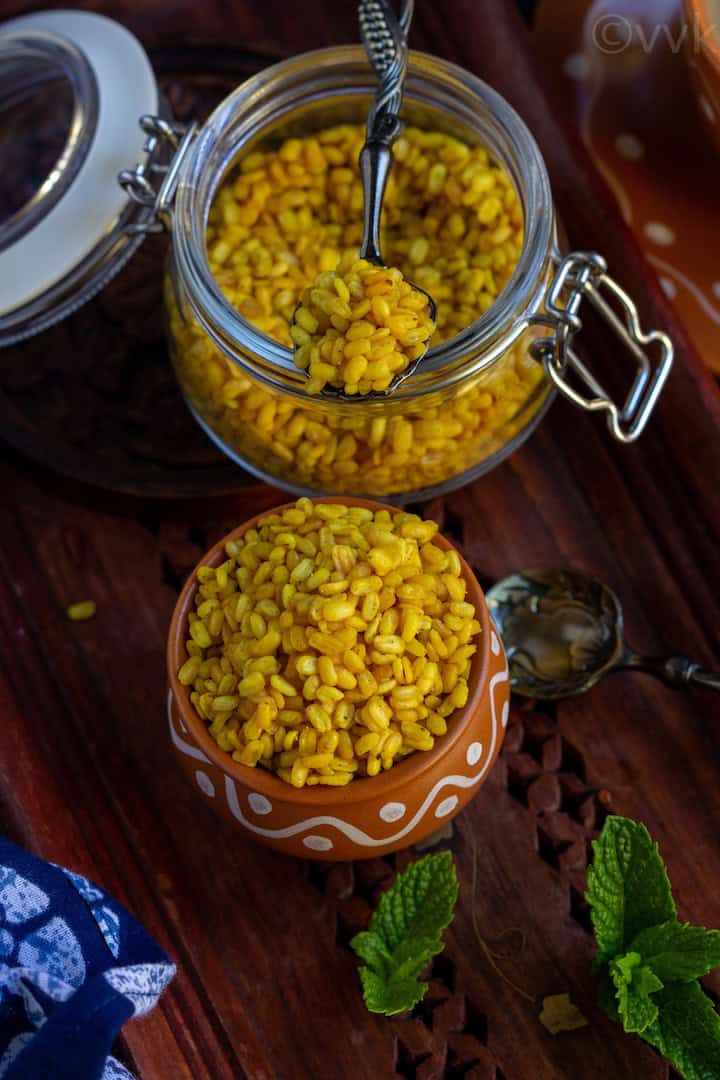
We all love snacks and something savory, especially during tea time. For all those calorie conscious folks and those looking for healthy savory snacks, here I am with a simple 4-ingredient (excluding water) moong dal chaat or moong dal namkeen recipe.
Can you believe, I only used 1 tsp of oil while making this recipe. You can even cut it down to ½ tsp. :-) It’s comparatively a low-calorie snack, and it’s vegan too.
Moong dal is the small petite yellow lentils popularly known as yellow mung beans. (In Tamil, we call it as pasi paruppu or payatham paruppu.) And namkeen means salty and savory snacks in Hindi. So moong dal namkeen means savory snack with yellow mung beans.
Haldiram’s moong dal namkeen is quite popular throughout India. I still remember their small packet (I think it was Rs.5 or ten during my school time) hanging in all grocery shops. This namkeen of mine is very similar to Halidram’s version.
This chaat recipe is not an instant one. It needs some soaking time; also, we need to pat the moong dal completely dry. That’s very important to get a crunchy namkeen. I spread it on a towel and gently press it with a paper towel and let it sit for about one hour. Yes, that might sound like a lot of time, but trust me, well-drained and dry moong dal yields a perfect namkeen.

Once we finish these two tasks, you can make this in the microwave in less than 15 minutes and within 20 minutes in a conventional oven.
All we have to do is spread it evenly on a plate and microwave and then in between add some oil and mix. And then microwave again till the desired crunchiness level. Finally, add the chaat masala and mix. That’s it.
Moong Dal Namkeen Cooking Timings-
For Microwave Oven –
I tested this recipe in my 900W microwave at the full 100% heat setting. For ½ cup of moong dal, I had to microwave for about 12 minutes. For a 900W MV, you can prepare this namkeen in less than 15 minutes, depending upon your crunchiness preference.
If you are making more than 1 cup, I would recommend using a larger plate so that you can spread the dal evenly. The cooking time will be the same plus or minus two minutes.
Now, if you have a 1100W microwave, you should be able to prepare this in less than eight or at a maximum of 10 minutes.
PS – To find the Microwave power, all you need is the serial number of the MV. In most of the models, the serial number would be in the door or the door frame. Just Google the number, and you can find all the specs and details.
I do need to say that the microwave version needs constant supervision, whereas that’s not the case with a conventional oven.
For Conventional Oven-
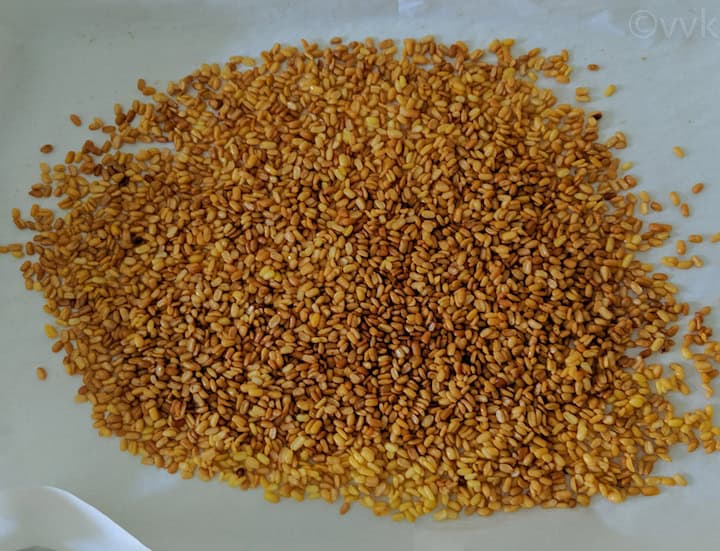
You bake the soaked and drained moong dal for about 18 to 20 minutes at 400 deg F. In between, we add the oil and toss the dal. That’s it. I would say 18 minutes would be perfect timing for the oven version. As you can see, I let it cook for 20 minutes, and the dal slightly turned red. But no burn smell or anything. If you like crunchy and yellow moong dal, just like the store-bought version, remove it around 18 minutes.
Note – I have the step-wise pictures for both microwave and oven version. But the featured images are taken with the ones made in the microwave. I am yet to try this in air-fryer. I will update this post when I try it in my air-fryer.
Let me explain how I made this moong dal namkeen in both a microwave oven and a conventional oven.
Wash and soak the moong dal-
- Rinse the moong dal a couple of times and soak it in atleast 2 cups of water. Add the ground turmeric as well.
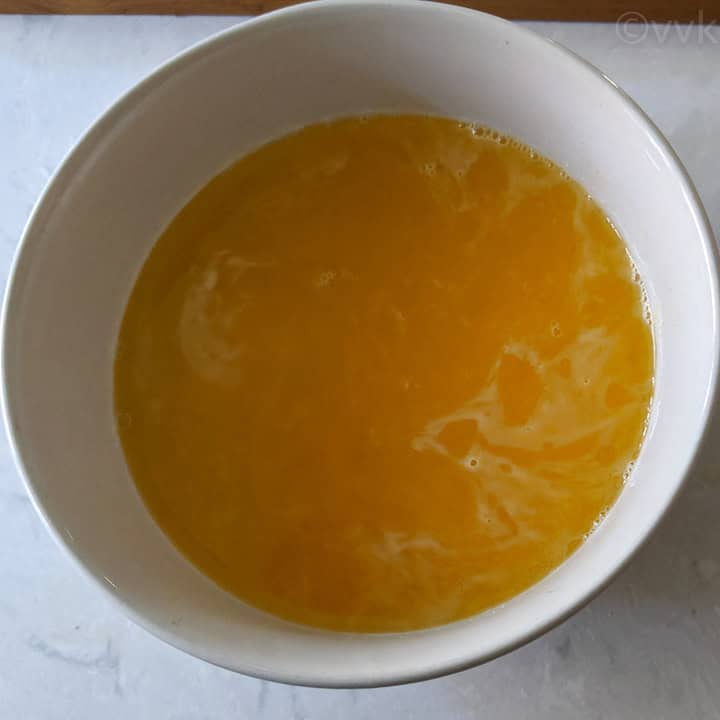
- Let it soak for atleast 1.5 hours. I have let it soak for up to 2 hours.

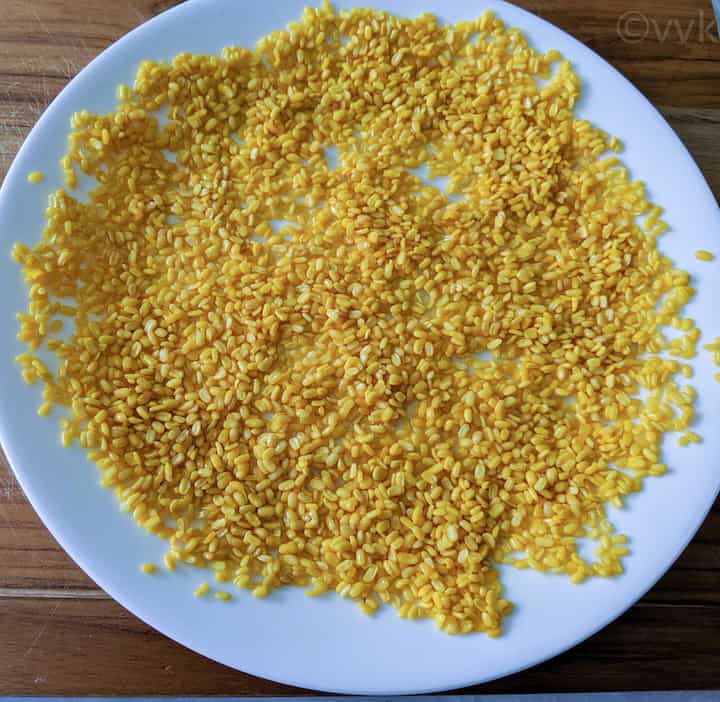
Drain & pat dry-
- After 1.5 hours, drain the water from the moong dal thoroughly. Now spread it evenly on a kitchen towel like below. Using a paper towel, press it gently to remove the excess water. Let it sit for 1 to 1.5 hours. This is a crucial step. Make sure you are letting the dal dry thoroughly.
Microwave (MV)Method-
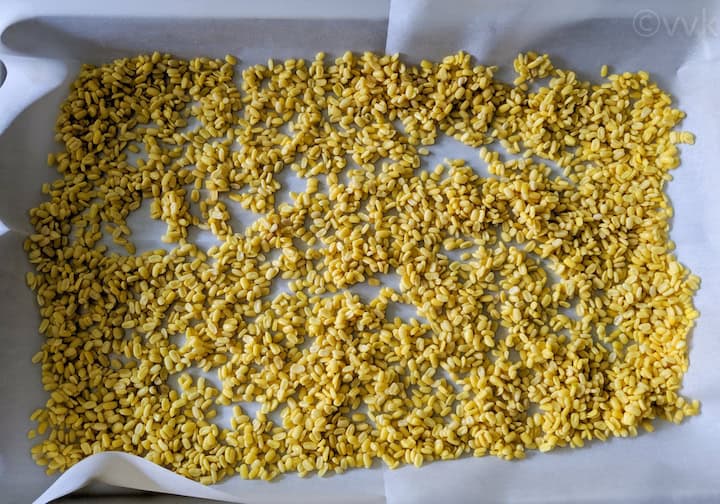
- In an MV safe plate, add the dal and spread it evenly as you can for even cooking.
- Microwave the dal for 4 minutes at the highest heat setting. Here it is after 4 mts of microwaving.

- Take it out and add the oil and mix it well.
- Microwave the dal again for 4 minutes at the highest heat setting.
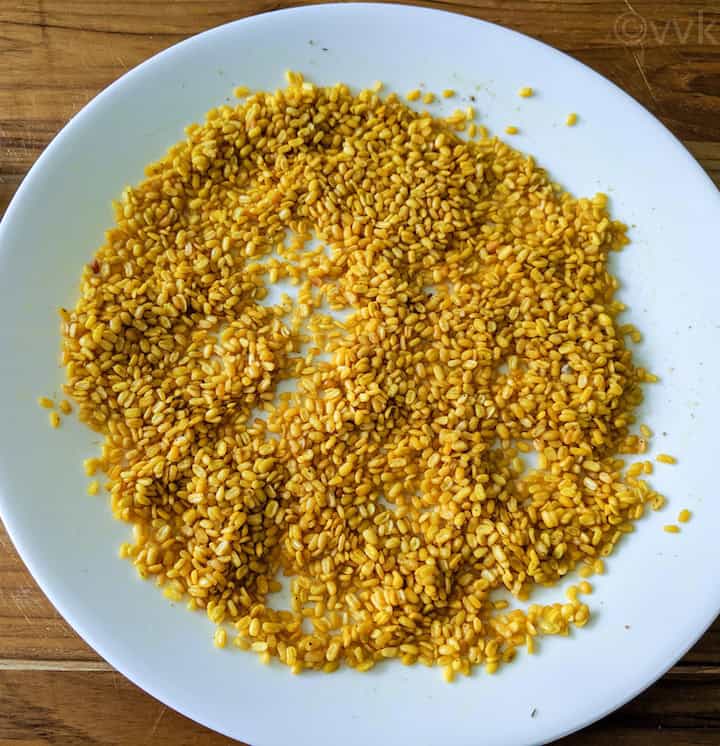
- After this, microwave for four more minutes but remove the plate for every two minutes. Shake/mix the dal for even cooking. After 8 minutes, keep an eye on the dal and remove it at the desired crunchiness preference. This picture is taken after 10 minutes of microwaving.

- I let it microwave for 12 minutes. Now add the chaat masala.
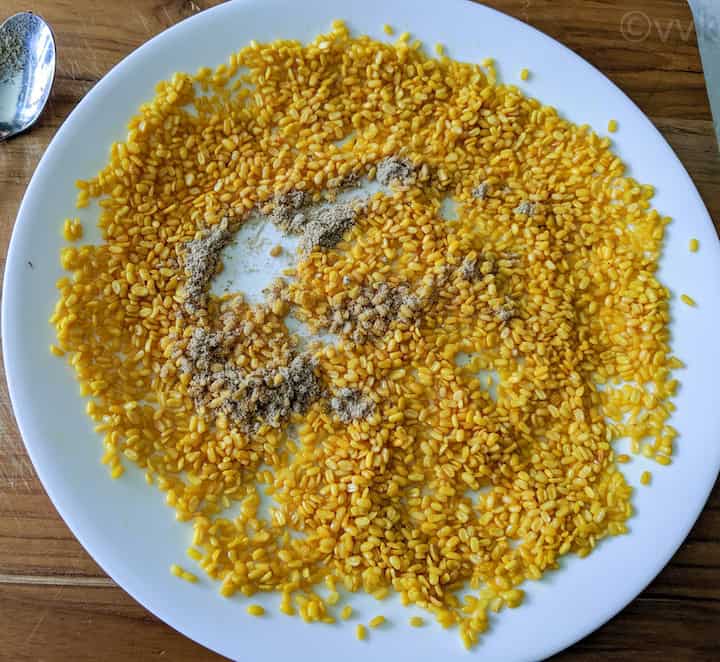
- And toss the dal well. Allow it cool and store in an air-tight container.
Conventional Oven Method-
- First, preheat the oven to 400 deg F.
- Line a baking tray with a parchment paper or aluminum foil.
- Now evenly spread the drained moong dal in the tray.
- Bake the moong dal at 400 deg F for 10 minutes.
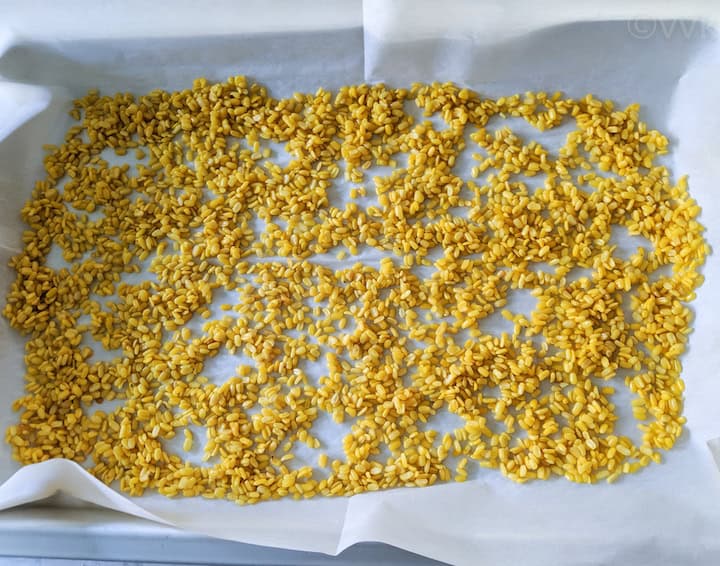
- After 10 minutes, take it out, add the oil and mix and shake it well.
- Now bake again for 8 to 10 minutes. After 7 minutes, I would start checking and remove it at the desired level. The total baking time is 18 to 20 minutes.
- Add the chaat masala and toss the dal well. Allow it cool and store in an air-tight container.
Recipe Notes-
- For ½ cup of moong dal, you need only ½ to 1 tsp of oil. Use any neutral oil or oil of your choice.
- Do not microwave in a single stretch. Check for every 4 minutes, and after 10 minutes, I would check for every one minute. Also, use a sturdy microwave-safe plate. If the plate gets hot after 8 minutes, wait for two minutes before microwaving.
- I used ¼ tsp of chaat masala and did not add any salt or red chili powder. You can add less than ¼ tsp of red chili powder and black salt combination or black salt + roasted cumin powder combination or jal jeera masala. You can add and adjust the spices according to your preference.
- I tried this recipe in my 900W MV, and this timing worked well. If you are using a 1100W MV, you might need only 8 to 10 minutes. So, according to your power level, the timing varies. So keep an eye after 6 to 7 minutes.
- A minute or two extra will make the dal slightly red, but it’s still good. But dark red ones are not pleasant.
- If you increase the quantity, the timing might vary slightly. Use a big plate and spread it evenly, and with 900W MV, you can make it in less than 15 minutes. For the regular oven, it shouldn’t change much.
PS: Follow me on Instagram or join my Facebook Group for more gardening and recipe updates. If you try this microwave moong dal recipe, please don’t forget to comment and rate this recipe. If you have any questions, please leave a comment, and I will get to it asap. Make sure to follow me on my Pinterest for more healthy and delicious ideas!
📖 Recipe
Moong Dal Namkeen | Haldirams's Style Microwave Moong Dal Chaat
Equipment
- Microwave Oven or Conventional Oven
Ingredients
Measurement Details: 1 cup=240ml;1tbsp=15ml;1tsp=5ml;
- ½ cup moong dal yellow mung beans
- ¼ tsp ground turmeric
- 1 tsp oil
- ¼ tsp chaat masala or to taste, see notes for alternatives
- water to rinse and soak the moong dal
Instructions
- Wash and soak the moong dal:Rinse the moong dal a couple of times and soak it in atleast 2 cups of water. Add the ground turmeric as well.
- Let it soak for atleast 1.5 hours. I have let it soak for up to 2 hours.
- Drain & pat dry:After 1.5 hours, drain the water from the moong dal thoroughly. Now spread it evenly on a kitchen towel like below. Using a paper towel, press it gently to remove the excess water. Let it sit for 1 to 1.5 hours. This is a crucial step. Make sure you are letting the dal dry thoroughly.
- Microwave (MV) Method:In an MV safe plate, add the dal and spread it evenly as you can for even cooking.
- Microwave the dal for 4 minutes at the highest heat setting.
- Take it out and add the oil and mix it well.
- Microwave the dal again for 4 minutes at the highest heat setting.
- After this, microwave for four more minutes but remove the plate for every two minutes. Shake/mix the dal for even cooking. After 8 minutes, keep an eye on the dal and remove it at the desired crunchiness preference. I let it microwave for 12 minutes.
- Now add the chaat masala and toss the dal well. Allow it cool and store in an air-tight container.
- Conventional Oven Method:First, preheat the oven to 400 deg F.
- Line a baking tray with a parchment paper or aluminum foil.
- Now evenly spread the drained moong dal in the tray.
- Bake the moong dal at 400 deg F for 10 minutes. After 10 minutes, take it out, add the oil and mix and shake it well.
- Now bake again for 8 to 10 minutes. After 7 minutes, I would start checking and remove it at the desired level. The total baking time is 18 to 20 minutes.
- Add the chaat masala and toss the dal well. Allow it cool and store in an air-tight container.
Notes
- For ½ cup of moong dal, you need only ½ to 1 tsp of oil. Use any neutral oil or oil of your choice.
- Do not microwave in a single stretch. Check for every 4 minutes, and after 10 minutes, I would check for every one minute. Also, use a sturdy microwave-safe plate. If the plate gets hot after 8 minutes, wait for two minutes before microwaving.
- I used ¼ tsp of chaat masala and did not add any salt or red chili powder. You can add less than ¼ tsp of red chili powder and black salt combination or black salt + roasted cumin powder combination or jal jeera masala. You can add and adjust the spices according to your preference.
- I tried this recipe in my 900W MV, and this timing worked well. If you are using a 1100W MV, you might need only 8 to 10 minutes. So, according to your power level, the timing varies. So keep an eye after 6 to 7 minutes.
- A minute or two extra will make the dal slightly red, but it's still good. But dark red ones are not pleasant.
- If you increase the quantity, the timing might vary slightly. Use a big plate and spread it evenly, and with 900W MV, you can make it in less than 15 minutes. For the regular oven, it shouldn't change much.
Nutrition
I am not a nutritionist. The nutritional information is provided as a courtesy and is an estimate only. It varies depending upon the product types or brands.
Update Notes: This recipe was originally posted in 2015 but now updated with new pics and recipe cards.

Very well written recipe. I love the tiny details about the microwave settings. And fantastic pictures too!
Thanks a lot Anu. :-)
This is my favourite snack. Will make these immediately.
Didn’t know that the store bought moong dal is so easy to make at home. Thanks for the recipe.
You are welcome
Such a healthy option. My daughter loves moong dhal and now I can serve her a guilt free version…
yup totally.
You make it sound so easy to make. Must try it.
he he.. Easy only yaar. Give it a try
This is such an addictive snack! I can munch on these all day.
Agree Sandhya :-)
crunchy and guilt free snack!!!!
Oh yeah. absolutely
This is such a delicious snack!..
Thanks :-)
A super crunchy snack. Like all the flavors in this chat.
:-) :-) Thanks Varada
Looks crunchy and healthy.
Thanks
Super Sri….patti used to fry it and we used to love it…I never make it because of oil ;) this looks fab and perfect for me :)
Thanks. Give it a try Malar.
Sri, I have version of this in draft.
I too like haldirams stuff.
I added a pinch of baking soda now after seeing your recipe realized its not required thanks for the eye opener dear:-
Thanks pa. I didn’t add baking soda. Waiting for ur version
I can munch them without any fuss, super guilt free snacks.
Yup. Thanks Priya
microwave version seems to be faster than the baked version.
yeah. :-)
Years ago, I made it for Valli’s microwave event as a trial and like it. A quick and guiltfree snack.
wow.. great
Wow.. super dear.. how easy it is.. Next time when I crave for Haldiram moong dal I dont have to run searching for them in Indian stores.. ;)
;-) ;-) I know its super easy naa. Give it a try pa
Super! I am going to try this soon – I love Haldiram’s Moong too :D
yay same pinch. Let me know how it turned out.
Crispy, tangy and salty!
:-) :-) Thanks Aruna