

Learn how to make tamarind paste, the quintessential ingredient of the South Indian cuisine in bulk at home from the tamarind block. Check out the detailed homemade tamarind paste recipe with step-wise pictures.
It’s quite hard to imagine my pantry without tamarind, and it’s one of the key ingredients in the South Indian cuisine. Be it for rasam or sambar; you need tamarind paste. Not only South Indian cuisine, other Indian cuisines, and Thai recipes call for tamarind paste as well.
Tamarind-
Before getting into the details, let me share the info that I know about tamarind.
I grew with a lot of tamarind trees around back in my native, and you can find them mostly in tropical and sub-tropical countries. But guess what, it’s a native tree of Tropical Africa.
The tamarind tree produces pod-like fruit, and the flesh/pulp inside the pod is edible, and that’s what we use in our cooking. Back in my native, they use tender tamarind leaves and flowers in cooking as well. I have enjoyed the process of deshelling and deseeding the tamarind in summer and relishing the freshly plucked tamarind – ahh pure nostalgia.
Tamarind pods & blocks-
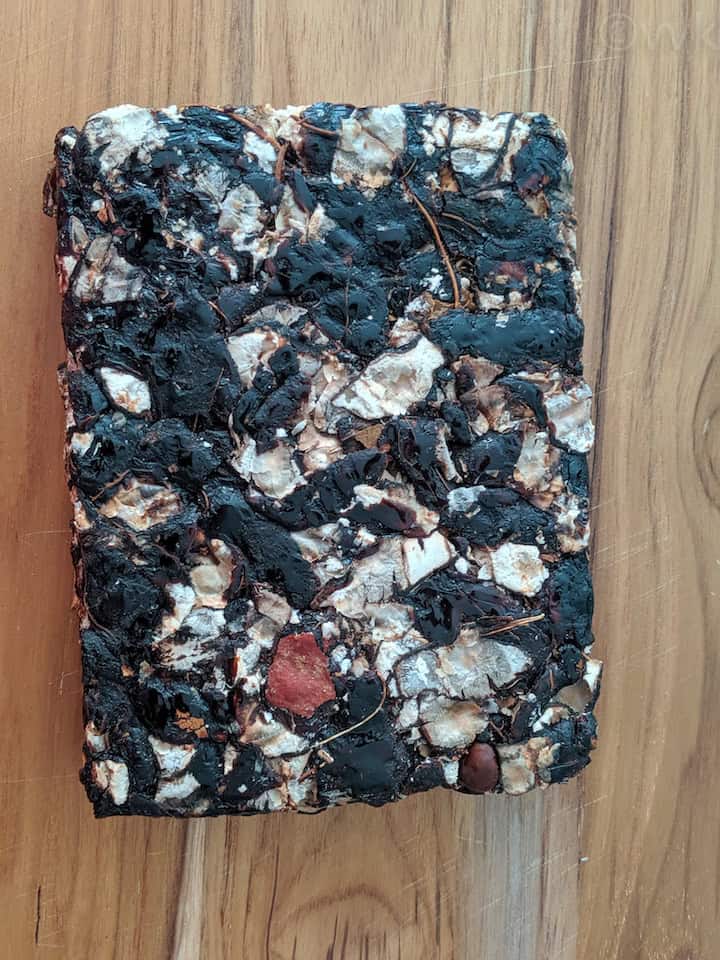
I do find tamarind pods here(in the Bay Area, not all carry though) in the grocery stores, but I don’t buy them. You need to remove the shell, then deseed it, and then use the flesh. It’s not easy to find these pods. On the other hand, tamarind blocks are quite common.
You will find both soft and hard (bit dried) blocks in the Indian groceries and also in the Asian aisle of the other supermarkets. Tamarind blocks are in a pressed form with the shells and seeds removed, to a certain extent. (PS – even the seedless ones have seeds)
The traditional way of extracting tamarind juice-
Back in India, tamarind pulp/flesh is sold either in pressed form or loosely. If you notice most of the Indian recipes call for gooseberry sized tamarind, lime/lemon sized tamarind. We don’t use the gooseberry or lemon or lime sized tamarind directly in the dishes. We need to soften it and extract the juice.
You first need to soak the required amount in water for 30 to 45 minutes. After 30 minutes, you mix and mash the tamarind flesh and squeeze out the juice/extract as much as you can and discard the hard solids. The extracted juice is what we use in cooking. People call this extract by a different name like tamarind juice, tamarind extract, tamarind pulp, tamarind water, etc. I refer to it as tamarind extract.
The traditional process needs proper planning. My mom and grandmom soak the tamarind first before even chopping the vegetables. It’s part of the prep work, and you will get into that routine by practice. Back in India, that’s how they do it to date, and mom taught me the same as well. In due course, I learned a few tricks to soften the tamarind. Soaking in hot water softens the tamarind quickly. Some people microwave the soaked tamarind for a minute or so to speed the process.
This is where the paste comes into the picture. Tamarind paste comes in handy when you forgot to soak the tamarind or if time is pressing. I use tamarind paste during the weekdays, and during weekends I extract the juice traditionally.

Why homemade tamarind paste?
I can hear you all. When you can quickly grab a bottle of tamarind paste from the store, why bother making it at home? Homemade is preservative-free folks. Have you seen the ingredients in the store-bought tamarind paste bottle? If not, please do check.
Up until last year, I used to grab a bottle from the store. But when we started to avoid all processed sugar, I started reading all the nutrition labels and shocked to find fructose syrup and other ingredients in the store-bought ones. As we use tamarind paste regularly, I was a bit concerned, and that’s when I thought of making it at home.
Is it easy to make tamarind paste at home?
Yes, but I need to tell you that it is timeconsuming, especially the straining part. But it’s a fun and great exercise for your hands. Oh, bit therapeutic too. You cook the tamarind, mash it, and strain it.
I used the thick tamarind with seeds. I couldn’t find the soft seedless ones. If you can source that, please use that. The straining part will be super easy.
The shelf life of the tamarind paste-
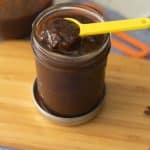
It stays good for a month when refrigerated. I haven’t tried freezing it, though. Use a clean spoon during every use. I make it once every month. With 250gms of tamarind block, I get about approx 17 to 20 oz of tamarind paste. You can double the amount of tamarind and make the paste in bulk as well. Add the required water. The rule of thumb here is to immerse the tamarind fully in the water.
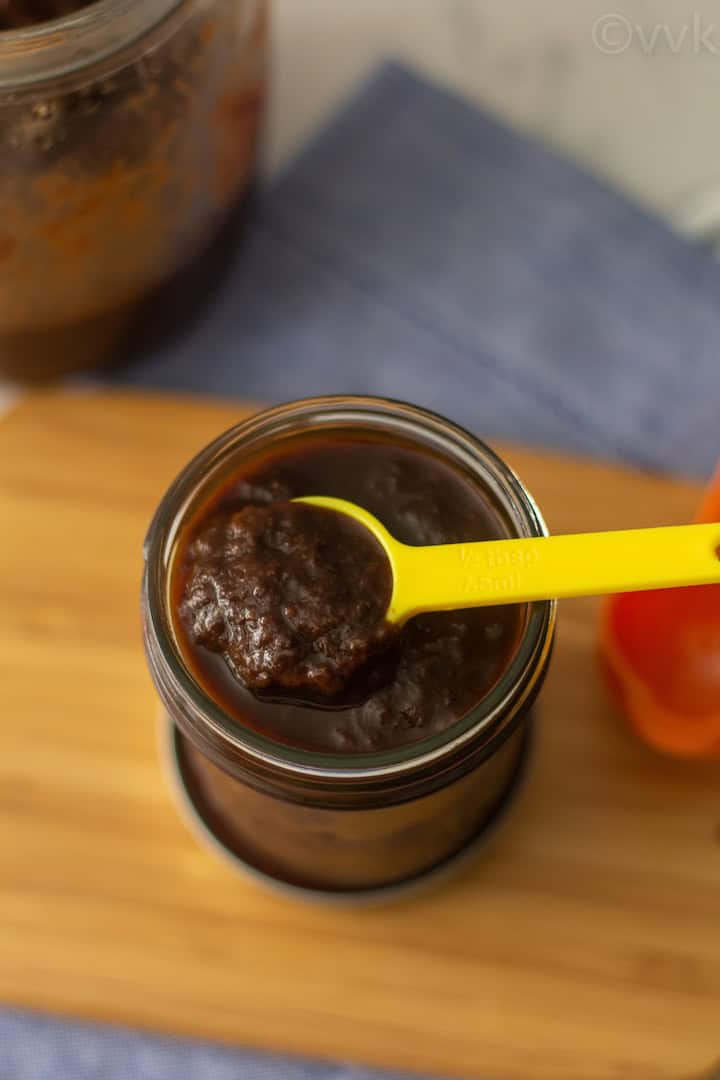
How much paste should I use for curries and gravies?
That depends upon the tamarind age and the quality. Old tamarind is comparatively less sour than the new ones. Also, personal preference comes into the picture. Start with a tsp to 1.5 tsp for rasam and 2 to 3 tsp for kuzhambu and sambar. Then depending upon the taste, you can adjust it.
If you have any further questions or if I have missed any point, please let me know in the comment section. I will address it.
Now let’s see how to make the tamarind paste.
Ingredients-
- 250 grams tamarind block
- 2.5 cups water
Equipment needed
- Stove-top pressure cooker or electric pressure cooker like Instant Pot
- Strainer – fine mesh or even Instant Pot steamer basket would do
How to make tamarind paste-
- Break the tamarind block into small chunks. If there are any seeds, discard them.
- Place these tamarind block chunks into the inner pot of the IP and add 2.5 cups of water. Make sure to immerse the tamarind fully in the water. 2.5 cups of water should be sufficient. Add a little more if needed.
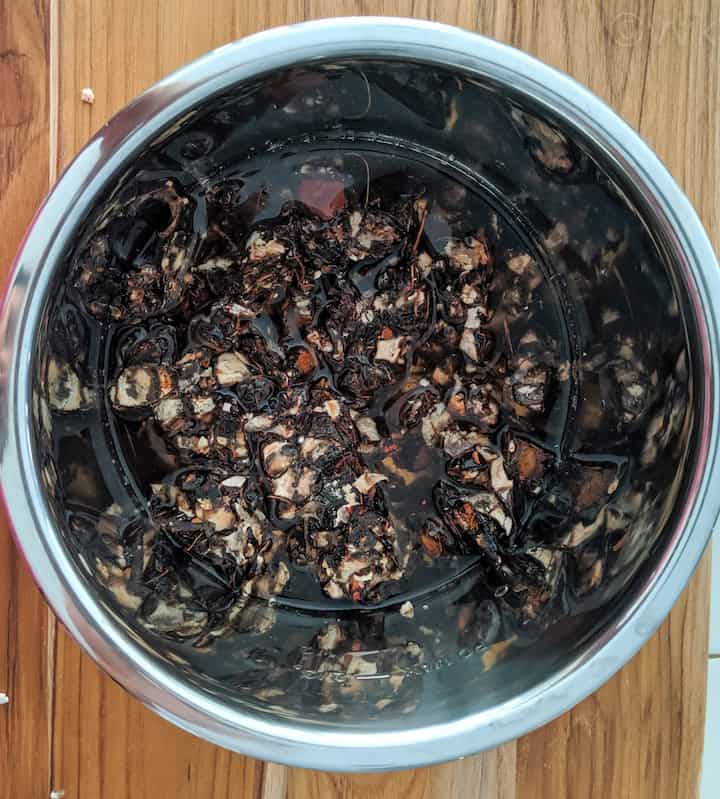
- If you are using Instant Pot, close the IP lid and pressure cook the tamarind at high pressure for 25 minutes. When the cooking is complete, release the pressure naturally. If you are using a stove-top pressure cooker, close the pressure cooker and put the weight on and cook for 4 to 5 whistles. When the cooking is complete, release the pressure naturally. Let the tamarind mix cool completely, and now comes the fun part.
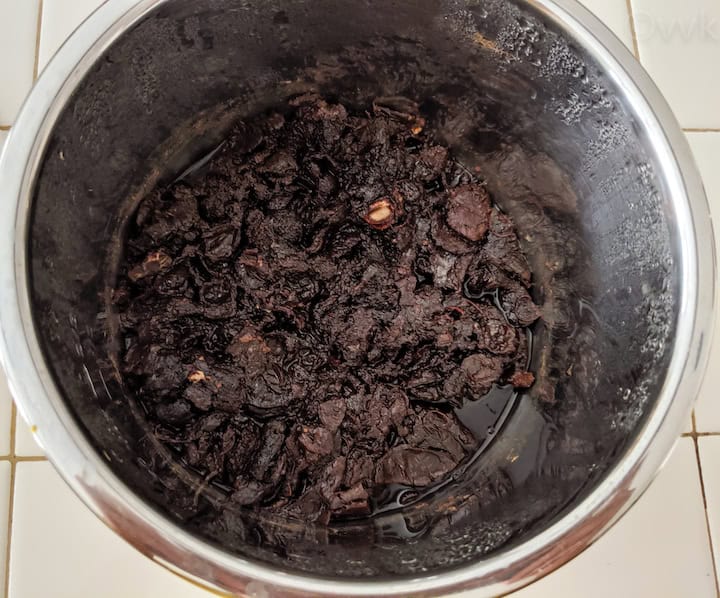
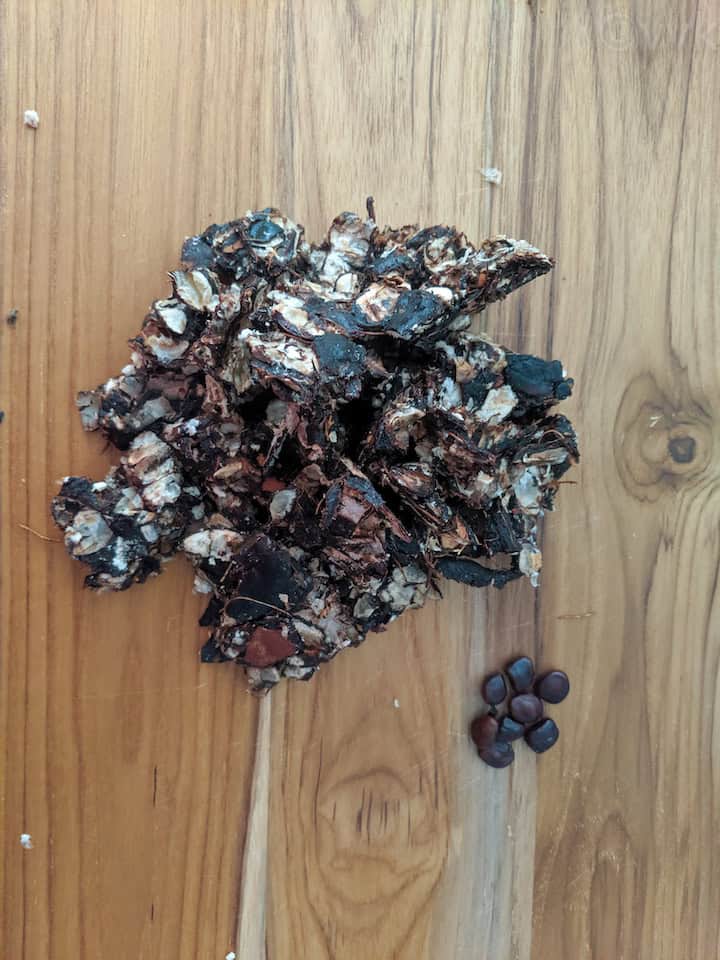
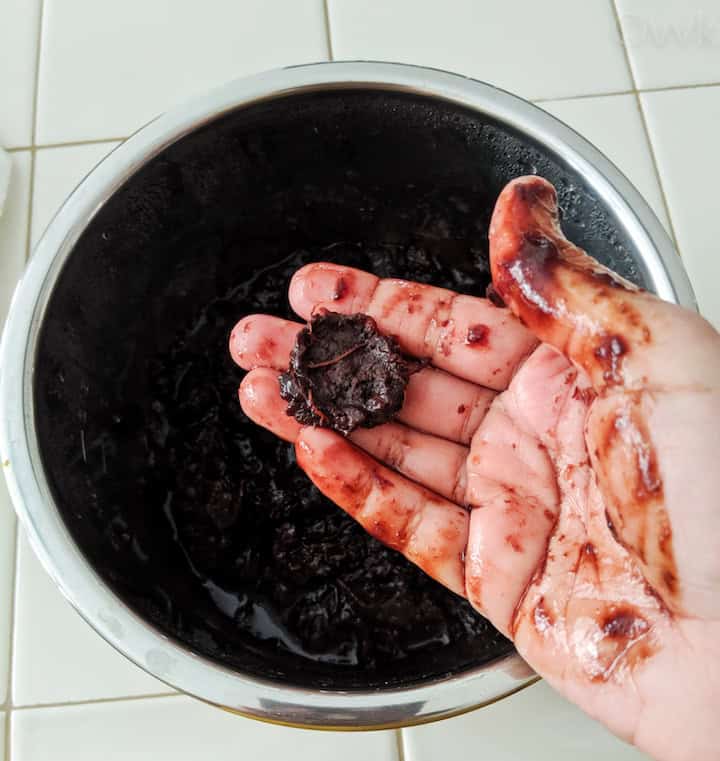
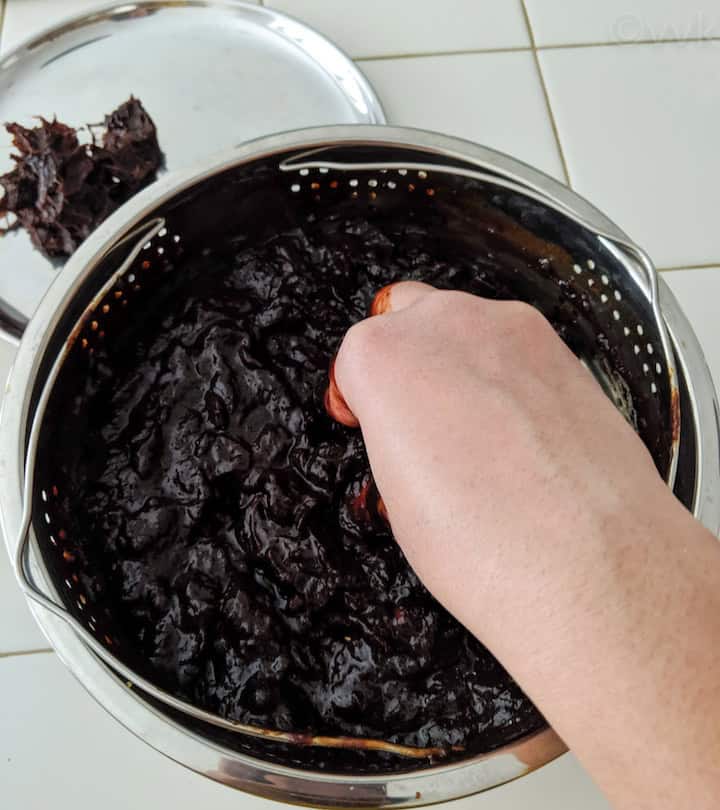
- Mix and mash the cooked tamarind thoroughly. (I used my hands. You can use a potato masher as well) While mixing, if you find any hard membranes, seeds, fibers squeeze out the juice and discard them. This initial sieving makes it easy when we strain it again.
- I used my Instant Pot steamer basket to strain the tamarind. But you use the fine mesh strainer also. Place the strainer/filter on top of a bowl.
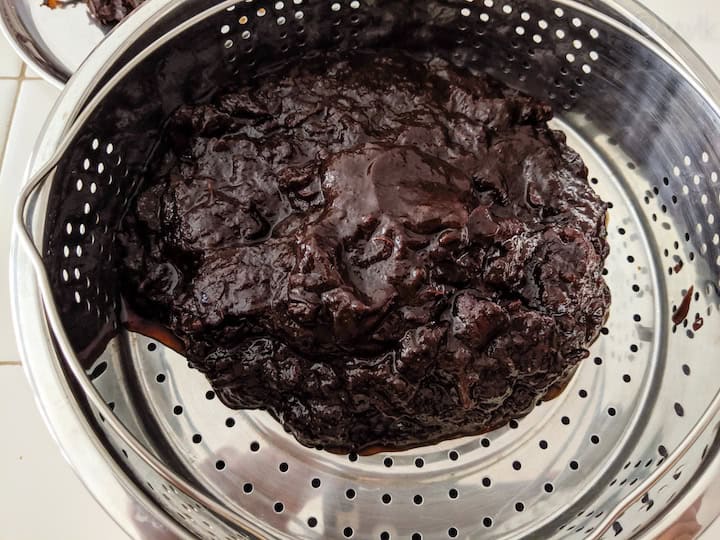
- Working in batches, add the cooked tamarind mix in the strainer and strain by pressing it with clean hands. Or you can use the back of a spatula or spoon as well. While pressing, set aside the hard membranes and hard particles. The straining and extracting is the time-consuming part but fun and therapeutic one. Also, depending upon the brand, and how much impurities are present, the straining time might vary. If you are using soft tamarind, this process will be much easier.
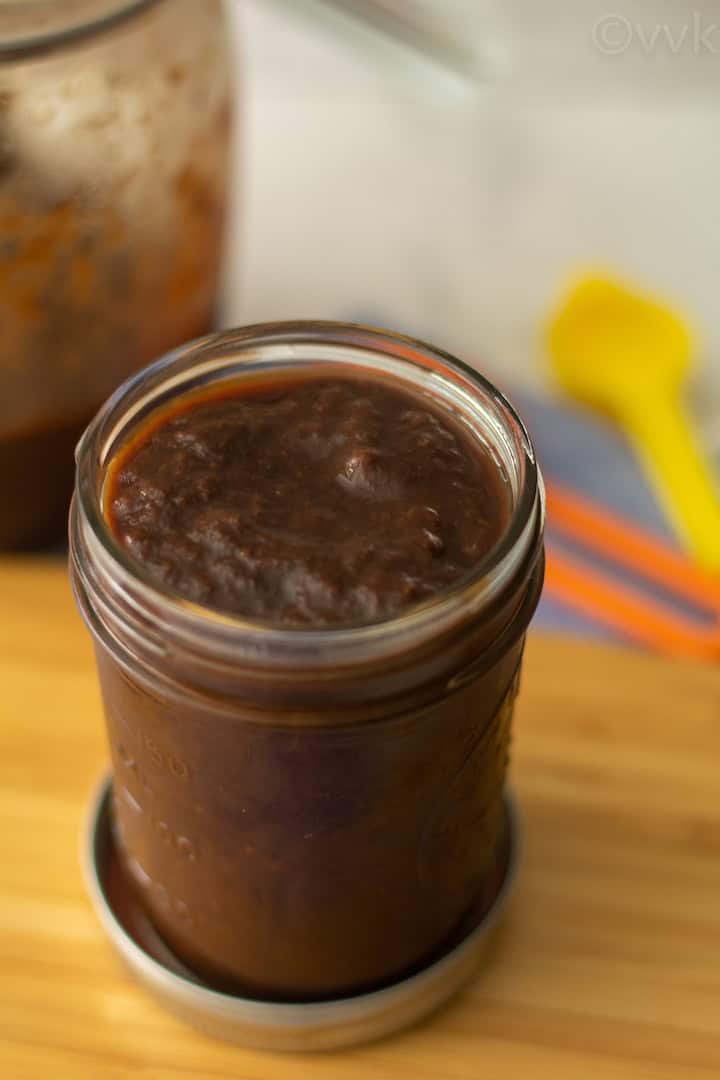
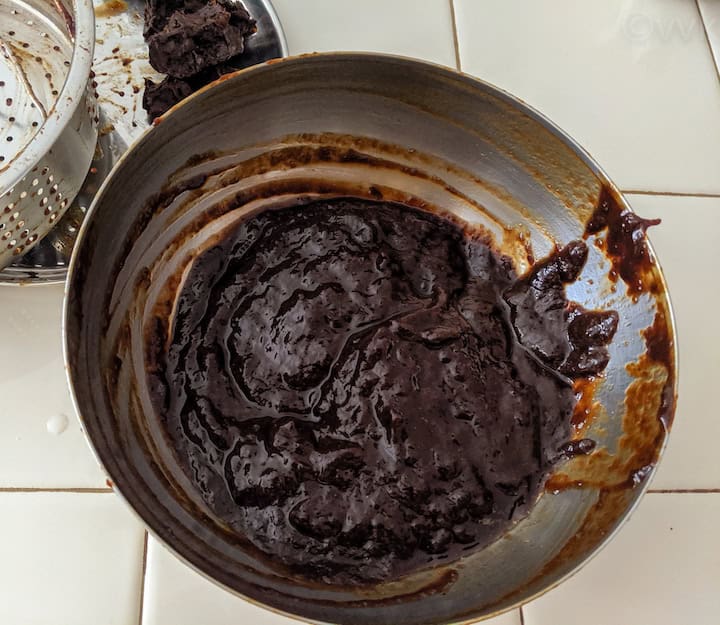
- Mix the tamarind paste collected in the bowl and store it in an air-tight container. I refrigerate it, usually.
- Use it as required for curries, rasam, and sambar.
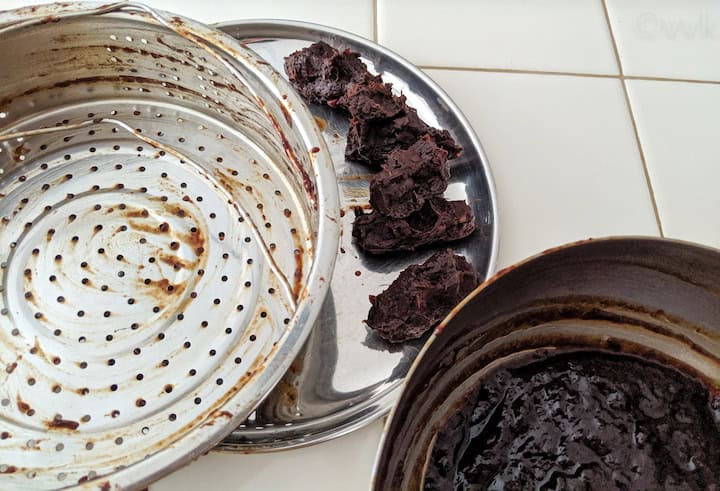
- Do not discard the strained out tamarind flesh or the tamarind solids. You can use them to wash all your brasswares and bronzewares.
Recipe Notes-
- As I used hard tamarind block, I went with 25 minutes of cooking time. If you are using the seedless soft one, you can cook for 15 minutes and release the pressure naturally.
- Make sure you add sufficient water, but not too much. Adding too much water will yield a not so thick tamarind paste. Runny tamarind paste is not bad, but you might have to adjust the measurement when using it for curries, rasam, sambar, etc.

PS: Follow me on Instagram or join my Facebook Group for more gardening and recipe updates. If you try this homemade tamarind paste, please don’t forget to comment and rate this recipe. If you have any questions, please leave a comment, and I will get to it asap. Make sure to follow me on my Pinterest for more healthy and delicious ideas!
📖 Recipe
Homemade Tamarind Paste
Equipment
- Stove-top pressure cooker or electric pressure cooker like Instant Pot
- Strainer - fine mesh or even Instant Pot steamer basket would do
Ingredients
Measurement Details | 1 cup - 240ml
- 250 grams tamarind block
- 2.5 cups water
Instructions
- Break the tamarind block into small chunks. If there are any seeds, discard them.
- Place these tamarind block chunks into the inner pot of the IP and add 2.5 cups of water. Make sure to immerse the tamarind fully in the water. 2.5 cups of water should be sufficient. Add a little more if needed.
- If you are using Instant Pot, close the IP lid and pressure cook the tamarind at high pressure for 25 minutes. When the cooking is complete, release the pressure naturally.
- If you are using a stove-top pressure cooker, close the pressure cooker and put the weight on and cook for 4 to 5 whistles. When the cooking is complete, release the pressure naturally.
- Let the tamarind mix cool completely, and now comes the fun part.
- Mix and mash the cooked tamarind thoroughly. (I used my hands. You can use a potato masher as well) While mixing, if you find any hard membranes, seeds, fibers squeeze out the juice and discard them. This initial sieving makes it easy when we strain it again.
- I used my Instant Pot steamer basket to strain the tamarind. But you use the fine mesh strainer also. Place the strainer/filter on top of a bowl.
- Working in batches, add the cooked tamarind mix in the strainer and strain by pressing it with clean hands. Or you can use the back of a spatula or spoon as well. While pressing, set aside the hard membranes and hard particles. The straining and extracting is the time-consuming part but fun and therapeutic one. Also, depending upon the brand, and how much impurities are present, the straining time might vary.
- If you are using soft tamarind, this process will be much easier.
- Mix the tamarind paste collected in the bowl and store it in an air-tight container. I refrigerate it, usually. Use it as required for curries, rasam, and sambar.
Notes
- As I used hard tamarind block, I went with 25 minutes of cooking time. If you are using the seedless soft one, you can cook for 15 minutes and release the pressure naturally.
- Make sure you add sufficient water, but not too much. Adding too much water will yield a not so thick tamarind paste. Runny tamarind paste is not bad, but you might have to adjust the measurement accordingly.
- Do not discard the strained out tamarind flesh or the tamarind solids. You can use them to wash all your brasswares and bronzewares.
Nutrition
I am not a nutritionist. The nutritional information is provided as a courtesy and is an estimate only. It varies depending upon the product types or brands.

Thank you for this wonderful recipe.
How long can this be stored in the fridge? Also, can it be frozen?
Yes, I make big batch and freeze them.
What is the brand of colander you used? Did you only remove seeds or also fibers before cooking in the IP?
The colander is actually steamer basket that came as part of my IP accessories. I just removed the seeds not the fiber.
Hello Srividhya ,
Actually I am cooking by looking at the recipes online and they ask for 1 cup tamarind water but I have tamarind concentrate with me . Can you please tell me how many teaspoons of concentrate tamarind is equal to 1cup tamarind water (lemon sized tamarind)?
Hi, sorry for the delayed response. I would start with 2 tsps of tamarind paste. If your concentrate is super strong and tangy and then cut it down to 1.5 tsp.
Hello vidhya ji, we also follow almost same process for extract . But,being a gujarati (gujarati dal and some sabi required tamarind and jaggery both in all receipted) and lived in mumbai , we use it as a chat and samosa chutney ! But in busy life of states, i make this pulp/ extract/chutney just 2 time in a year . After extract we add jaggery , ginger powder ,salt ,red chili powder *preferred Kashmiri red chili so colour stays bright , coriander powder and 2 more glass of water . Bring it to boil and and simmer for 15 min .Let it cool and you have thick paste like extract . Now we keep one small Mason jar full in fridge and remaining we freeze . **Ice cube trays for sambar / thai curry/penang curry / imly chutney for chat dilute it (1 cube: 2 times water)
**Emptied Greek yogurt container for yearly use.after feeling container use sandwich plastic or cling wrap plastic before closing lid . It won’t allow ice crystals in pulp.
**If it’s properly cooked , it’s usable for atleast 7 months from frozen section .
Thanks so much for this idea. I will definitely try this make and make the chaat chutney. Thanks so much for this comment. I really appreciate it.
A very nice way of making and storing tamarind pulp. It’s a lot more easier in the cooking time. Thank u for the recipe.
Thanks. I hope you find it useful.