
Learn how to make the delicious and addictive snack – uppu seedai with store-bought rice flour with detailed step-wise pictures and many tips.
Indian cuisine is renowned for its diverse food categories, with snacks being significant. During festivals, alongside elaborate festive meals, we prepare a variety of snacks, both savory and sweet, called bakshanams. Seedai is one such delightful recipe. Here’s how you can make this delicious seedai using store-bought rice flour.
Jump to:
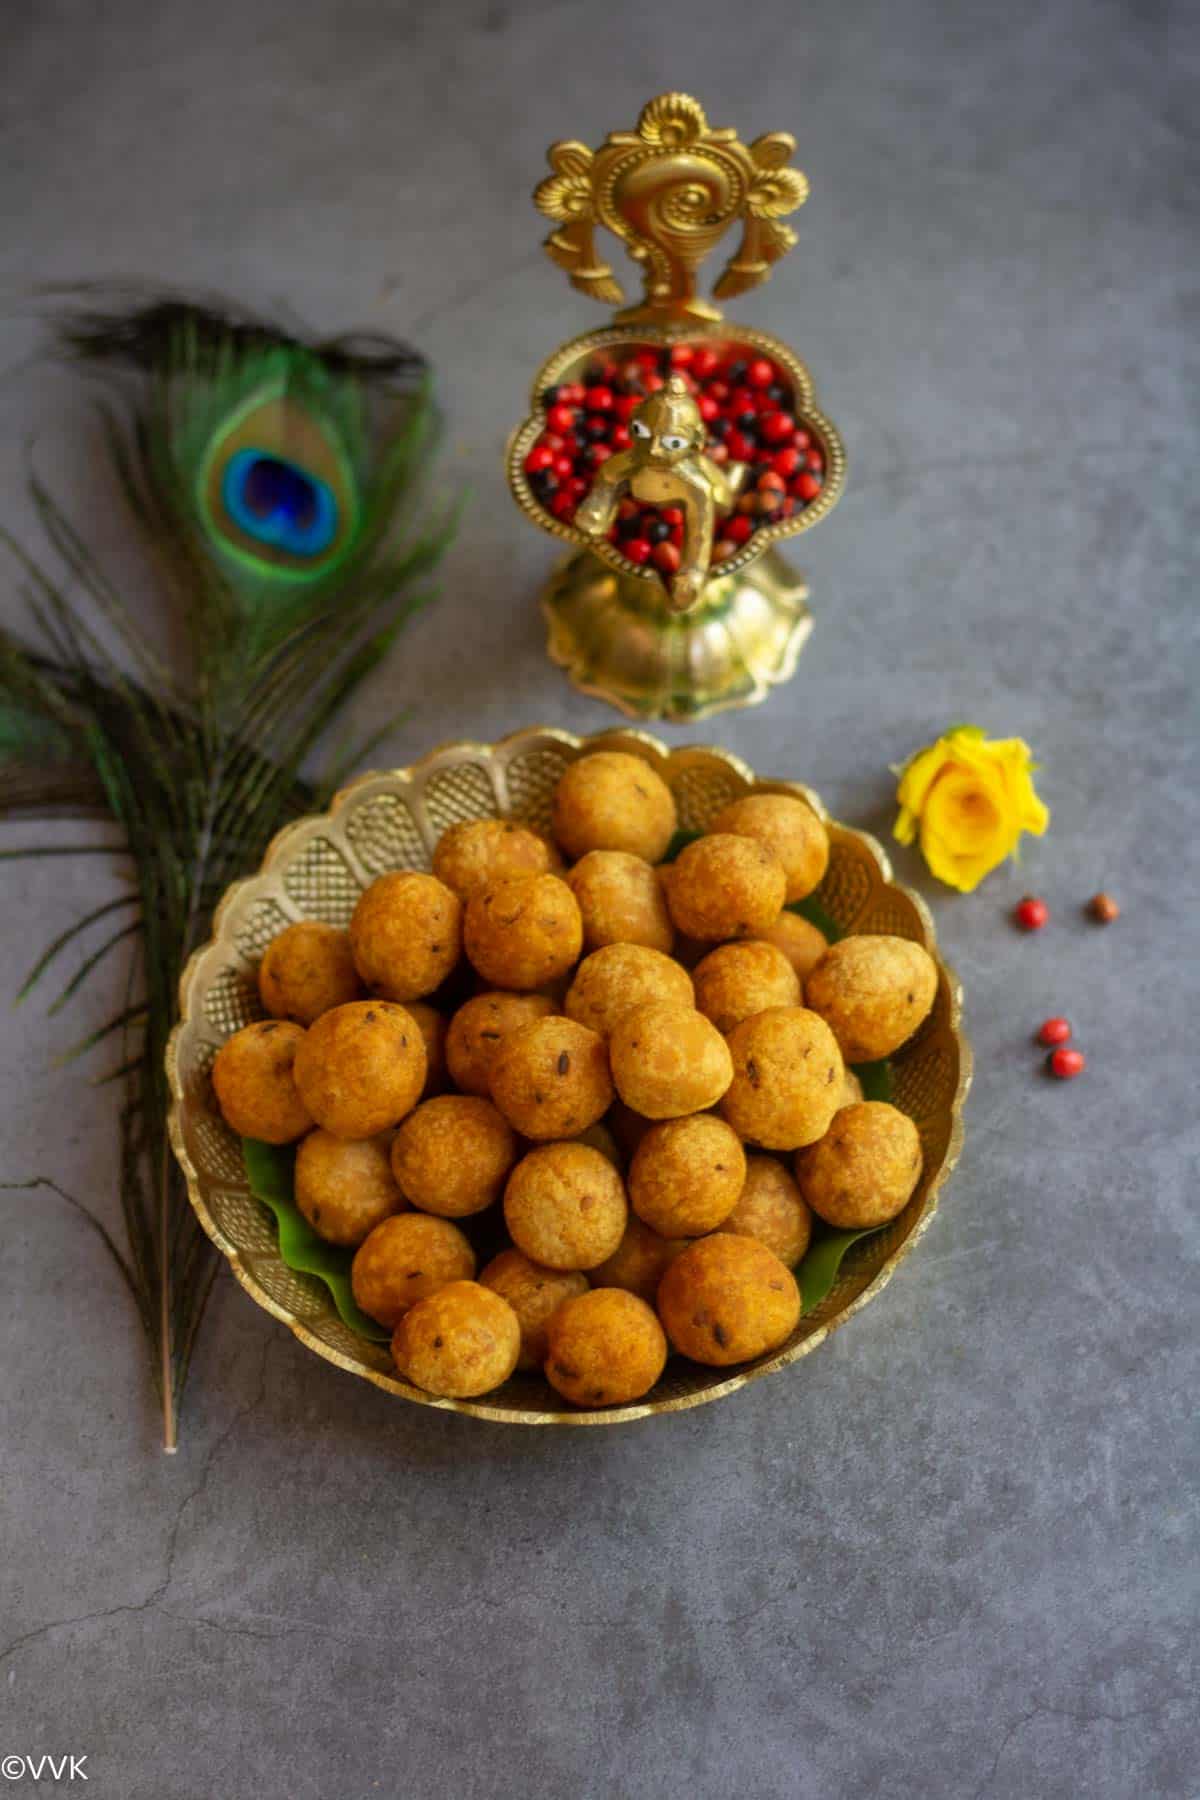
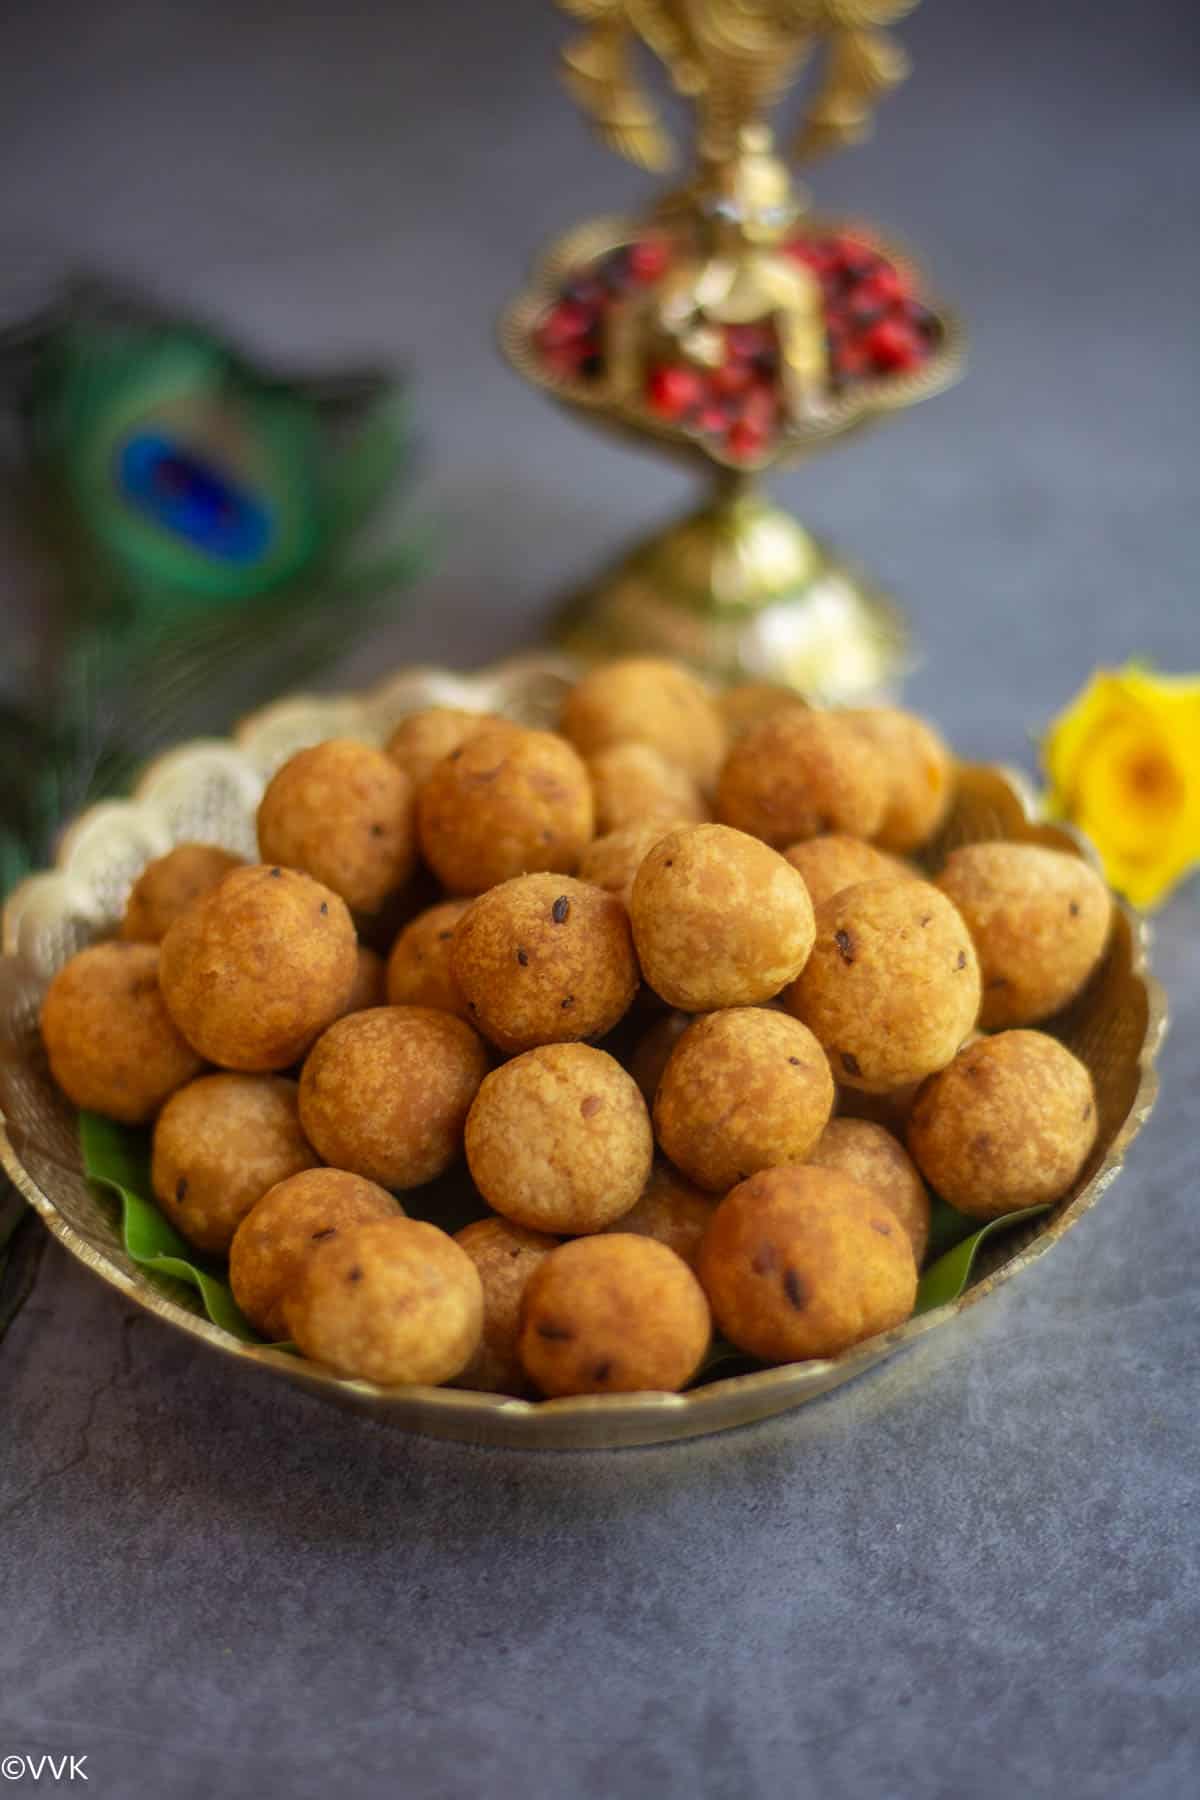
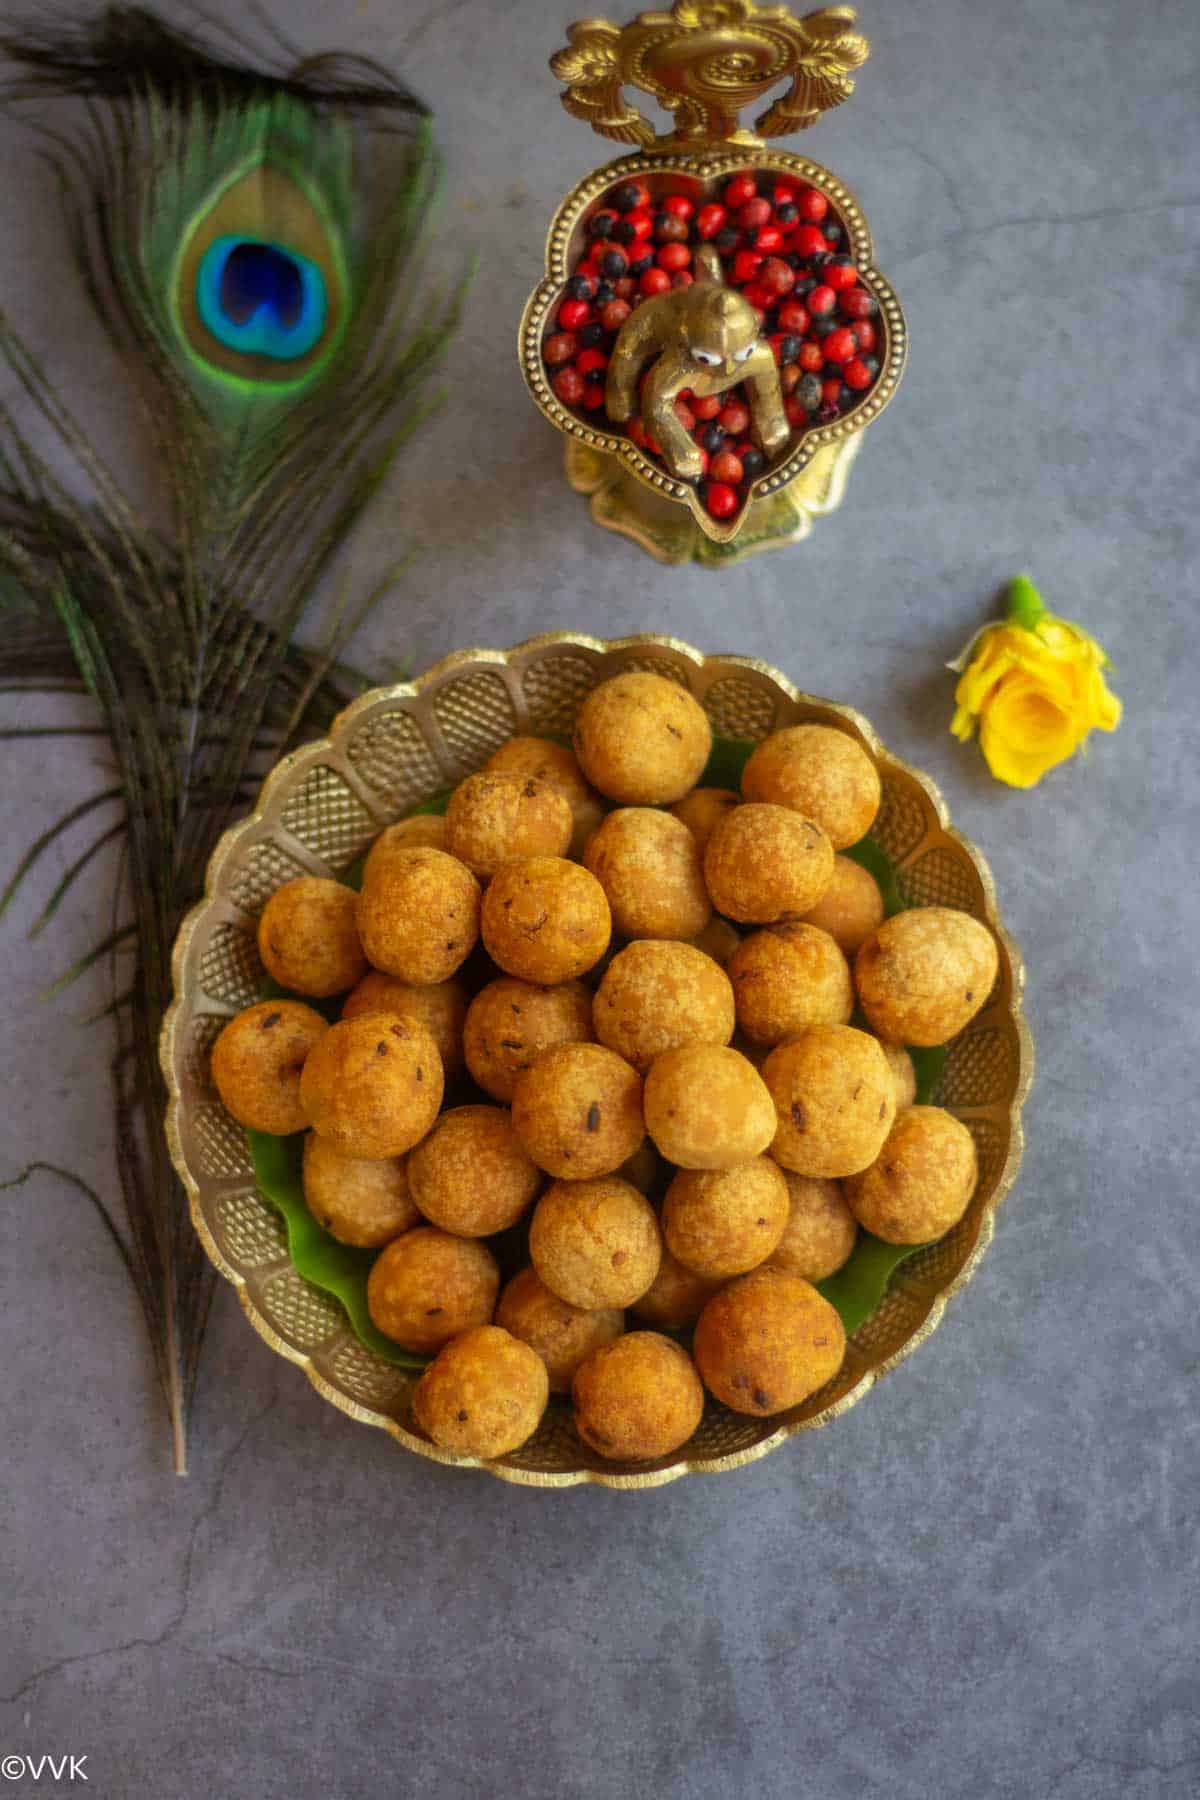
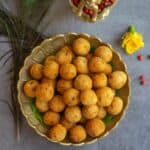
Uppu Seedai is a traditional South Indian snack popular in Tamil Nadu. It’s a savory, crispy ball-shaped snack made primarily from rice flour and urad dal flour. The name “Uppu Seedai” literally translates to “salted seedai” in Tamil, indicating that it is a salted version of the seedai.
The festival of Janmashtami
Krishna Janmashtami, also known as Krishnashtami, Janmashtami, or Gokulashtami, is an annual Hindu festival that celebrates the birth of Lord Krishna, the eighth avatar of Vishnu. This festival is celebrated in various ways across different regions of India. In our household, we draw small footprints from the entryway to the pooja room, symbolizing Krishna’s arrival as an infant. We offer fruits, especially jamun and butter, and prepare aval/poha-based dishes like vella aval and thayir aval, as well as snacks like seedai.
Now, let’s get straight into the recipe and all the details.
Ingredients required
Rice flour or idiappam flour: You can use either one. I’ve made seedai with store-bought rice flour and Idiappam flour, and both turn out well. The water measurement varies slightly, which I’ve detailed in the FAQ section.
Urad dal flour: As explained below, you’ll need one tablespoon of urad dal flour.
Cumin seeds, asafoetida, chana dal, and sesame seeds: These ingredients enhance flavor and act as fillers, helping to prevent the seedai from bursting.
Butter: Use softened butter at room temperature—not melted or cold.
Oil: I prefer coconut oil for frying, which adds a distinctive flavor. However, you can use groundnut oil or any neutral-flavored oil.
Additional ingredients: You’ll also need salt and water.
Please refer to the recipe card for exact measurements.
Preparing homemade urad dal flour
Many traditional snacks, or bakshanams, require urad dal flour, so I like to make a good amount in advance for various recipes. Here’s how I make it:
Roasting:
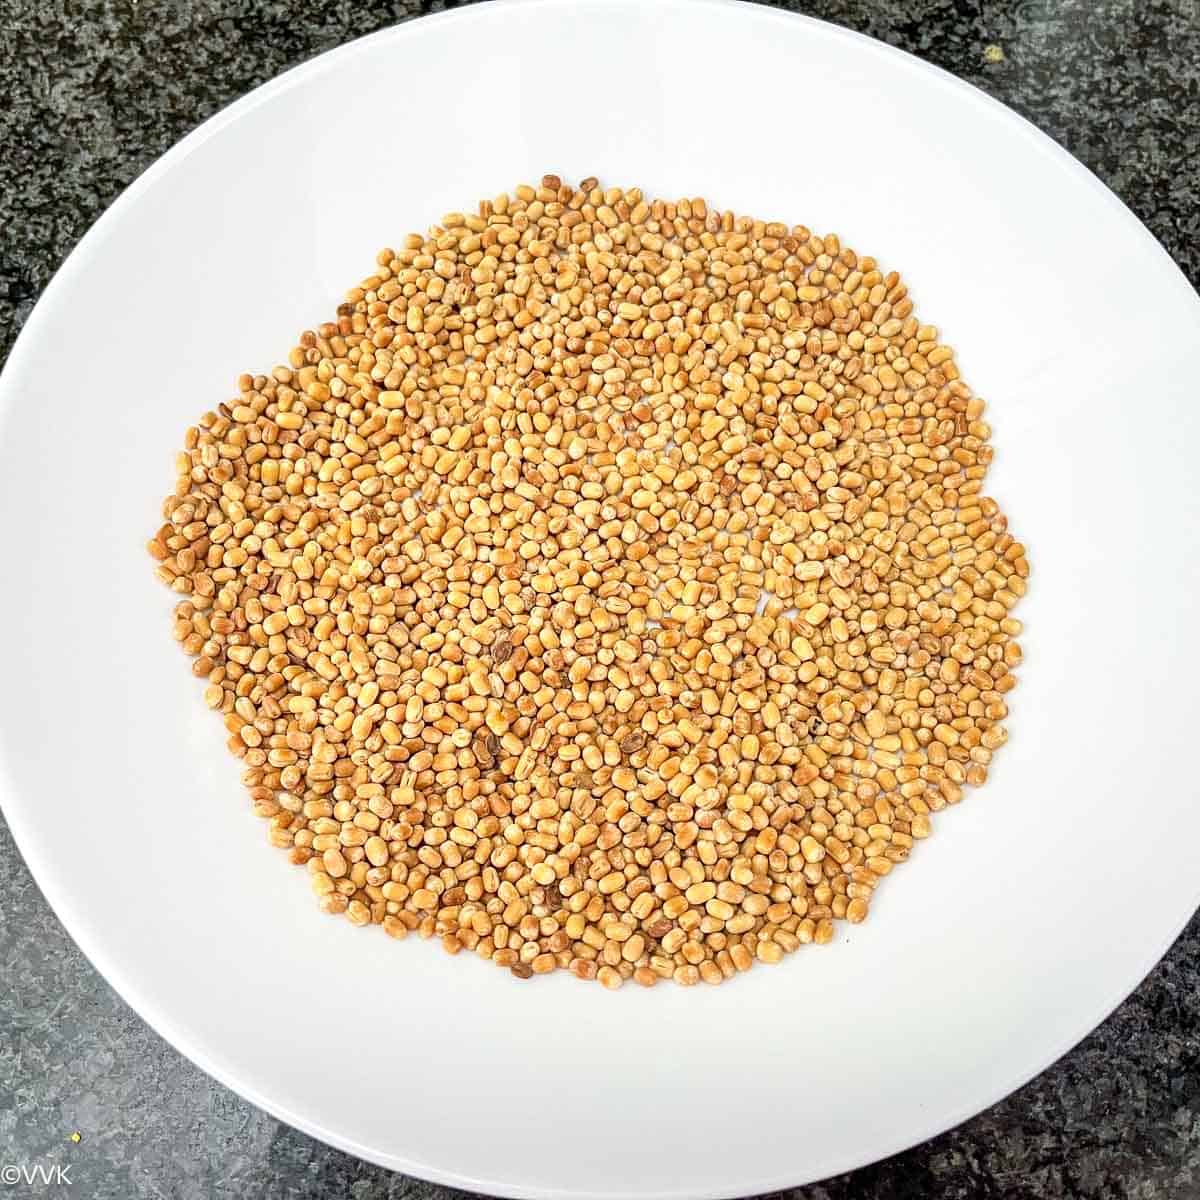
- Heat a wide pan or kadai, and add the urad dal.
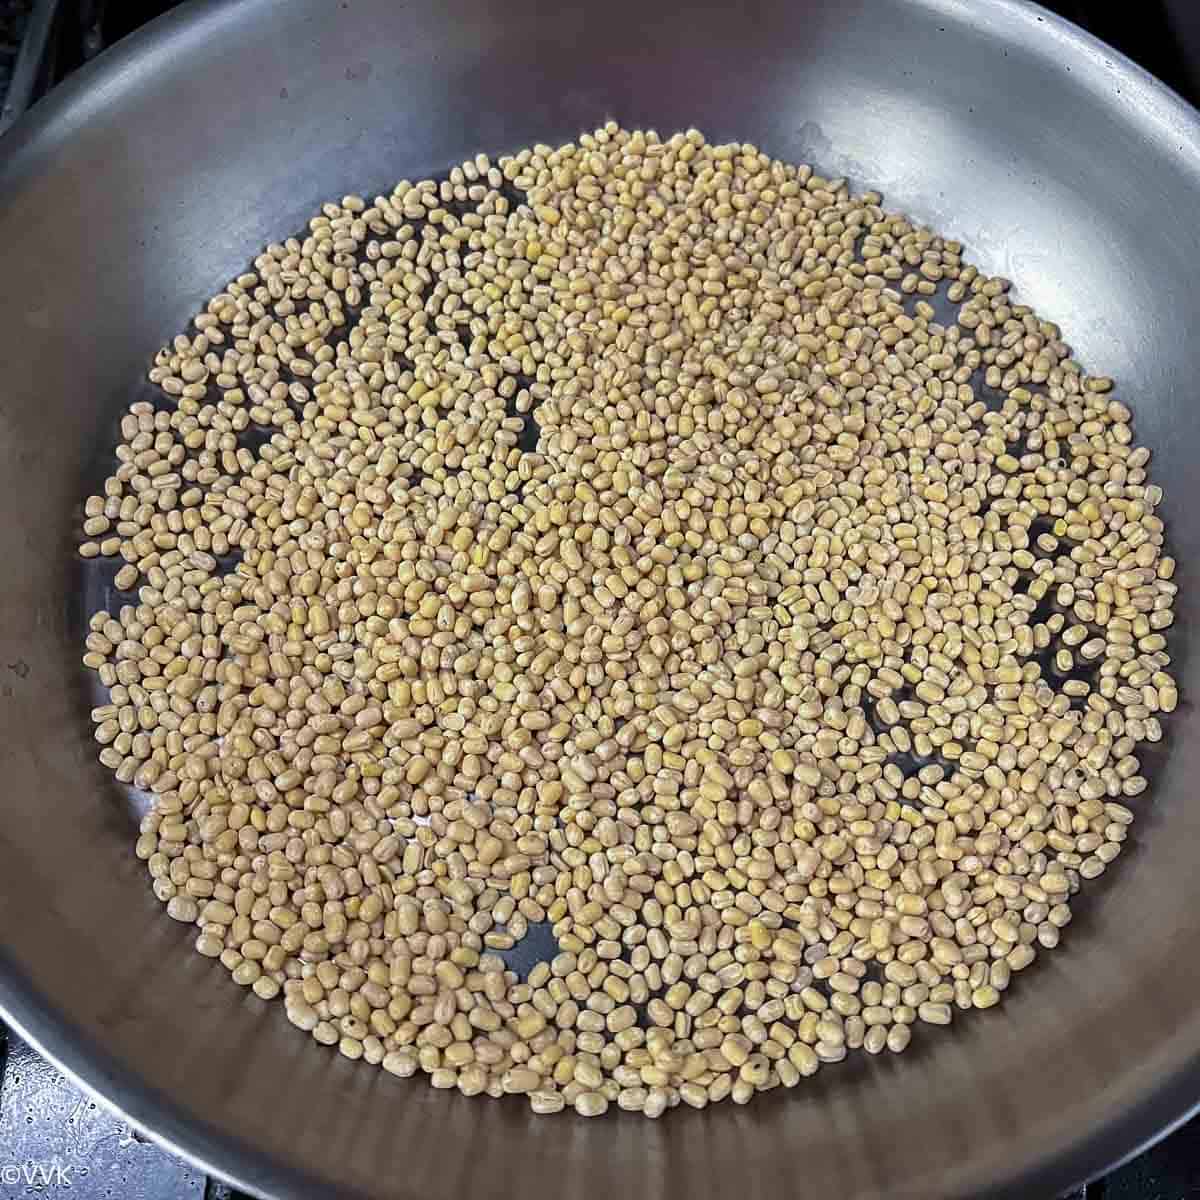
- Roast the dal until it turns golden and releases a nutty aroma. Be sure to stir continuously for even roasting.
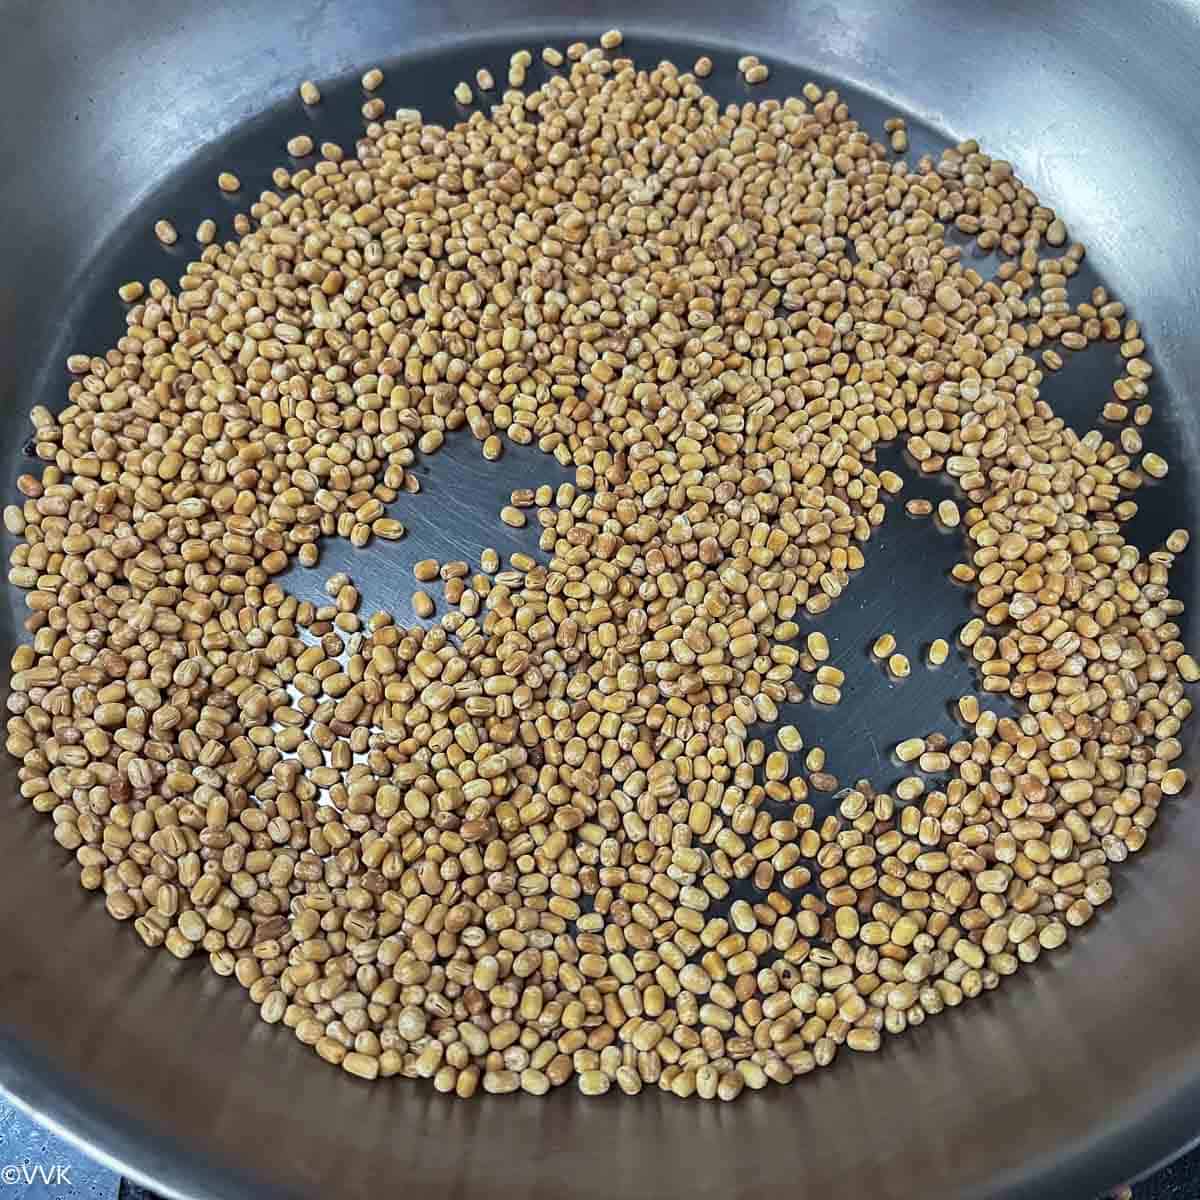
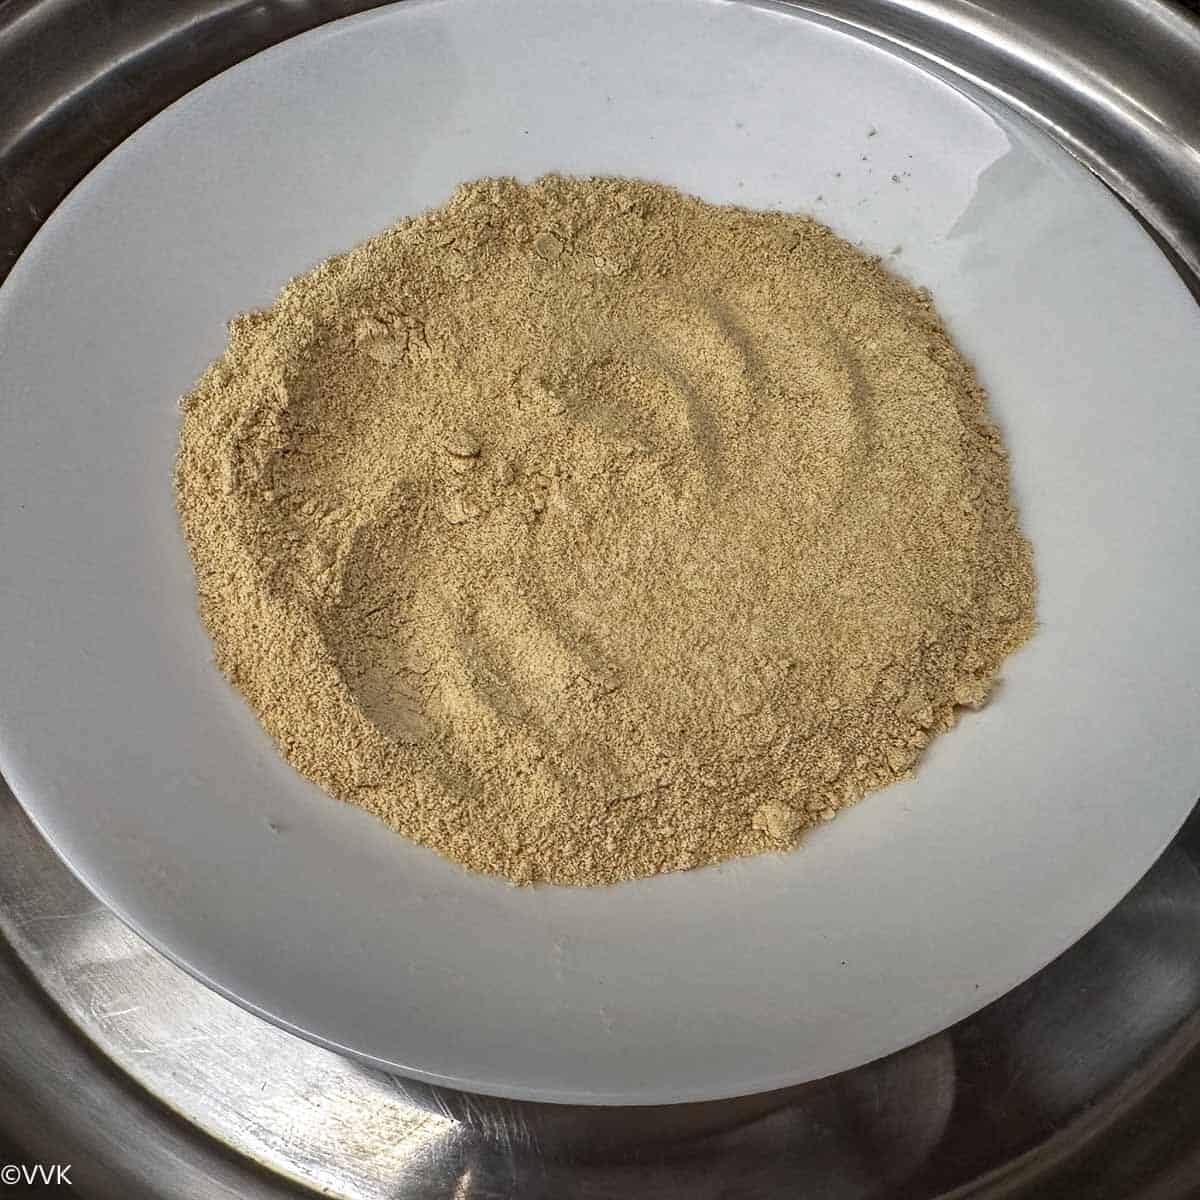
- Cooling: Immediately transfer the roasted dal to a plate and let it cool completely.
- Grinding: Once cooled, grind the urad dal into a fine powder. Sieve the flour, and if there are any coarse particles, grind them again until the flour is smooth.
- Storing: Store the flour in an airtight container. You can make thattai, murukku, seedai, and other snacks. You can also use it to make dangar pachadi.
VVK Tip: Promptly transfer the urad dal to a plate after roasting. If left in the pan, especially a heavy-bottomed one, the residual heat may cause the dal to continue cooking and darken in color.
Dietary specifications & yield
Uppu Seedai is naturally nut-free. You can either omit the asafoetida or use gluten-free asafoetida for a gluten-free version. I haven’t tested this recipe with vegan butter alternatives, so I can’t guarantee the results for a vegan option.
The following measurements yield approximately 50 seedai. If you make them slightly smaller, you can get around 60. After frying, allow the seedai to cool completely before storing them in an airtight container.
How to make uppu seedai
Prep work:
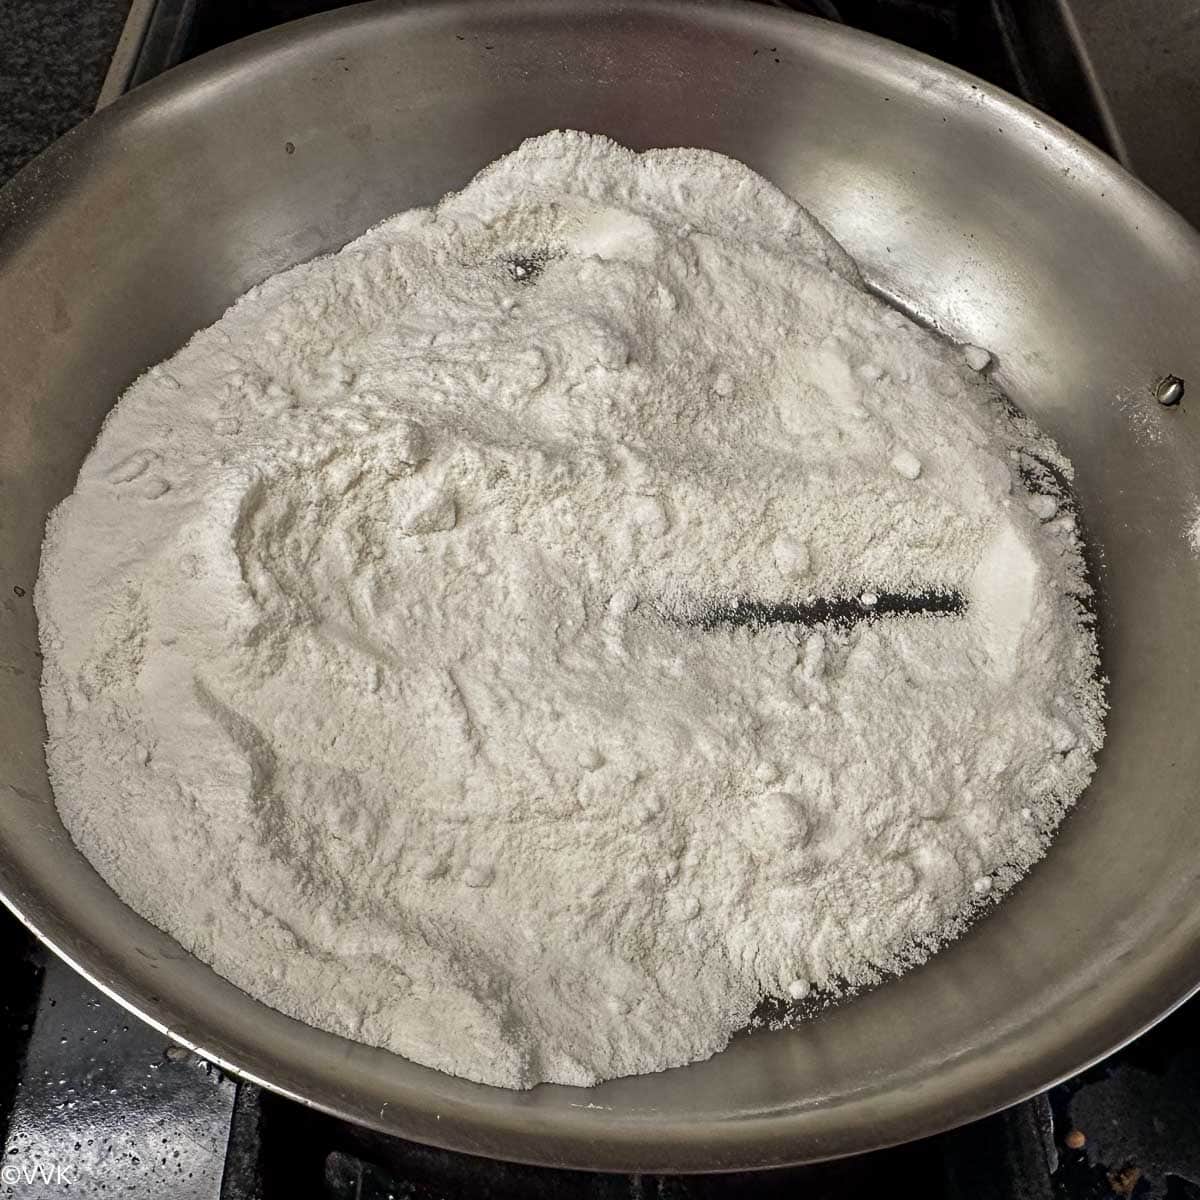
- Roast the rice flour on low heat for two minutes. Do not let it change color. This step helps remove moisture from the flour; after roasting, immediately transfer it to a plate.
- Sieve the rice flour and urad dal flour to remove any lumps.
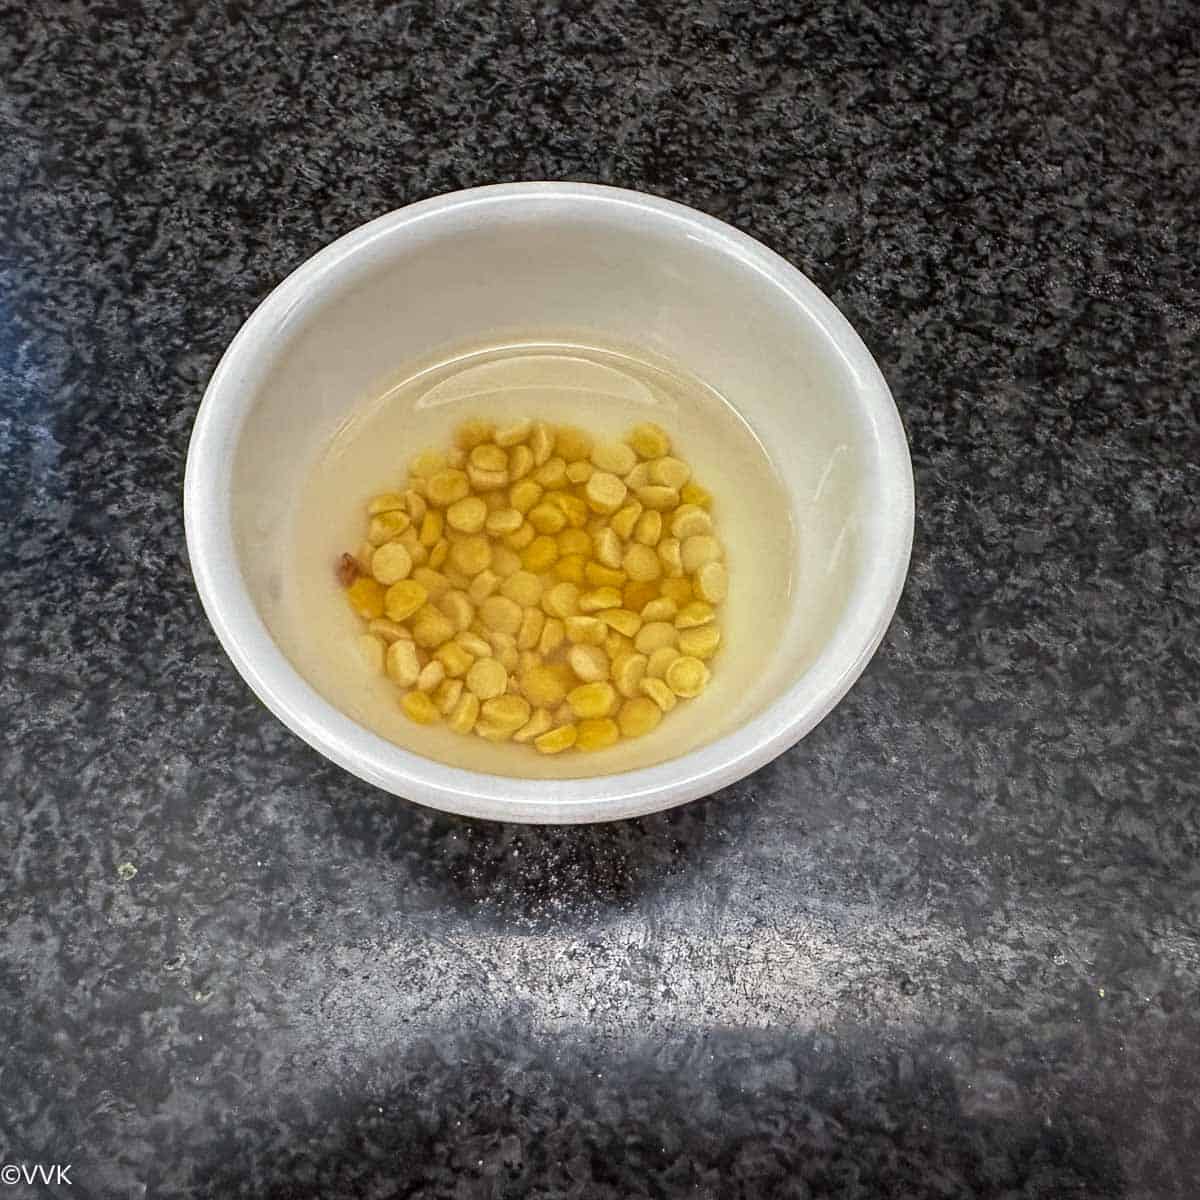
- Soak the chana dal in ½ cup of water for a minimum of 15 mts.
Prepare the dough:
- Add the rice flour, urad dal flour, cumin seeds, asafoetida, white sesame seeds, salt, and butter in a large mixing bowl.
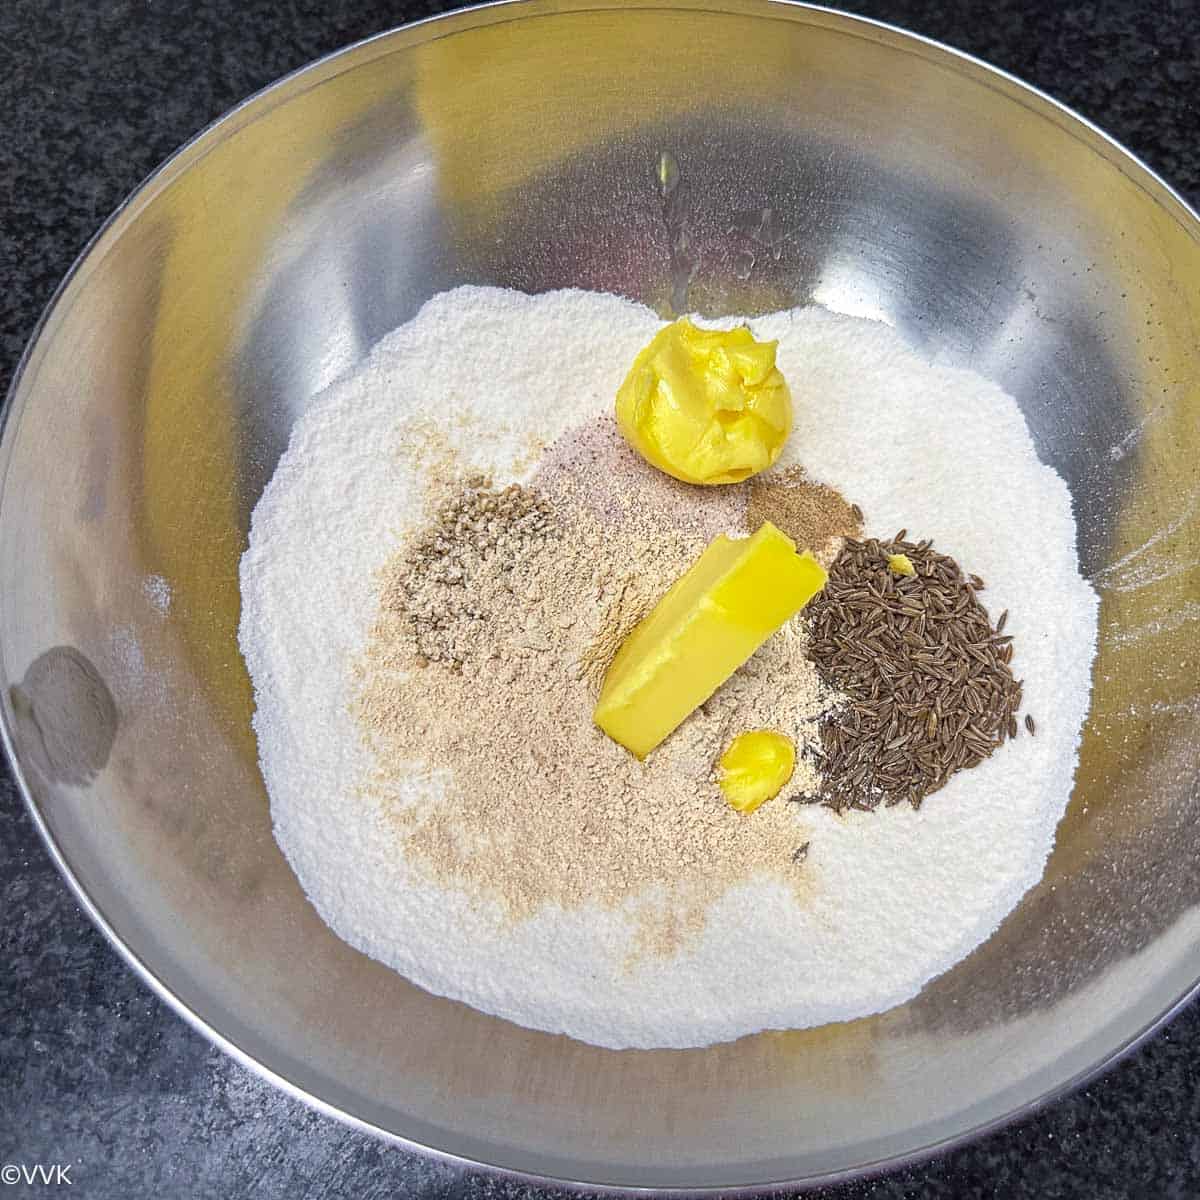
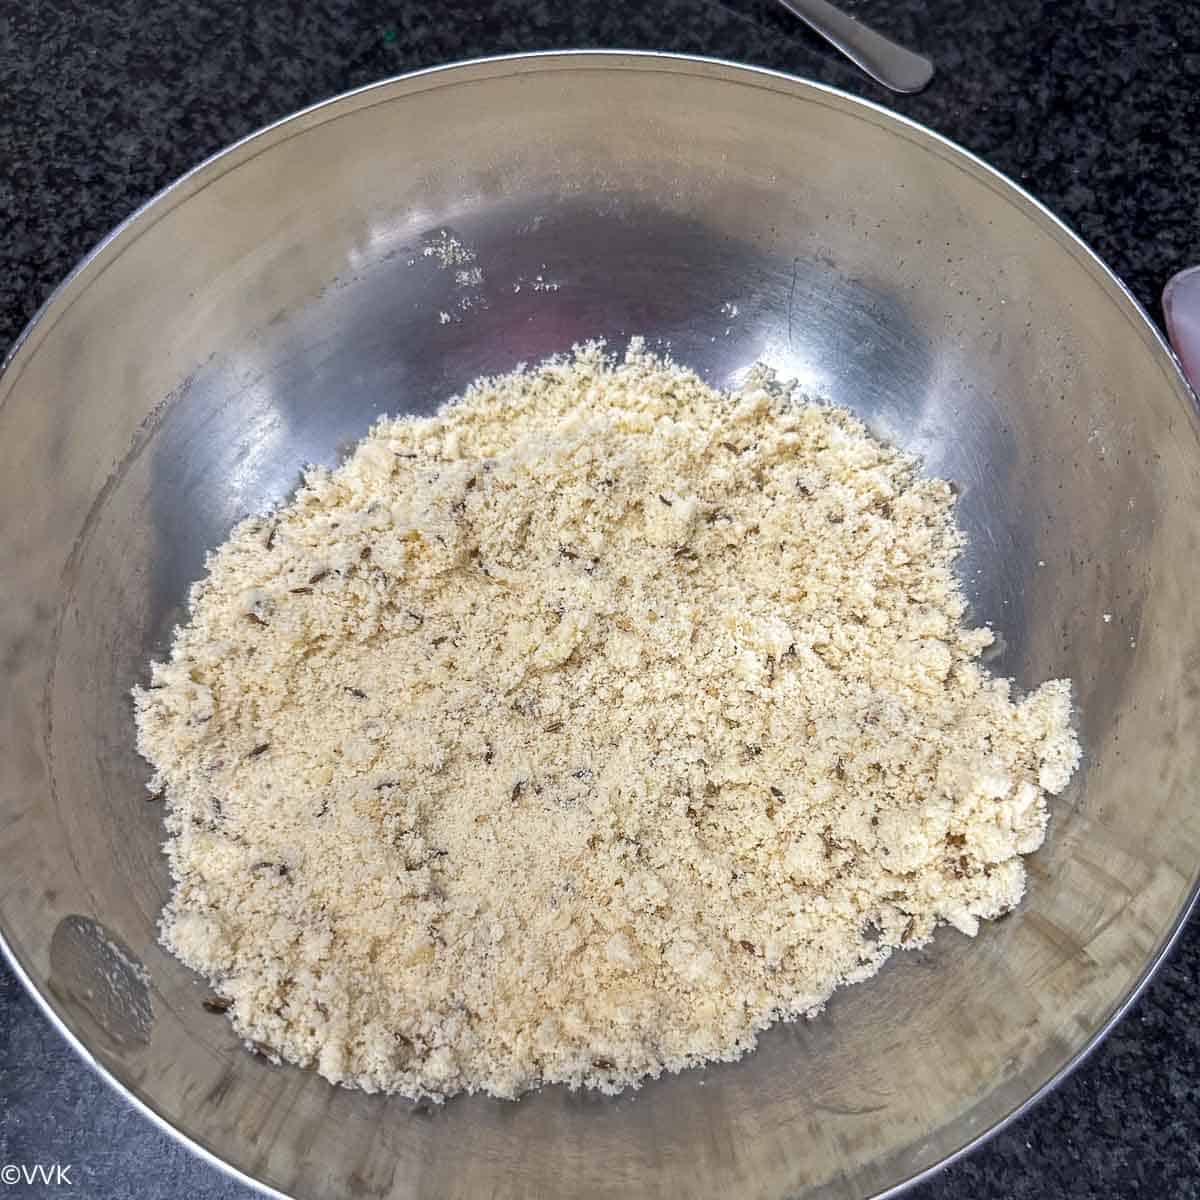
- Mix well until it becomes crumbly.
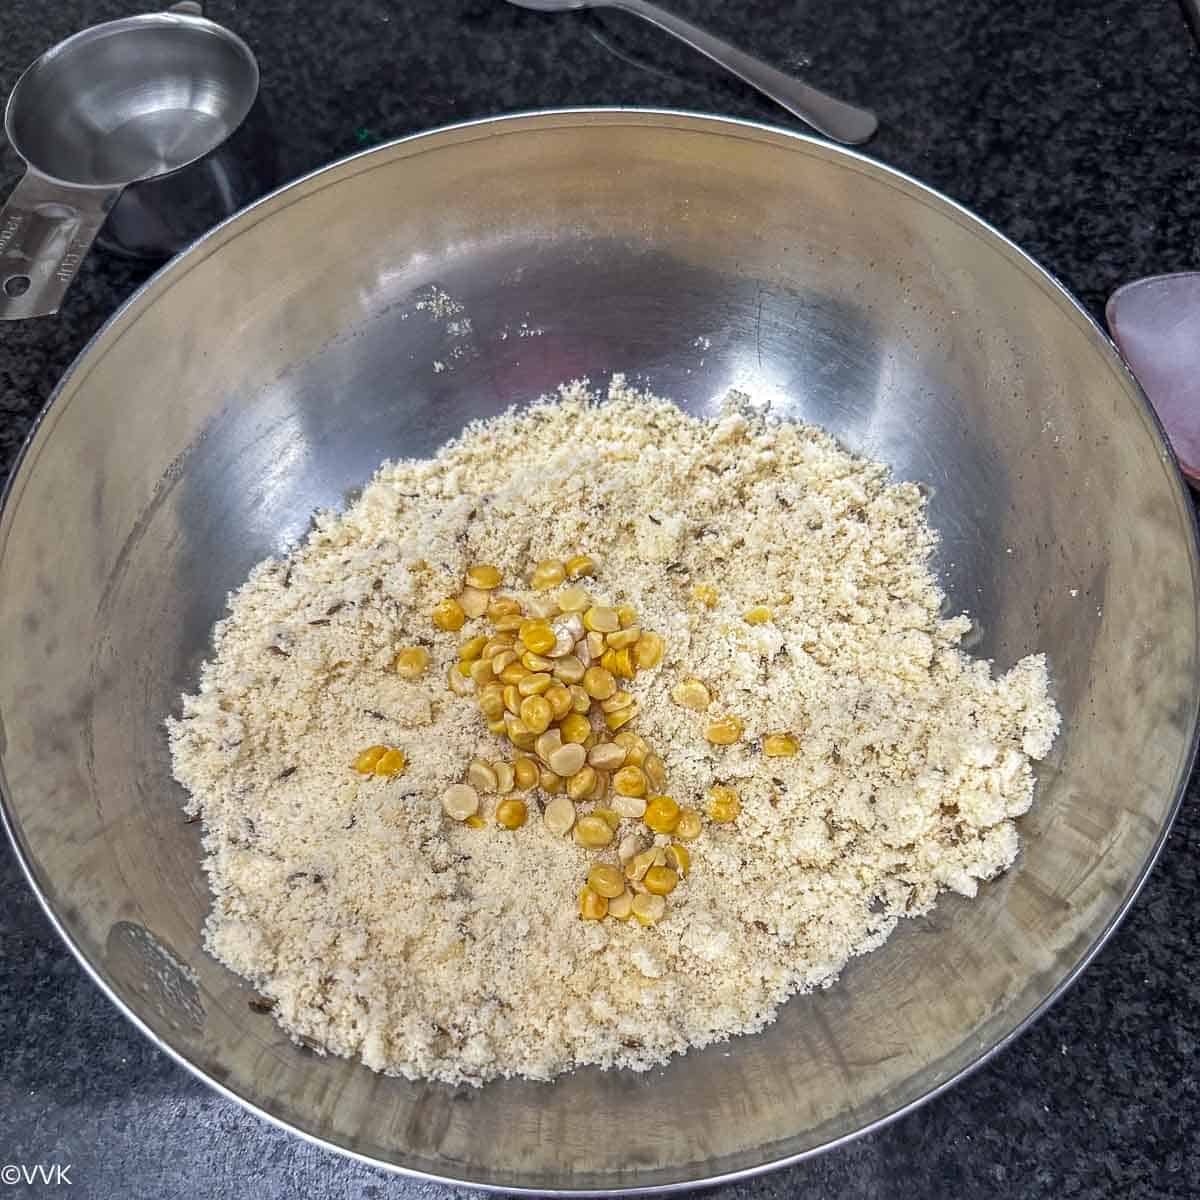
- Now add the soaked chana dal and mix.
- Slowly add water and knead it into a soft, smooth dough. It should not stick to the vessel and knead the dough like a big ball.

Shape the seedai:
- Rub your palm with coconut oil, make small gooseberry balls out of the dough, and keep it aside. Roll the balls gently, and it’s okay to have small cracks.
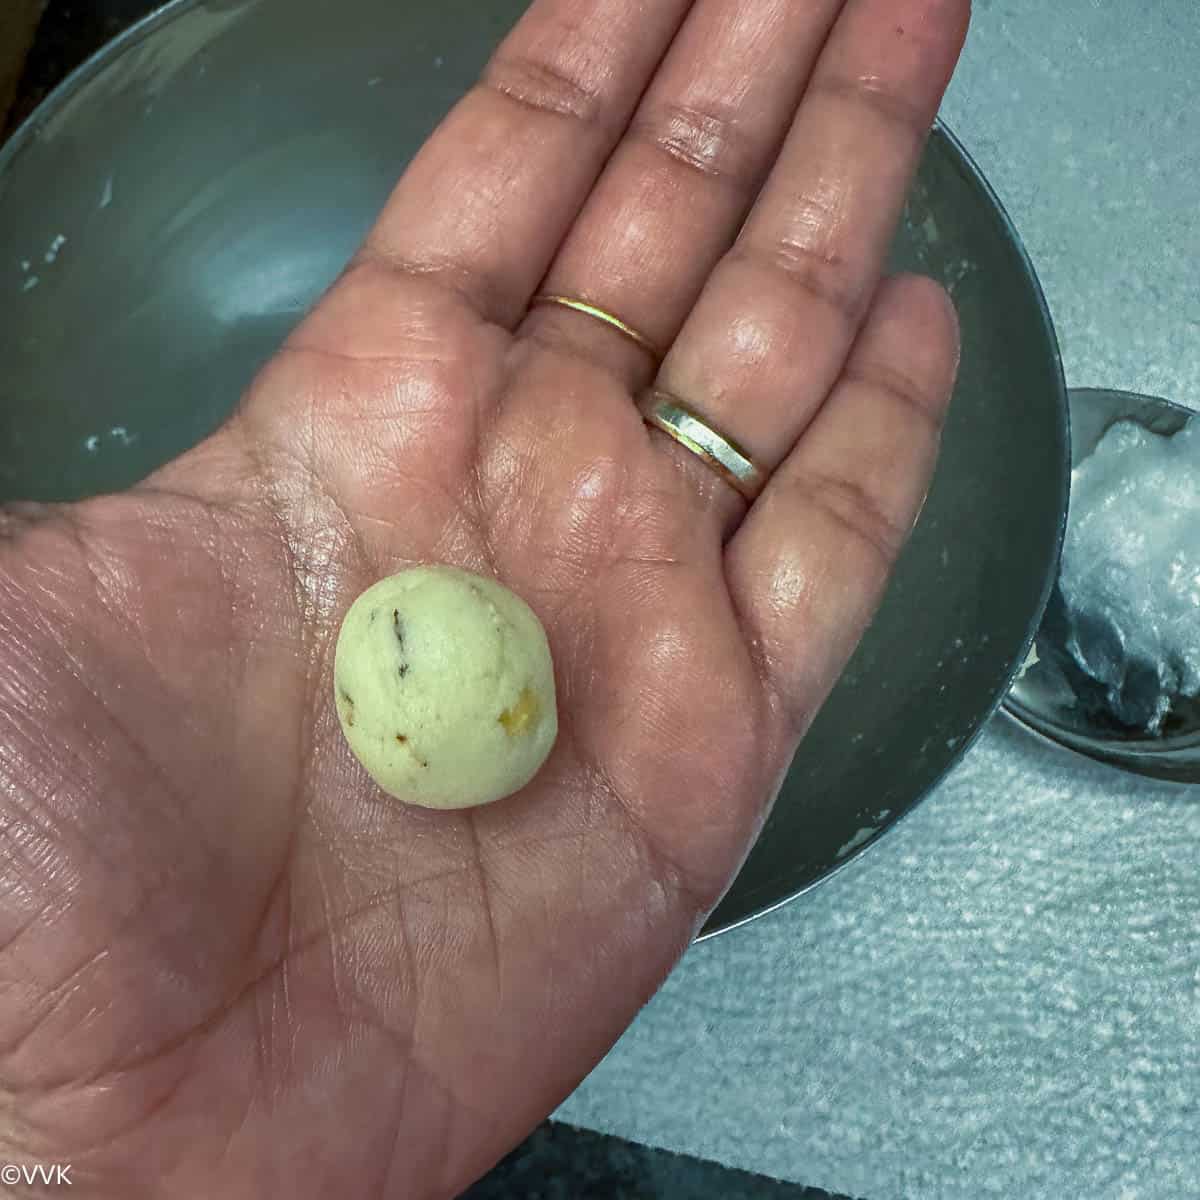
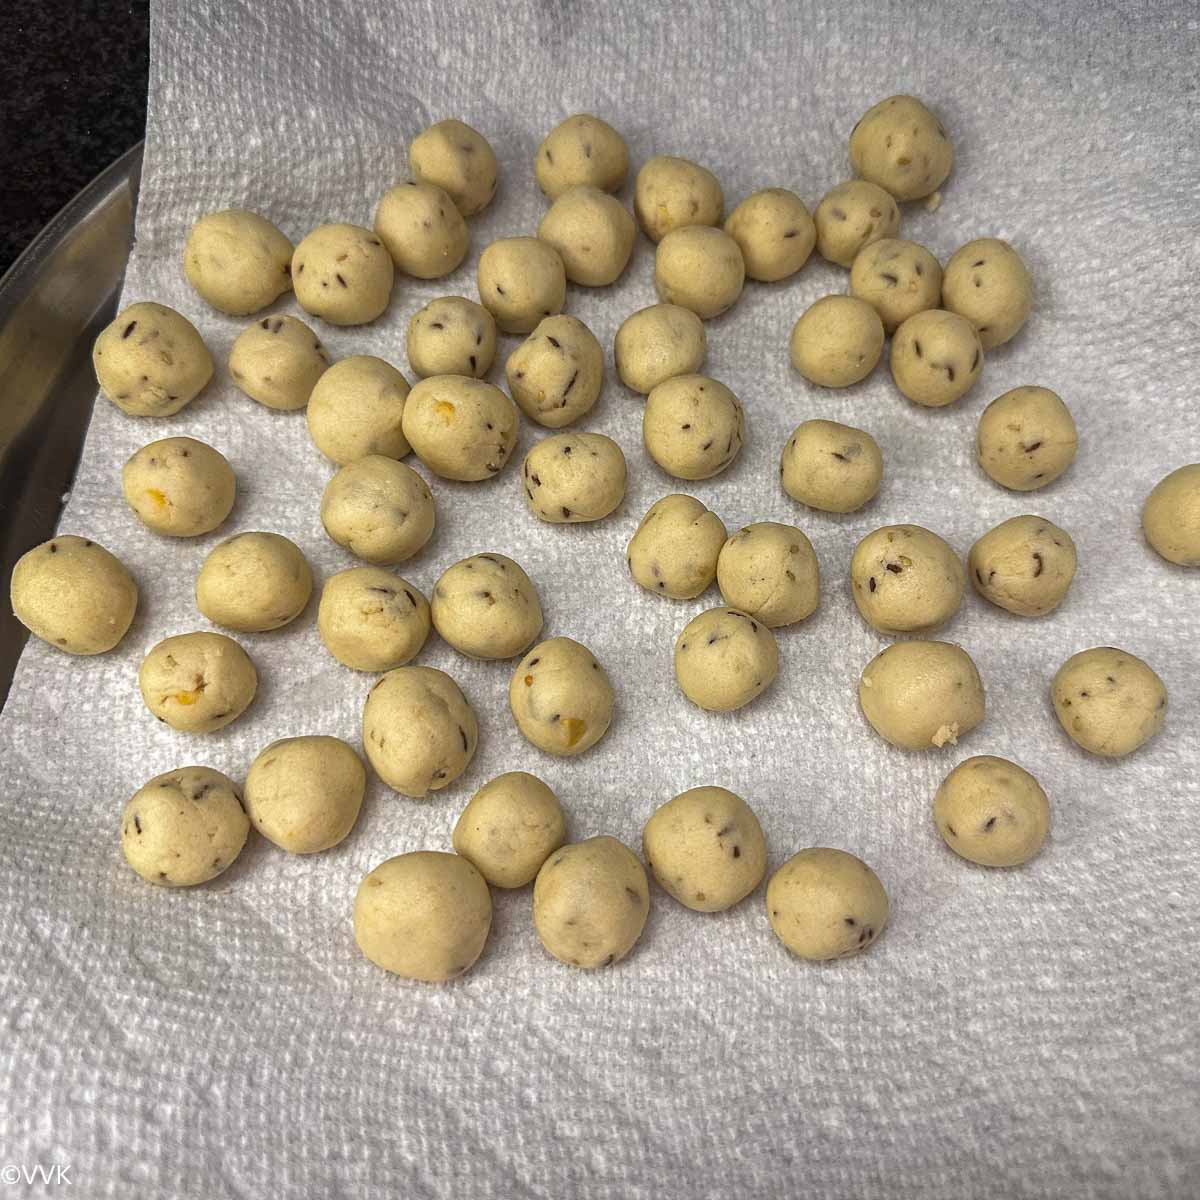
- Place the rolled balls on a dry cloth or plate. Let them sit for about 10-15 minutes to dry a little.
Fry the seedai:
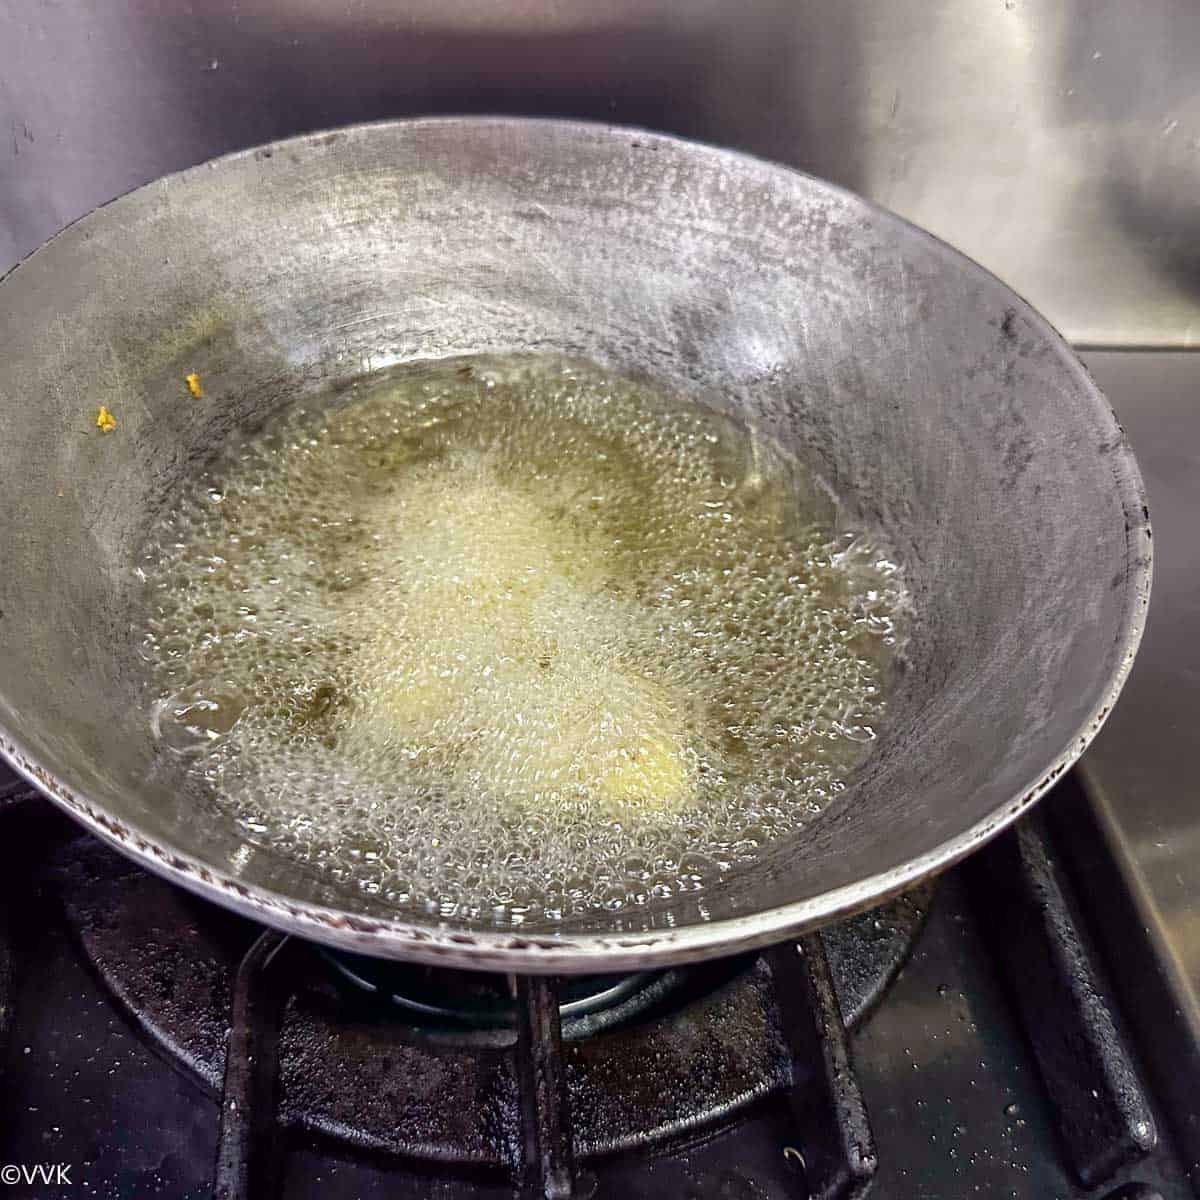
- Heat oil in a deep frying pan over medium heat.
- Once the oil is hot, gently drop a few seedai balls into the oil.
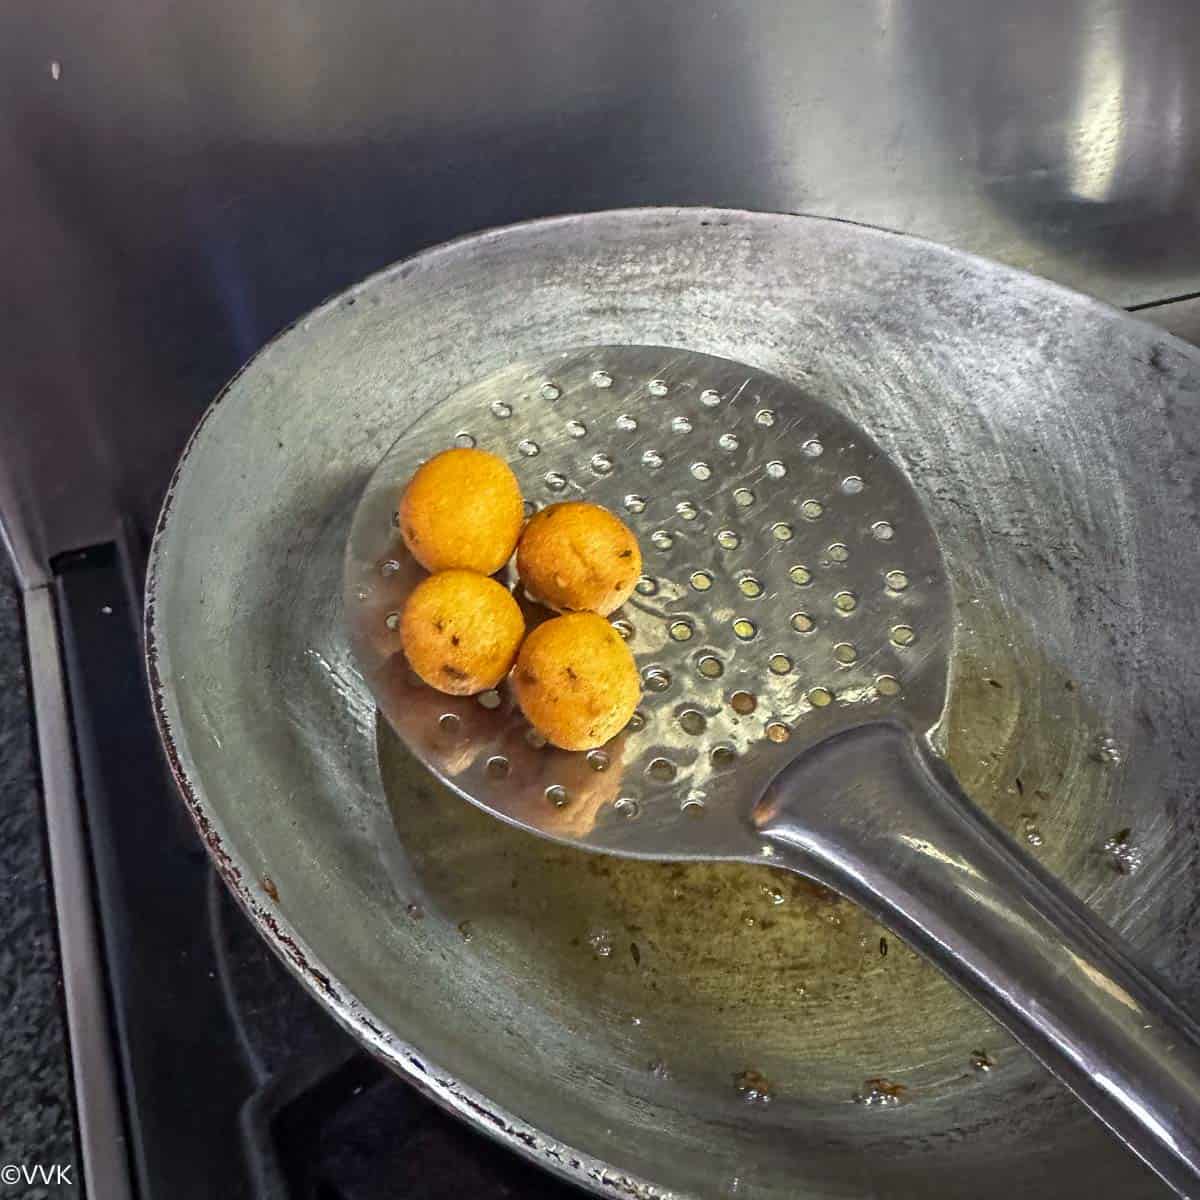
- Fry them on medium heat, stirring occasionally, until golden brown and the oil bubbling sound stops. Depending upon the size of the seedai ball, the frying time varies. Check the FAQ section.
- Remove them using a slotted spoon and drain on a paper towel to remove excess oil.
- Repeat with the remaining dough balls.
Cool and store:
- Allow the seedai to cool completely before storing them in an airtight container.
Recipe Notes
- Avoid deep frying at high heat. Keep the heat setting at a medium level, around 4 or 5 on a scale, to ensure even cooking. If the heat is too high, the outside may cook too quickly and change color while the inside remains raw.
- Adjust the salt to your taste preference.
- If you’re using store-bought urad dal flour, roast it with rice flour.
- For variations and precautions while preparing seedai, please refer to the FAQ and tips section.
Frequently asked questions
I highly recommend using coconut oil, but if you prefer, you can use coconut oil to grease your palms while rolling the seedai and opt for groundnut oil, corn oil, or any neutral oil for frying. I don’t recommend canola, olive, or vegetable oil, as they can alter the traditional flavor of seedai.
If you follow my recipe exactly, you’ll need ½ cup of water for store-bought rice flour and ½ cup plus two tablespoons for store-bought idiyappam flour. This measurement may vary slightly depending on the amount of butter you use and the quality of the flour. Start with a little water and add more as needed. The right consistency is achieved when you pinch a small portion, gently roll it into a ball, and it holds its shape.
Yes and no! 😀 I wouldn’t recommend reducing it beyond one tablespoon. The measurements are given to yield a crunchy, not hard, seedai. If possible, stick to the recommended amount, but use at least one tablespoon if necessary.
Frying seedai requires patience. The time varies depending on the size of the seedai. For the size shown in the picture, it takes approximately 10 minutes per batch. If your seedai is smaller, it may take 5 to 7 minutes over medium heat. Stir every 45 to 60 seconds for even browning.
I haven’t tried adding coconut to my seedai. If you want to experiment, you could use unsweetened dry coconut, or if using fresh or frozen, make sure to roast the coconut first to remove any moisture.
I haven’t added chili or pepper powder since this is Uppu Seedai. However, you can add ½ teaspoon of red chili or pepper powder if you want to add a bit of spice.

Tips to prevent seedai from bursting
Making seedai requires patience and care, but don’t worry—if I can do it, so can you!
Why does seedai burst? Understanding the cause makes the process much easier. Since seedai involves deep-frying small dough balls, if there is any amount of moisture or dust, or if the dough is too tight, pressure can build up inside the ball. When it reaches a maximum threshold, the seedai can burst. By following these steps, you can easily avoid this issue:
- Roast and sieve the four: Even if you’re using store-bought flour, roasting helps remove any moisture, and sieving ensures any dust or impurities are removed.
- Roll gently: Don’t roll the seedai balls too smoothly or tightly. Roll them gently, allowing for uneven surfaces and small cracks—these are beneficial.
- Include fillers: Don’t skip chana dal, sesame, and cumin seeds. They help to create small air pockets that prevent bursting.
- Let the rolled balls rest: After rolling, place the seedai balls on a kitchen towel or paper tissue and let them air dry for 10 to 15 minutes before frying. This step helps remove excess moisture, reducing the risk of bursting during frying.
More savory Indian snacks

Follow me on Instagram or join my Facebook Group for more gardening and recipe updates. If you try this uppu seedai recipe, please don’t forget to comment and rate this recipe. Please comment if you have any questions, and I will get to it ASAP. Follow me on my Pinterest for more healthy and delicious idea.
📖 Recipe
Uppu Seedai | Savory Seedai
Ingredients
Measurement Details: 1 cup=240ml; 1 tbsp = 15ml; 1 tsp= 5ml;
- 1 cup rice or idiyappam flour store-bought
- 1 tbsp urad dal flour
- 2 tsp cumin seeds
- ¼ tsp asafoetida
- 1 tsp white sesame seeds
- 1 tsp salt
- 2 tbsp butter at room temperature (soft)
- 2 tsp chana dal
- ½ cup water + 2 tbsp + water for soaking
- 1.5 cups coconut oil for frying and greasing
Instructions
- Prep Work:Roast the rice flour on low heat for two minutes. Do not let it change color. This step helps remove moisture from the flour; after roasting, immediately transfer it to a plate.
- Sieve the rice flour and urad dal flour to remove any lumps.
- Soak the chana dal in ½ cup of water for a minimum of 15 mts.
- Prepare the dough:Add the rice flour, urad dal flour, cumin seeds, asafoetida, white sesame seeds, salt, and butter in a large mixing bowl. Mix well until it becomes crumbly.
- Now add the soaked chana dal and mix.
- Slowly add water and knead it into a soft, smooth dough. It should not stick to the vessel and knead the dough like a big ball.
- Shape the seedai:Rub your palm with coconut oil, make small gooseberry balls out of the dough, and keep it aside. Roll the balls gently, and it's okay to have small cracks.
- Place the rolled balls on a dry cloth or plate. Let them sit for about 10-15 minutes to dry a little.
- Fry the seedai:Heat oil in a deep frying pan over medium heat.
- Once the oil is hot, gently drop a few seedai balls into the oil.
- Fry them on medium heat, stirring occasionally, until golden brown and the oil bubbling sound stops. Depending upon the size of the seedai ball, the frying time varies. Check the FAQ section.
- Remove them using a slotted spoon and drain on a paper towel to remove excess oil.
- Repeat with the remaining dough balls.
- Cool and store:Allow the seedai to cool completely before storing them in an airtight container.
Notes
- Avoid deep frying at high heat. Keep the heat setting at a medium level, around 4 or 5 on a scale, to ensure even cooking. If the heat is too high, the outside may cook too quickly and change color while the inside remains raw.
- Adjust the salt to your taste preference.
- If you’re using store-bought urad dal flour, roast it with rice flour.
- For variations and precautions while preparing seedai, please refer to the FAQ and tips section.
Nutrition
I am not a nutritionist. The nutritional information is provided as a courtesy and is an estimate only. It varies depending upon the product types or brands.
Update notes – This recipe was originally published on August 2014. Now updated with video, new pictures, recipe card and nutrition information.

Made this for Krishnajayanti. Beautiful crisp seedai without any bursts was the win of the day.
Thank you so much Anu. You feedback made my day. Thanks so much.
Though vela seedai s my fav uppu seedai is grt snack to munch al day:-) you did two days prior awesome
Yup true.. with independence day n with blogging marathon I had to do these dishes early.. will do vella seedai later :-)
Nice:-) I have to do on sat
A great neivedyam item for Krishnastami. Love these cute munchies.
Thanks
Love this, looks like a delicious munchies. …yum yum…
I have never tried making them…Super Vidhya will try it soon :)
Try pannunga.. :-)