
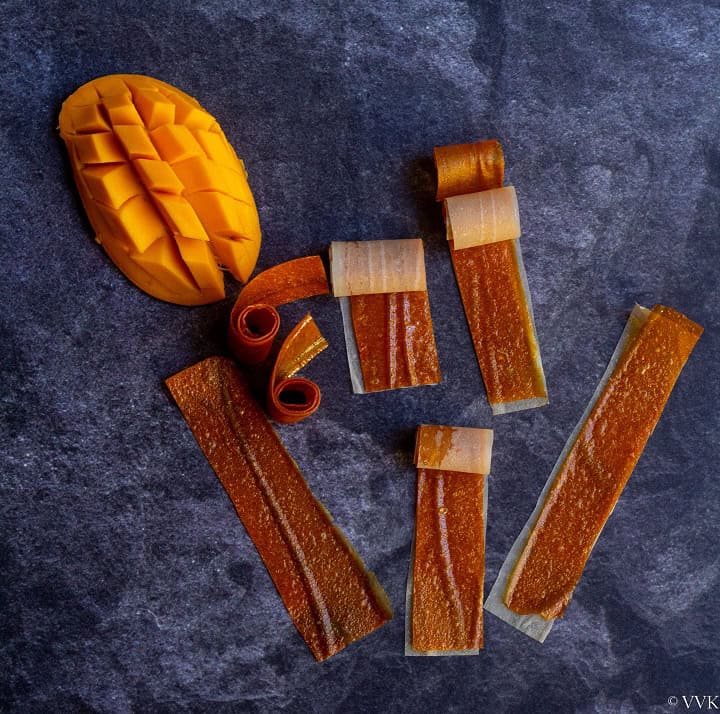
Homemade mango fruit roll-ups or mango leather recipe with no preservatives and no added sugar! A healthy fruit roll-ups recipe without a dehydrator!
As much as I love to relish fresh fruits, I love fruit-based desserts and recipes as well. When it comes to mangoes, I can’t resist posting atleast a couple of recipes every year.
Earlier I posted vegan mango lassi, and now I am here with yet another simple Mango recipe – mango fruit roll-ups! Don’t forget to check out all my mango recipes, and I will link a few in this post as well.
Mango bars are quite popular in my native Periyakulam. The delicate mango bars or leathers are a super addictive snack. In North India, aam papad is quite popular, but I am not sure if the mango bars that I get in my native and aam papad are the same. I have never relished aam papad, and I haven’t explored the recipe, so I can’t talk about it.
The one that I relished in my childhood has a spicy kick to it, and I went with the same flavor profile in this fruit roll-up recipe as well.
As I mentioned before, these bars are super addictive, and I can keep eating them all day long. But my mom usually limits my in-take as mango induces the body heat atleast in my case so she will be a bit cautious.
We got fruit roll-ups as part of the goodies during one Halloween, and kiddo loved it so much. I had to buy separately, and it was his special treat. Again I had to limit his roll-up intake because of the sugar content. When I was looking for homemade roll-ups, everyone talked about dehydrator, and I didn’t want to invest in one.
That’s when my music teacher told me that I could do this very well in the oven itself. So I was super happy and made strawberry and dates roll-up. Somehow, I missed making mango roll-ups in the past few years, and I finally made it this year. But guess what, I experimented so much so that, I have a lot of mango roll-ups stash sufficient for this year. :-)
I have a lot to share, so let’s get straight into the details. I am going to share the recipe notes first then the actual recipe. (PS – the actual recipe involves only two steps – puree and bake)
Fruit leathers, fruit strips, and fruit roll-ups are nothing but dehydrated fruits. All you need to do is puree them and bake them until they are pliable and dry. Simple huh? But there are a lot of nitty-gritty things on it. Many factors affect the baking time, texture of the roll-ups. So this recipe is more like a prescription. Please don’t skip this recipe notes section below.
Recipe notes | Tips for making perfect fruit roll-ups
I tried these mango roll-ups a few times with different variations, and I am documenting the results below. The texture and results were slightly different, but the roll-ups were terrific every time, and there wasn’t any wastage. So don’t worry about experimenting. Just have fun with these roll-ups.
Also, patience is the key when it comes to these roll-ups.
Ingredients-
This is a one-ingredient recipe, but I like the spicy kick in mangoes, so added ¼ tsp of red chili powder. You can skip it. If you are mangoes are not sweet enough, add extra sugar or jaggery. You can add a tsp or two of lemon juice as well.
Baking time & temperature-
Ahhh, the main question. So we need to bake it at the lowest possible temperature that your oven allows. Mine goes down to 175 deg F, and I have tested all my recipes at that temperature. If your oven goes down only till 200 deg F, reduce the baking time.
Depending upon the mango variety and the quantity and the thickness of the roll-up, the baking time varies between 3.5 hours to 6 hours when you bake at 175 deg F. Start checking the doneness of the roll-ups after about 3 hours and adjust the timing accordingly.
Also, the cooling time varies depending upon the thickness.
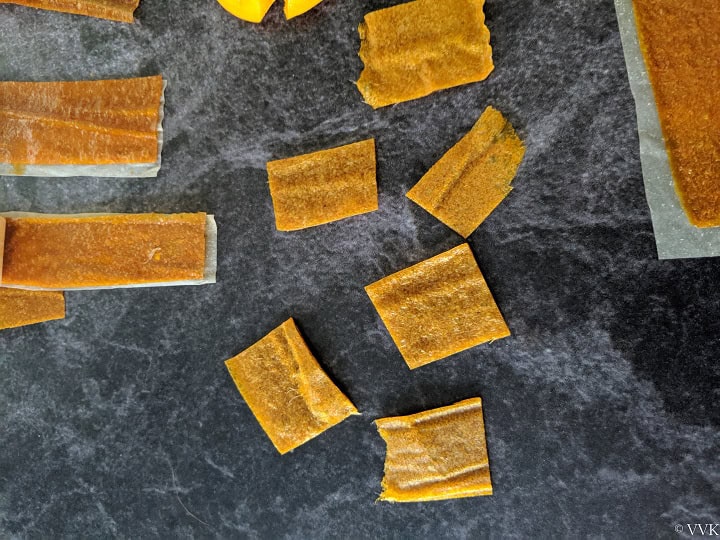
So what if you overbake – You will end with a fruit crisp, and you can cut them into small pieces and use it in cakes, cookies, or even in your breakfast cereal.
We prefer, slightly crisp but flexible roll-ups and that’s how these batch of roll-ups are.
Baking tray | Quantity | Thickness of the roll-ups
I use a 12.5 by 8.5 tray, and when I used less than 1.5 cups of mango puree, I was able to get a perfect pliable and non-sticky roll-up in 4 hours.
When I tried with two cups of a fibrous variety puree, I had to bake it for 6 hours, and even after that, I had to let it cool for 4 hours for the bottom side to become non-sticky.
So adjust the quantity and the thickness according to the baking tray size. Also, a baking tray with a rimmed edge would work great.
Silicone mat vs. parchment paper-
You can use both. I used silicone mat for my strawberry roll-ups, and for these mango ones, I went with parchment paper.
Mango Varieties | Fresh mangoes & Store-bought Pulp
If you are using a non-fibrous variety like ataulfo or Alphonso, your baking time is comparatively less than the fibrous variety. Also, the texture is slightly different between both.
Fibrous variety-
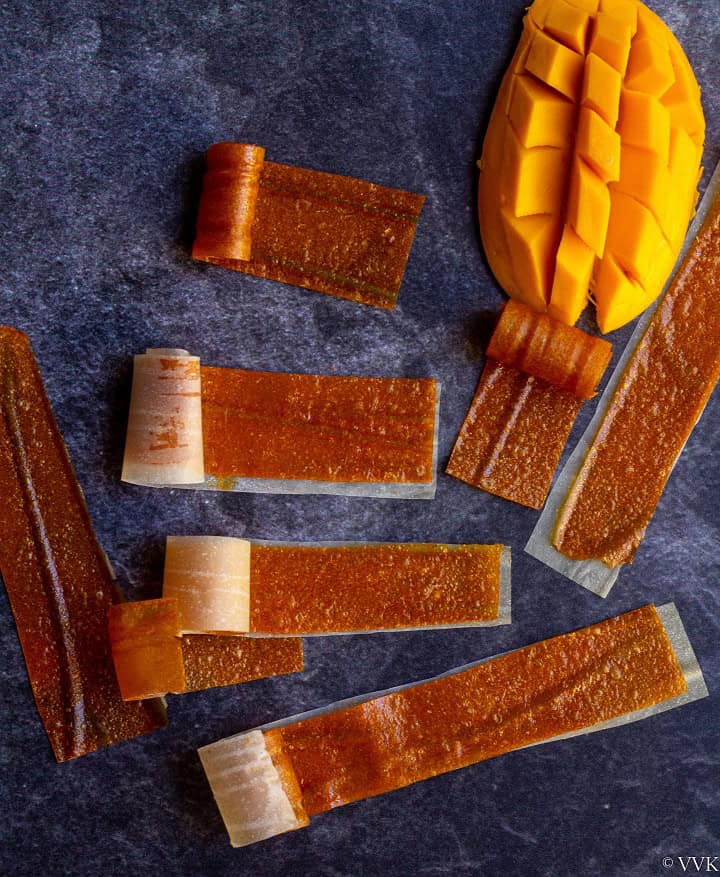
I tried one batch with the non-yellow mango variety that we get in Costco (I couldn’t find the name. It’s more like Haden but not haden). It was super fibrous. As I used 2 cups of the puree, the roll-ups were thick, and I had to bake it for 6 hours. Next time, even with less puree, I had to bake it for more than 4 hours.
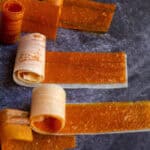
You also let it cool for a few hours before I could cut them into strips. Fibrous variety doesn’t become crisp, and if you like it that way, go for it. Here is the picture of the mango strips with fibrous variety.
Non-Fibrous variety-
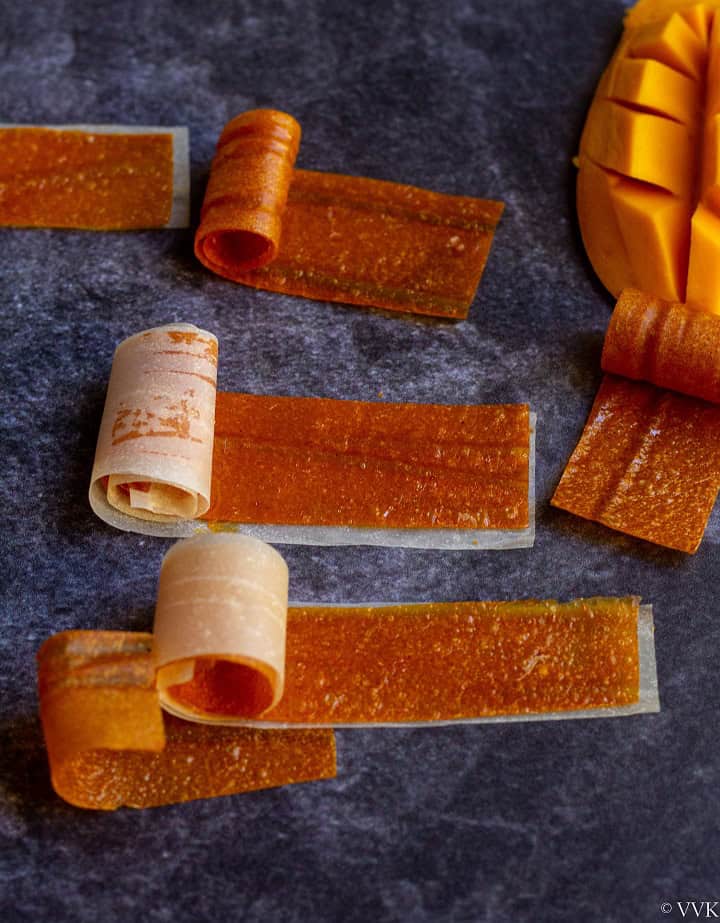
For the creamy and sweet varieties like ataulfo, you need to bake for about 3.5 to 4 hours, depending upon how crispy you want. You can let them cool for about 1 hour and cut them into strips.
With non-fibrous ones, the edges will become crisp like mine. You can cut them out, use them in cereal bowls, reduce the baking time to 3.5 hours, and let it cool for more time for non-crispy edges.
Store-bought mango puree-
Store-bought mango puree has a runny consistency, and I had to bake for 4.5 hours. While taste and texture were great, we need to consider the added sugar in the store-bought pulp. During mango season, it’s better to go with fresh mangoes.
Some do’s and don’ts.
✔ Try to spread the mango puree as evenly as possible. You can use the cake leveler or a flat spatula for the same.
✔ Do not try to spread/adjust the puree after halfway through baking. Nothing wrong with that, but you won’t get even strips.
✔ Bake until the center part is not sticky and pliable yet firm. If you feel the bottom side is slightly undone, bake for 30 more minutes and let it cool for 8 hours, and it will be all set. Don’t rush to remove the roll-up spread from the silicone mat or parchment paper.
✔ I think I have covered all the points. Now here is the recipe.
Healthy & Homemade Mango Fruit Roll-Ups Recipe with Step-Wise Pictures
This is what I used,
- Two mangoes, I used ataulfo variety, and they weighed 400grams
- ¼ tsp, red chili powder, optional
- ¼ tsp oil, for the baking tray (If you are using a silicone mat, skip)
Prep the baking tray-
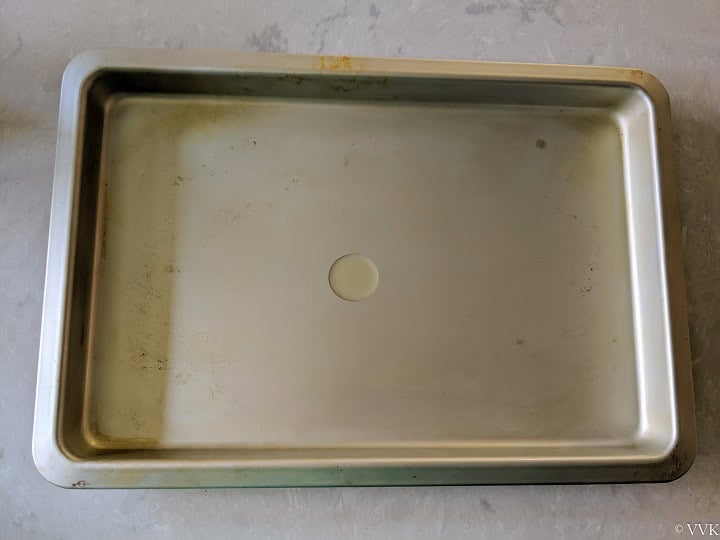
- Add oil to the baking tray and grease it.
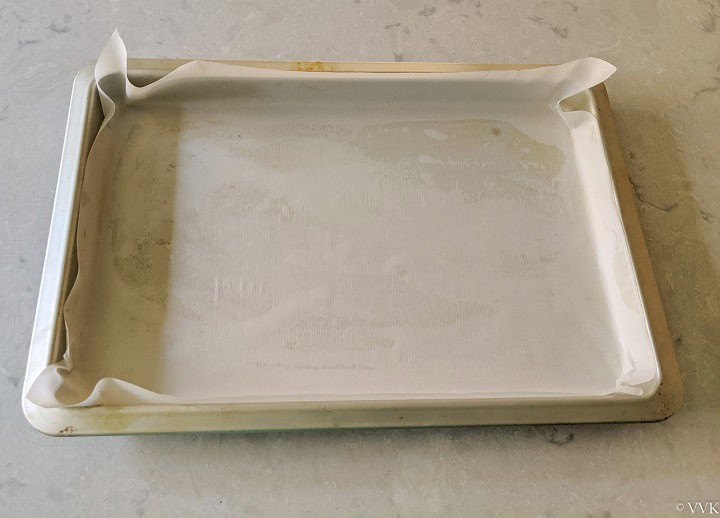
- Now place the parchment paper and gently press it. Oil helps the parchment paper to stay in place. You can skip this step if you are using precut parchment paper or a silicone mat.
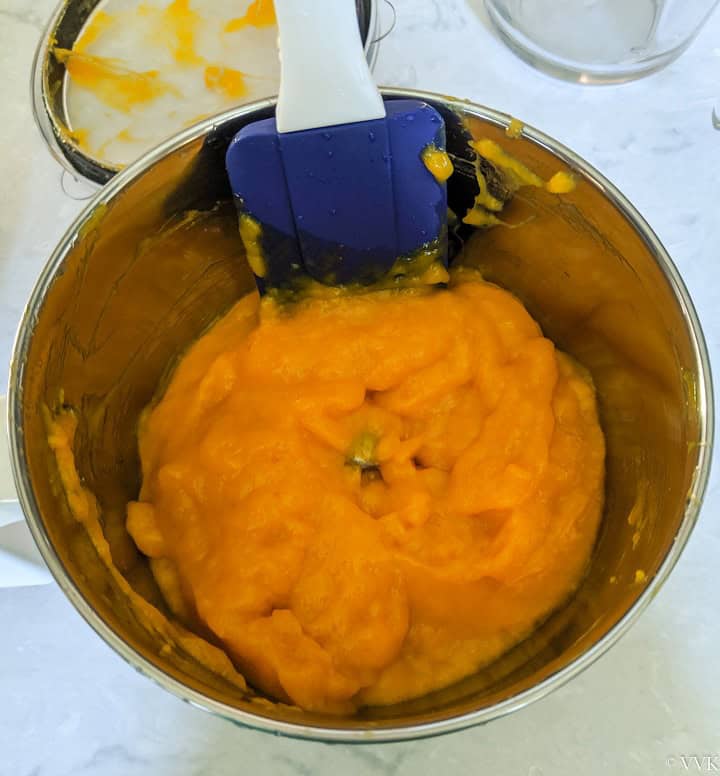
Prepare the mango puree-
- Peel the chop the mango into chunks.
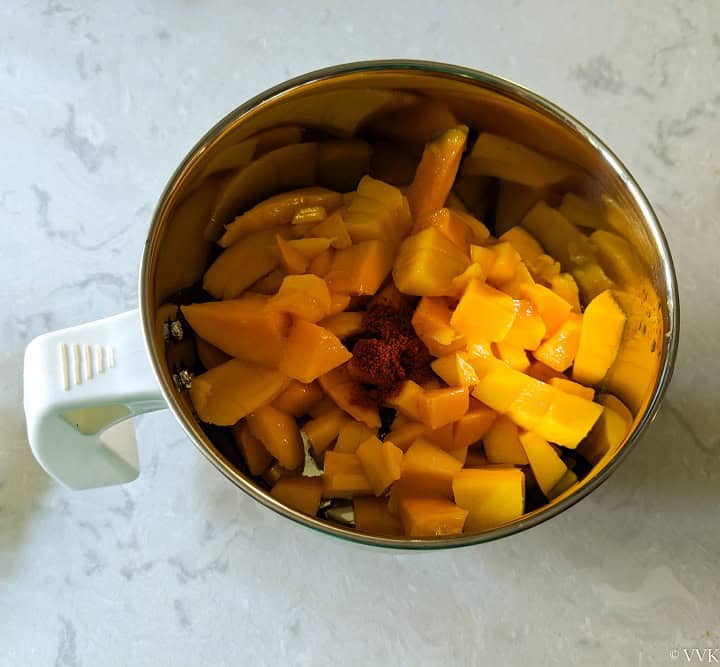
- In a blender or mixer jar, puree the mango by adding the red chili powder—no need to add any water. I got about 1 cup of mango puree, approx 222 grams.
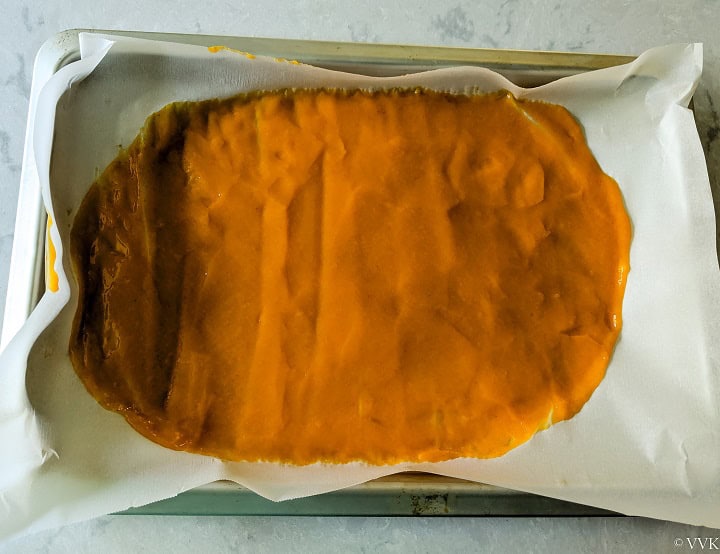
Spread and bake-
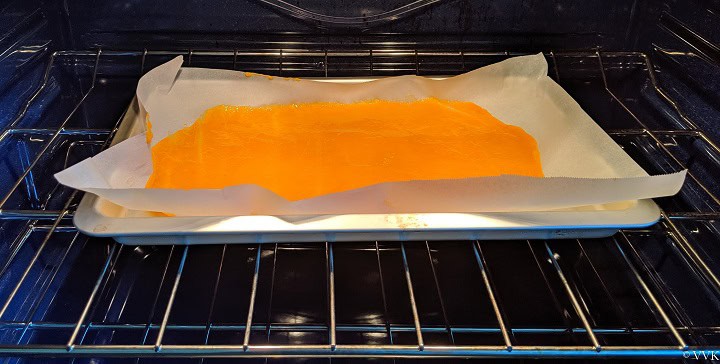
- Preheat the oven to 175 deg F or the lowest temperature.
- Add the mango puree to the prepared baking tray lined with parchment paper and spread it evenly with a flat spatula. Adjust the thickness according to your preference. More thickness means more baking time.
- Now, bake it in the middle rack for 3.5 to 4 hours or bake. I baked mine for 4 hours.
- After baking, let it cool for 30 to 40 minutes.
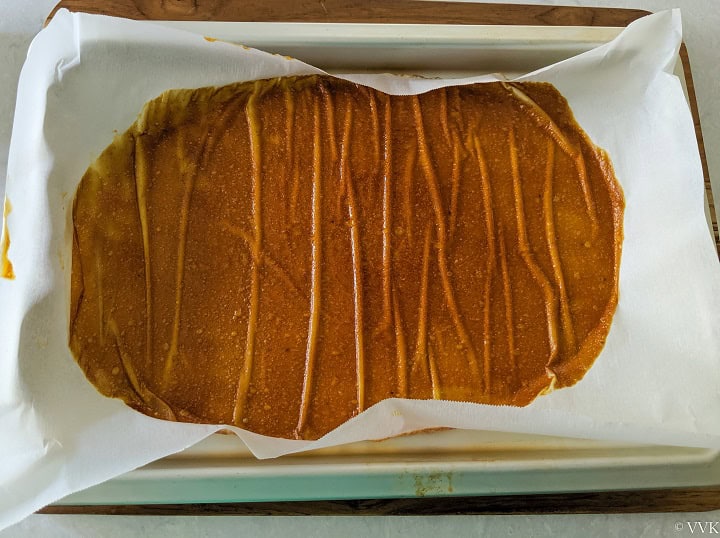
- And slowly lift the roll-ups from the parchment paper. (PS- You can cut it along with parchment paper as well. )
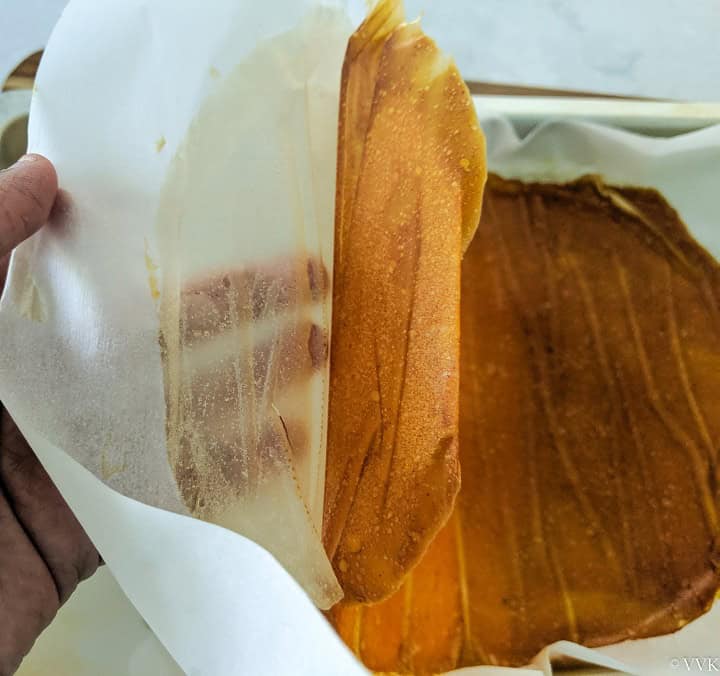
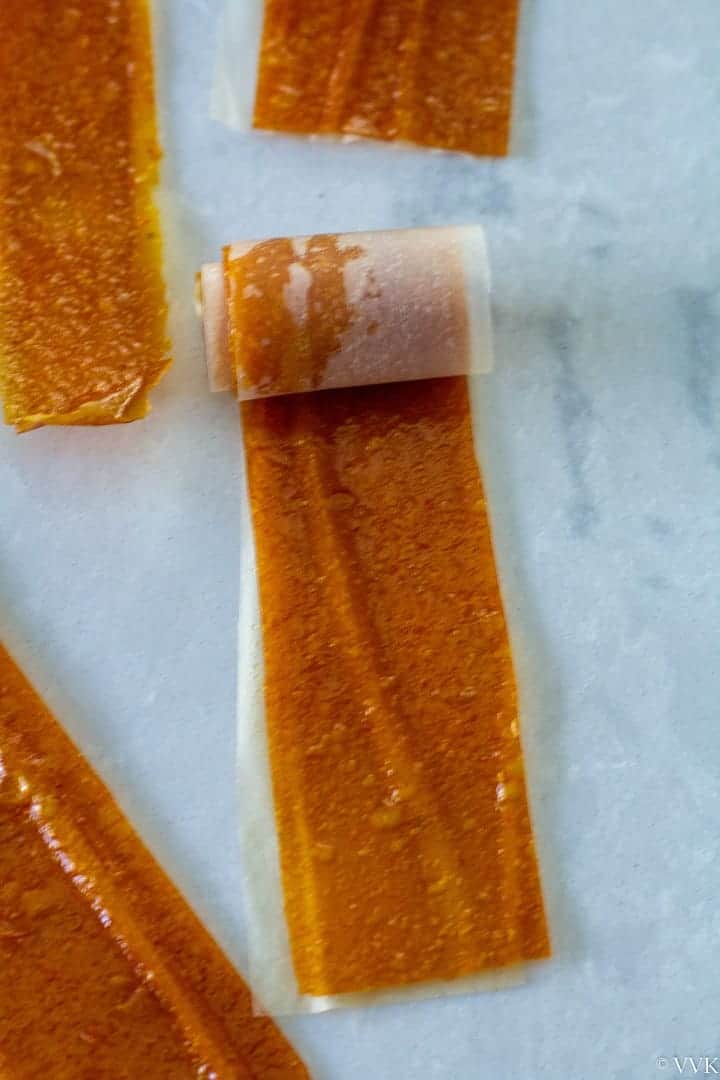
- I lifted it up completely and place the roll-ups back again and cut them into strips.

- Trim the crispy edges and cut the roll-ups into strips. Store them in a refrigerator. It stays good for a few weeks. I haven’t tried freezing them yet.
PS: Follow me on Instagram or join my Facebook Group for more gardening and recipe updates. If you try this mango fruit roll-ups recipe, please don’t forget to comment and rate this recipe. If you have any questions, please leave a comment, and I will get to it asap. Make sure to follow me on my Pinterest for more healthy and delicious ideas!
Other Mango Recipes-
- Mango jello
- Vegan mango mousse
- Mango jam
- Amrakhand | Mango yogurt relish
- Mango cheesecake
- Mango Raspberry Popsicles
📖 Recipe
Homemade Mango Fruit Roll-Ups
Ingredients
- 2 mangoes I used ataulfo variety, and they weighed 400grams
- ¼ tsp red chili powder optional
- ¼ tsp oil for the baking tray (If you are using a silicone mat, skip)
Instructions
- Prep the baking tray:Add oil to the baking tray and grease it.
- Now place the parchment paper and gently press it. Oil helps the parchment paper to stay in place. You can skip this step if you are using precut parchment paper or a silicone mat.
- Prepare the mango puree:Peel the chop the mango into chunks. In a blender or mixer jar, puree the mango by adding the red chili powder—no need to add any water. I got about 1 cup of mango puree, approx 222 grams.
- Spread and bake:Preheat the oven to 175 deg F or the lowest temperature.
- Add the mango puree to the prepared baking tray lined with parchment paper and spread it evenly with a flat spatula. Adjust the thickness according to your preference. More thickness means more baking time.
- Now, bake it in the middle rack for 3.5 to 4 hours or bake. I baked mine for 4 hours.
- After baking, let it cool for 30 to 40 minutes and slowly lift the roll-ups from the parchment paper. (PS- You can cut it along with parchment paper as well. )
- Trim the crispy edges and cut the roll-ups into strips. Store them in a refrigerator. It stays good for a few weeks. I haven't tried freezing them yet.
Notes
- As I have explained everything on the dos and don'ts, I don't want to repeat it. Please check them all in the post.
Nutrition
I am not a nutritionist. The nutritional information is provided as a courtesy and is an estimate only. It varies depending upon the product types or brands.

I am from Maharashtra, Solapur district. Since my childhood my mom used to make sun-dried ‘mango papad’. Just put the mango pulp on greased (preferably by ghee) steel plate, even the layer and put it in hot sunlight (being summer you get very hot sunlight). Depending upon thickness, it gets ready in a day or two. I am doing it till date.
I was looking for oven baked or microwave dried or dehydrated mango papad. Your recipes is good but have questions. Do we really need parchment paper, if we grease the baking plate properly?
Can we dehydrate by any means, instead of low temp heating, like sun dried process?
I have read about mango papad. I use parchment paper as it makes cleaning easy as well as it’s easy to roll and pack. You can try greasing the plate and see. I haven’t tried this without oven and there special dehydrators for dehydrating fruits. May be you can check that out. In Bay Area, even during summer, some days it gets windy so I didn’t try drying it under the sun.