

Learn how to make homemade ghee, also known as caramelized clarified butter, using store-bought butter. The process is incredibly simple, and homemade ghee is always better, cheaper, and more cost-effective than store-bought.
I’m sharing a back-to-basics recipe after a long time. You may have noticed that I often use ghee for tempering rasam and dal, for payasams, and in many Indian sweets. A few sweets and savories are even deep-fried in ghee because of its high smoke point.
Jump to:
Ghee is a quintessential ingredient in Indian cooking and is widely used in Ayurvedic medicine. In our household, when food is served, the curries are placed on the plate first, followed by rice, then plain cooked toor dal, and finally a dollop of ghee is added, followed by sambar. Just plain rice with toor dal and ghee is heavenly, and it’s often the first solid food given to toddlers. Ghee not only adds flavor but also mellows spiciness, which is why we mix a teaspoon or two into the rice when serving.
Some families still follow the traditional process of daily cream collection from milk, making butter, and then using it to prepare ghee. I remember my mom doing this for a brief period. Nowadays, most of us in India simply buy butter from the store and make ghee from it.
The process of making ghee is very straightforward. You can make a large batch and refrigerate it. All you need is good-quality butter. Some people like to add curry leaves or moringa leaves at the end for extra flavor. I usually add curry leaves, but I skipped them this time because I plan to use this ghee to make sweets for Deepavali. I highly recommend using unsalted butter for making ghee.
What happens when butter is heated — stages of the preparation
Melting – When butter is heated, it first melts into a liquid and becomes very foamy.
Water evaporating – As the heat continues, the water in the butter evaporates. You might hear occasional bursts—that’s just the water evaporating. As the water evaporates, white foam forms on the surface. Some people skim it off and discard it, but I usually mix it back into the ghee.
Milk solids separation – The foam will reappear, but this time it’s clear. This indicates the milk proteins are separating from the butterfat. The milk solids sink to the bottom of the pan.
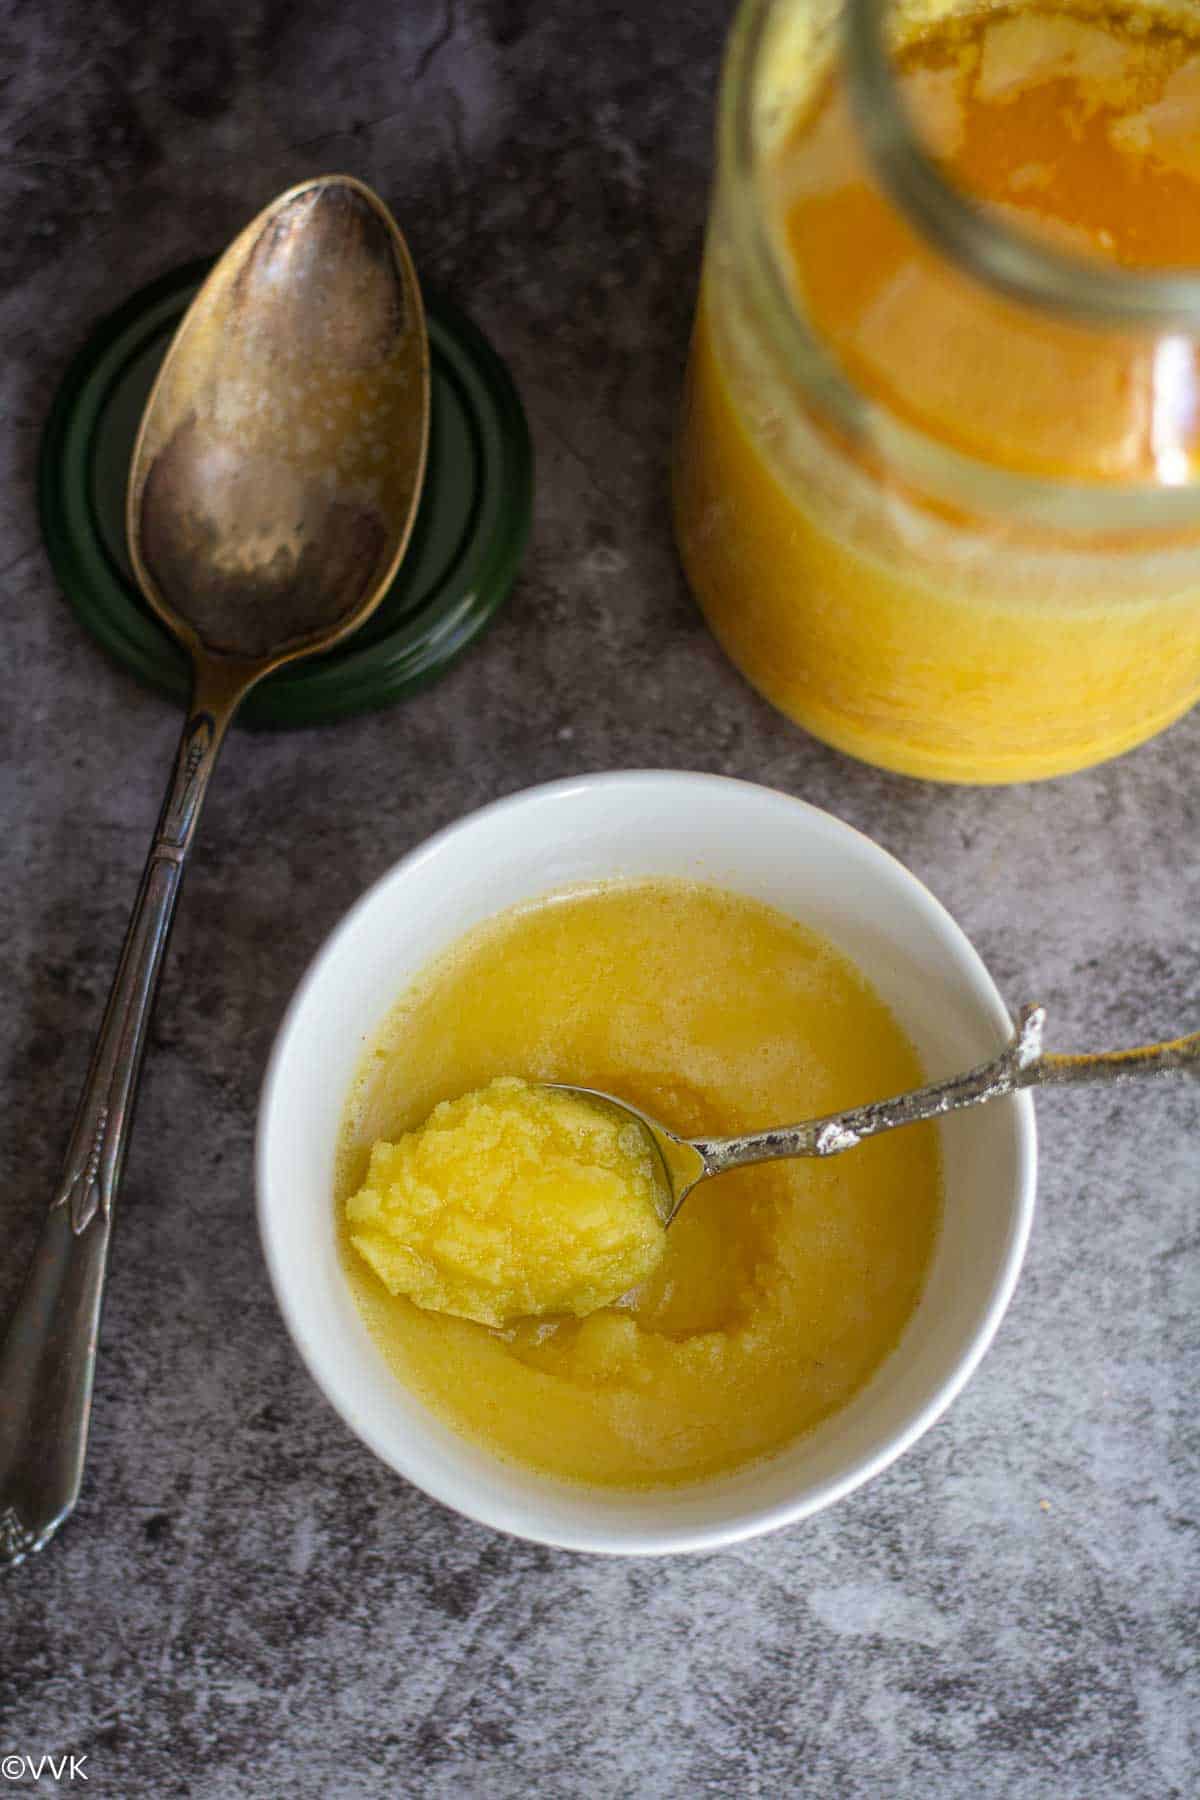
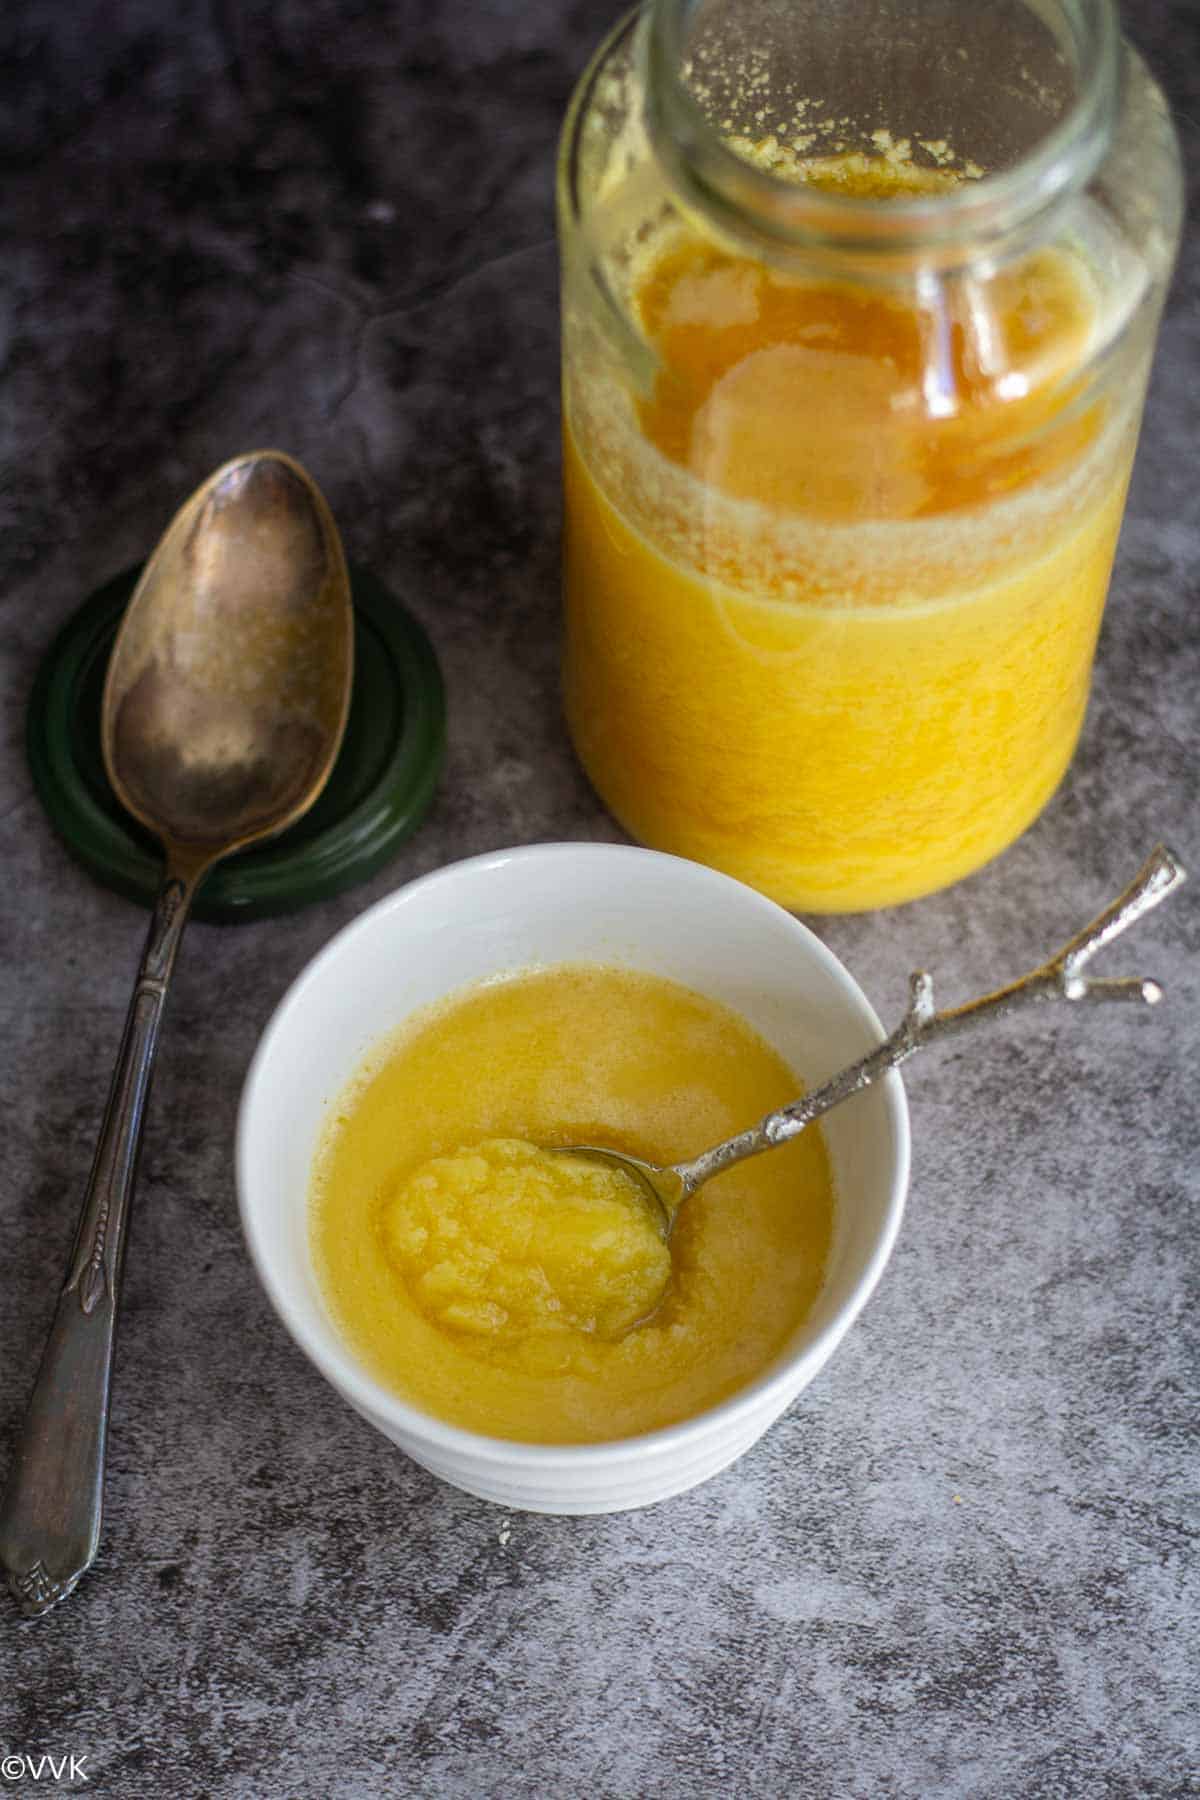
Caramelization – With further heating, the milk solids turn light brown, and the foam on top becomes frothy and rises. This is the perfect stage to turn off the heat to get that ideal ghee.
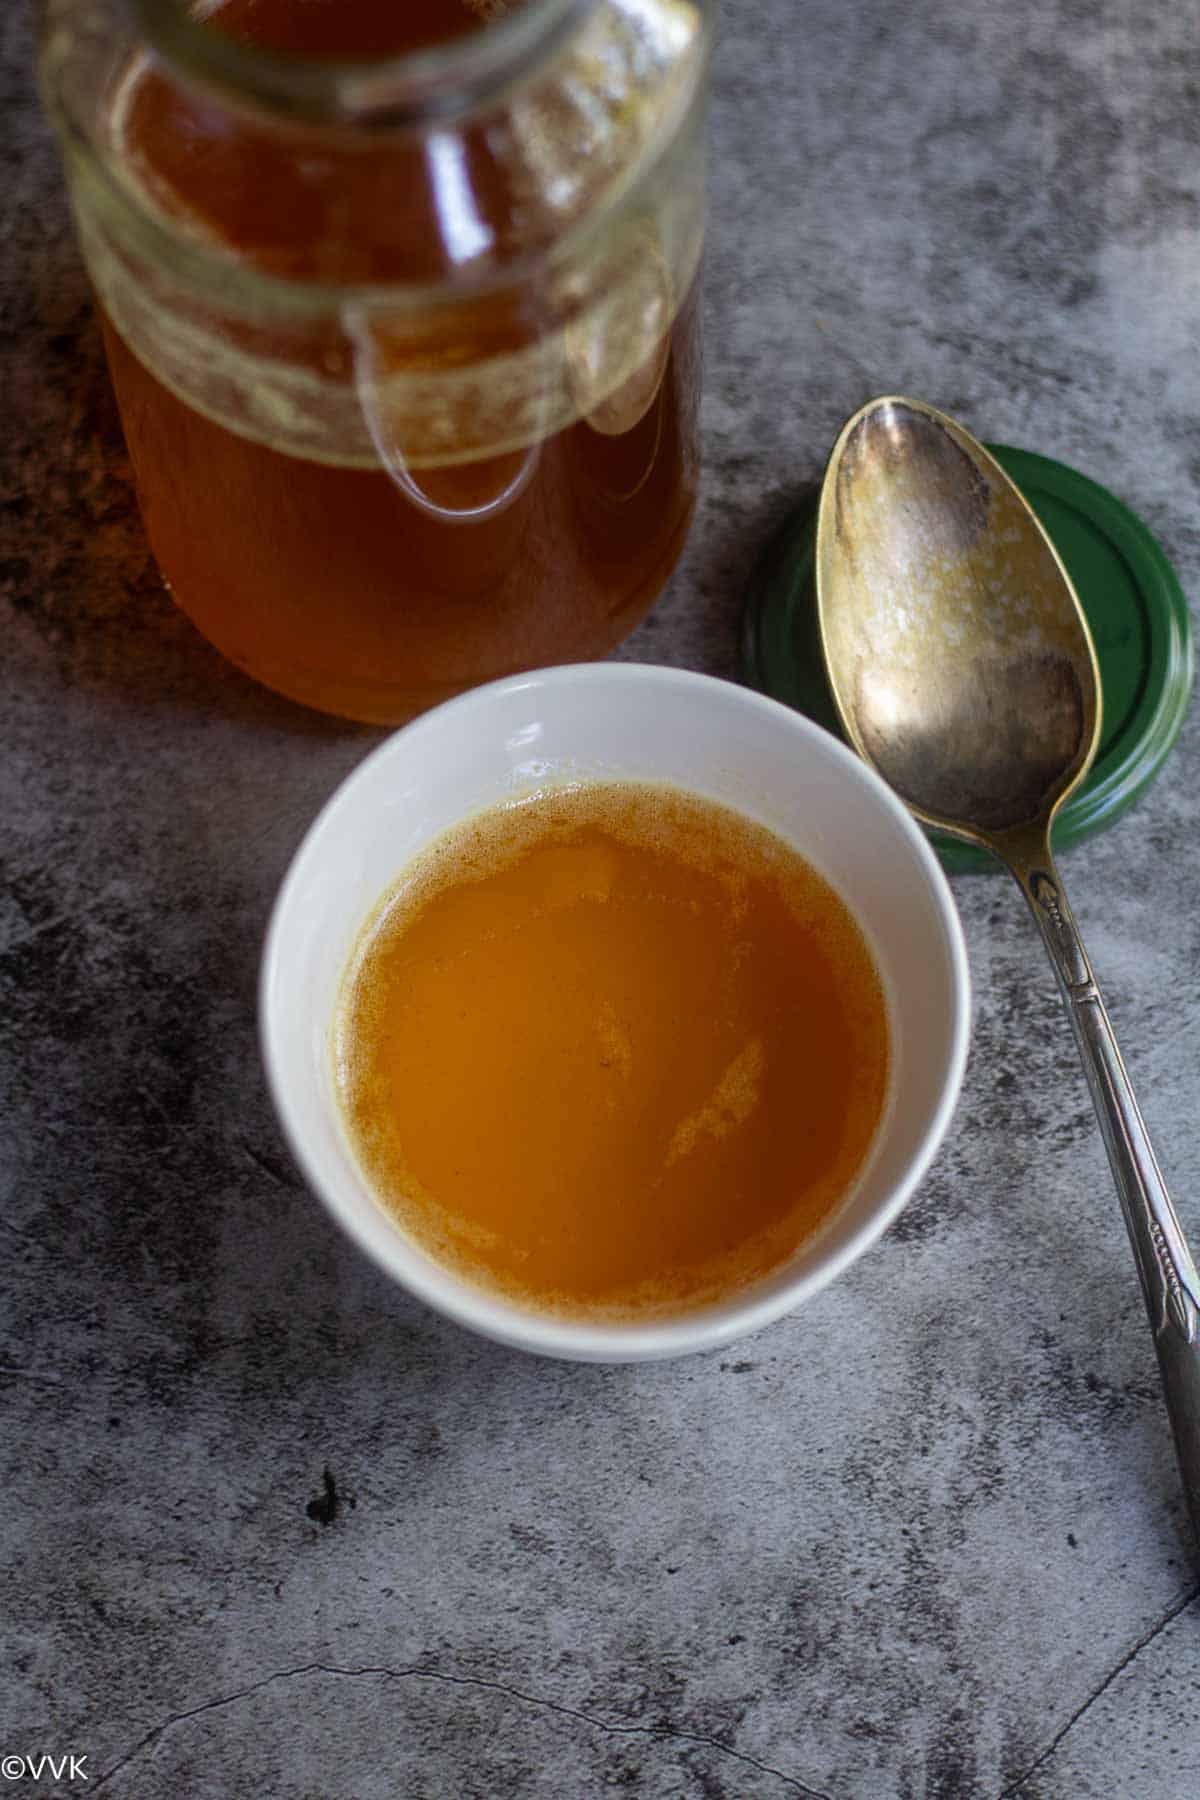
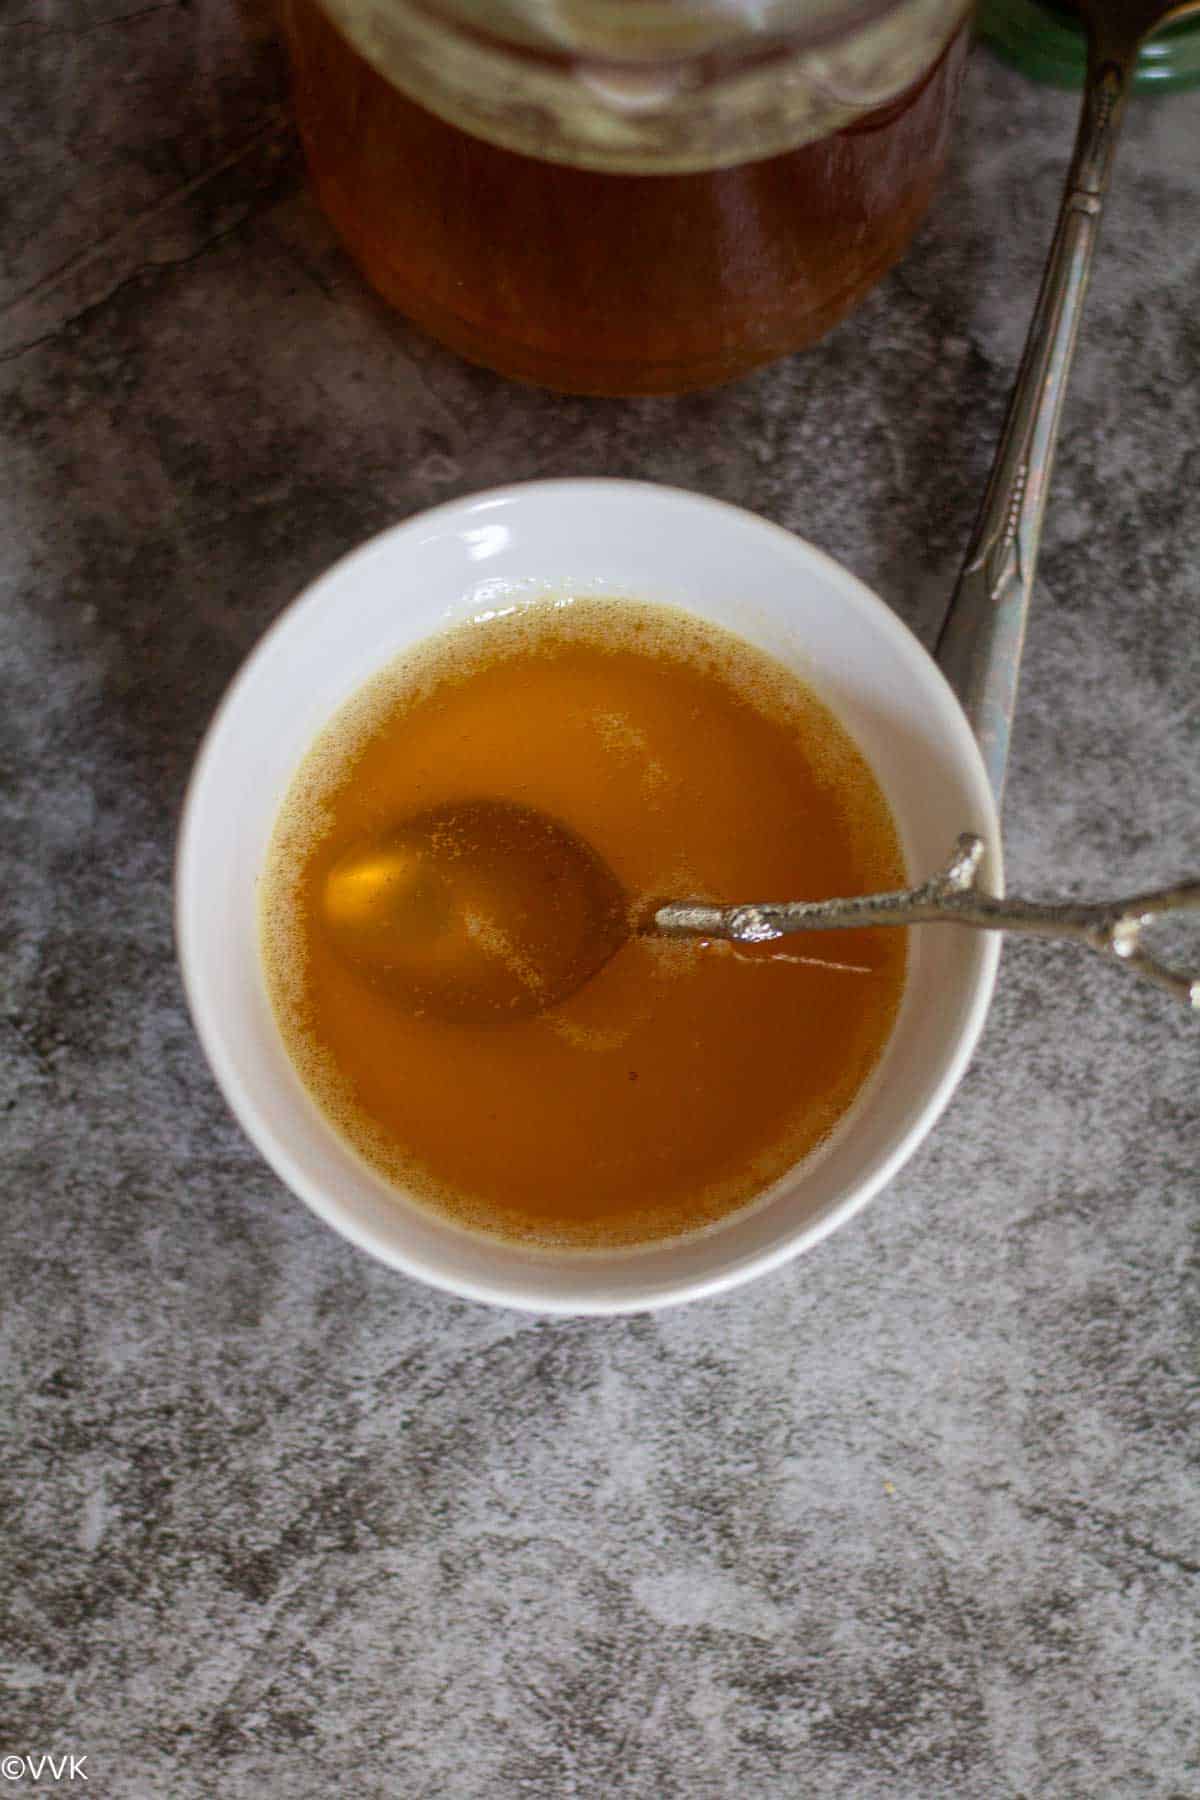
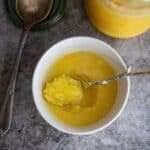
Let the mixture cool, then strain it to obtain ghee—also known as liquid gold.
When to stop heating — identifying the right stage
This is a tip I learned from my mom and grandma. Once the water has evaporated and the milk solids have settled at the bottom, the foam will reappear—clearer this time. When this foam becomes fully frothy and starts to rise, we turn off the heat, remove the vessel from the stove, and let the ghee rest in the residual heat. The milk solids settle down, and the ghee turns a deep golden color.
Clarified butter vs. ghee
All ghee is clarified butter, but not all clarified butter is ghee.
- If you stop heating the butter before the milk solids turn brown, you get clarified butter.
- To achieve that nutty aroma, cook it a little longer and let the milk solids brown.
- I usually cook the milk solids until they turn dark brown, imparting the ghee with a rich, toasty flavor.
If the milk solids are heated too long and burn (turn black), the ghee can develop a bitter taste — so it’s all about watching closely at the end.
What to do with milk solids after straining ghee
We never discard the milk solids. I usually combine them with wheat flour when making roti or chapati. Alternatively, after straining the ghee, I return the milk solids to the same vessel and use it to make ven pongal (savory pongal) or arisi upma.
Another option is to mix the milk solids with wheat flour or health mix, toast them, and then add powdered sugar to make laddus—popularly known as nei kasadu urundai. The browned milk solids are called nei kasadu in Tamil.
How long does it take to make ghee?
The time depends on the butter’s temperature. It usually takes between 15 and 25 minutes. I typically let my butter thaw for an hour before starting, and today it took me approximately 16 minutes.
(VVK tip: The butter usually melts in the first 2–3 minutes, the water evaporates by minute 8–10, and caramelization happens toward the end. Be careful not to overheat at this stage, as burnt milk solids can give the ghee a bitter taste.)
How to make ghee
- Add the butter to a heavy-bottomed pan and let it melt over medium-low heat.
- Slowly, the butter will melt and become foamy. Gently stir to ensure nothing sticks to the bottom.
- As the water evaporates, you’ll hear a bubbling sound—this is normal. The foam will disappear and then reappear as the milk solids settle at the bottom.
- When the second foam spreads evenly and starts to rise, turn off the heat. If you’re using moringa or curry leaves, add them now.
- Let the ghee sit for an hour, then strain and store it in an airtight container. (You can also strain while it’s warm, once the foam subsides.)
- Use the milk solids in any of the dishes mentioned above.
Recipe Notes
- Use good-quality butter.
- Bringing butter to room temperature speeds up the ghee-making process, though it’s optional.
- Adding moringa or curry leaves is optional.
- Ghee can be stored at room temperature for 2–3 months in an airtight jar, or longer in the fridge.
- This measure yields approximately 2 cups of ghee.
PS – If you try making homemade ghee using this procedure, please don’t forget to comment and rate this recipe. If you have any questions, please leave a comment, and I will get to it asap. Make sure to follow me on my Pinterest for more healthy and delicious ideas! Follow me on Instagram or join my Facebook Group for more gardening and recipe updates.
📖 Recipe
Ghee: A Step-by-Step Guide to Homemade Recipe
Ingredients
- 20 oz butter
- 10 curry leaves or moringa leaves optional
Instructions
- Add the butter to a heavy-bottomed pan and let it melt over medium-low heat.
- Slowly, the butter will melt and become foamy. Gently stir to ensure nothing sticks to the bottom.
- As the water evaporates, you’ll hear a bubbling sound—this is normal. The foam will disappear and then reappear as the milk solids settle at the bottom.
- When the second foam spreads evenly and starts to rise, turn off the heat. If you’re using moringa or curry leaves, add them now.
- Let the ghee sit for an hour, then strain and store it in an airtight container. (You can also strain while it’s warm, once the foam subsides.)
- Use the milk solids in any of the dishes mentioned above.
Video
Notes
- Use good-quality butter.
- Bringing butter to room temperature speeds up the ghee-making process, though it’s optional.
- Adding moringa or curry leaves is optional.
- Ghee can be stored at room temperature for 2–3 months in an airtight jar, or longer in the fridge.
- This measure yields approximately 2 cups of ghee.
Nutrition
I am not a nutritionist. The nutritional information is provided as a courtesy and is an estimate only. It varies depending upon the product types or brands.

Oh wow, I’ve always wondered how to make it at home. Thank you for the clear instructions!!
Thank you :-)
I was so impressed finding out how easy ghee actually is to make! Thank you so much for this step-by-step guide…very easy to follow along with!
Thanks a lot
I made a jar of this last week and it came out golden and fragrant. It adds such a rich flavor when I cook.
Oh yeah, ghee adds such a nice flavor.
This is a wonderful tutorial! Ghee is such a staple, and there’s nothing better than making it yourself. Thanks for breaking down the process so clearly!
Glad you liked it. Thanks
I gave this a shot, and it was just as easy as it seems in your post. I can’t believe I can make my own ghee now!
Thanks, glad it was easy.
I love cooking with ghee, but I’ve always bought it because I was afraid to try making it. I can’t wait to try this.
Thanks. Please do try.
I’m so excited to try this! Does it matter if the butter is satled or unsatled?
It doesn’t matter but just be cautious with salt in the dishes where you will be using the ghee.
This is so great! I had no idea making ghee was so easy. I can’t wait to start churning this out and using it in everything!
Thank you, please do try and let me know
I’m so excited to try this! I tried making ghee before, and it was a disaster. BUT your breakdown is VERY thorough. Thank you!
Thanks. :-)