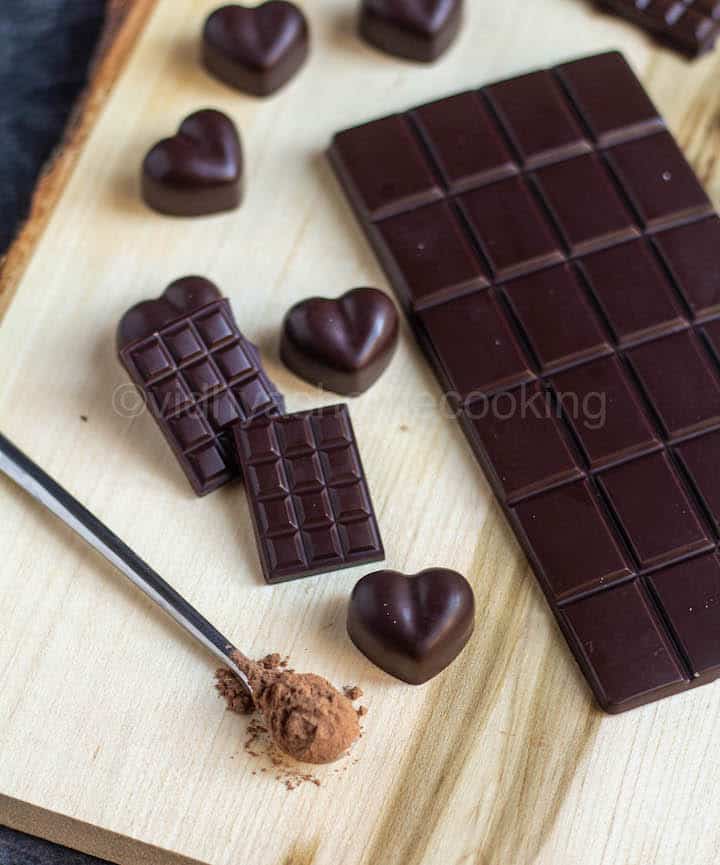
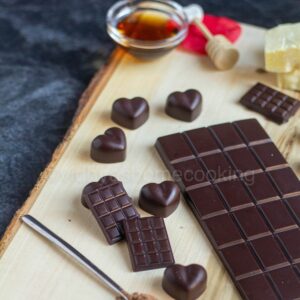
Here is my vegan, nut-free, gluten-free 3-ingredient 90% homemade dark chocolate made with cacao butter, cacao powder, and maple syrup!
Learn how to make this healthy dark chocolate at home with detailed step-wise pictures.
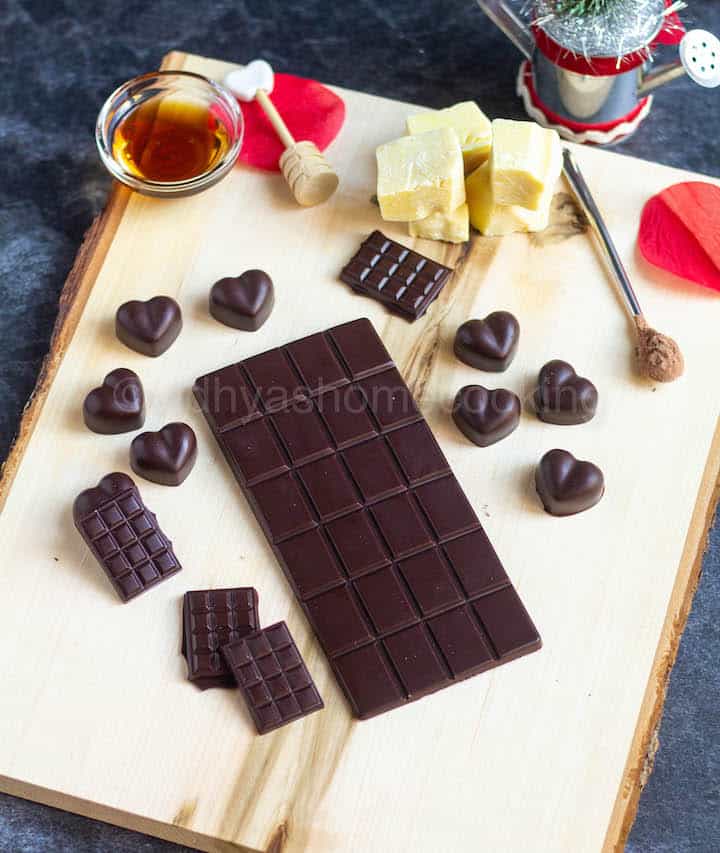
After white chocolate, I am back with another chocolate recipe, and this time it is dark chocolate bar. With just three ingredients, you can make healthy and delicious dark chocolate at home.
Jump to:
The most significant advantage of making dark chocolate at home is controlling the amount of sugar that goes into your dark chocolate. It is also free of preservatives and additives, making it a healthy indulgent snack.
Ingredients used and their ratio.
As mentioned above, I went with the 2:3 ratio of cacao powder to cacao butter, i.e., I used two parts of cacao powder (50 grams) and three parts of cacao butter (75 grams). We liked this ratio, but you can always play the ratio and come with your preferred one or use the 1:1 ratio.
Now coming to the ingredients,
- Cacao powder: I used raw cacao powder, and any brand works fine. Here is the brand that I used. Make sure to sieve it before adding it to the melted cacao butter.
- Cacao butter: Use good quality cold-pressed cacao butter. Ensure it is edible as some varieties are used only for cosmetic purposes. I have used both Navitas and Terrasoul brands, and both are good. (Not sponsored) For this recipe, I used the Terrasoul brand, and it comes in big chunks like below. I used it as-is without chopping for the dark chocolate.
- Maple syrup: You can use dark or amber maple syrup. I used the amber-colored one for this recipe. If you are not particular about vegan, you can use honey as well. I used 1 tbsp of maple syrup, which weighed 14 grams. As you can see, it’s processed sugar free chocolate.
Optional Ingredients – Nuts and flavoring agents. I did not use any.
Finding the percentage of dark chocolate
The total amount of cacao butter and cacao powder helps you find the percentage of overall cacao in your chocolate. I followed “A Saucy Kitchen” blog for calculating this chocolate percentage.
Let’s first calculate the total weight of the ingredients, and in my case, it is 50 grams (cacao powder) + 75 grams (cacao butter) and 14 grams (maple syrup), which equals 139.
The weight of the chocolate product alone is 125 grams (cacao powder plus cacao butter)
To get the percentage of chocolate, you divided 125/139, which is approximately .89928, and we get 90% rounding it up. So the below measure yields 90% dark chocolate.
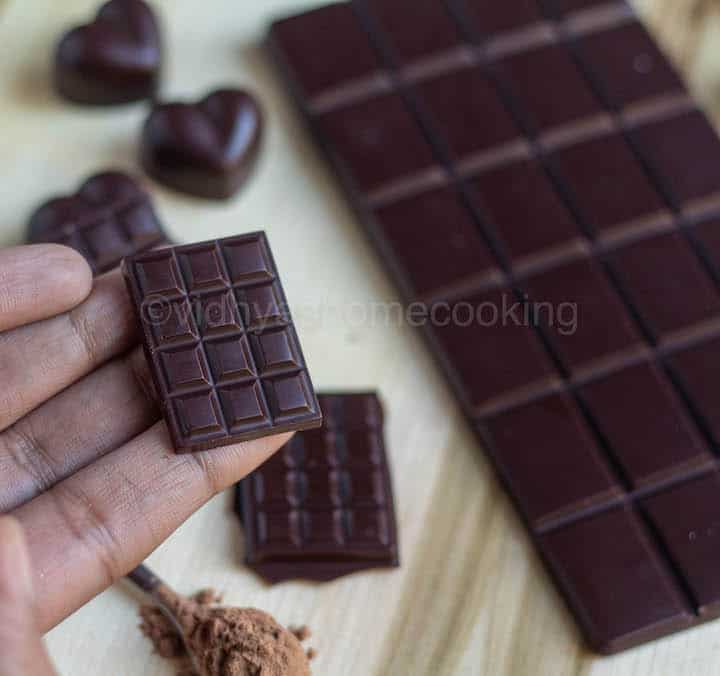
Equipment needed for making dark chocolate
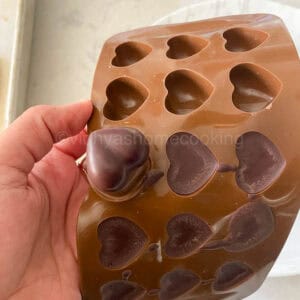
While you can make your double-boiler with a saucepan and bowl that fits the saucepan, you might need some silicone molds or candy molds or chocolate bar molds for the chocolate. I highly recommend it for some fun shapes. I got all mine from amazon online. (Links here – heart-shaped, break-apart, and mini-waffle mold) If you don’t want to use any mold, you can add the melted chocolate on parchment paper and set it.
Now without any further ado, let me share how I made this dark chocolate.
How to Make Dark Chocolate
Prepare the chocolate molds.
- Make sure the molds you are using are completely dry. I did not add any nuts, but you can sprinkle them on the molds if you are using nuts or add it to the chocolate mix.
Set up the double-boiler and melt the cacao butter.
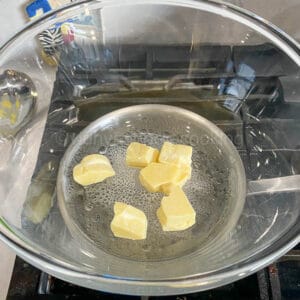
- Add one-two inches of water in a saucepan and place a bowl that fits the saucepan on top. (you want a snug-fit or perfect -fit here and make sure the steam doesn’t escape from the sides) Make sure the bowl on top doesn’t touch the water in the saucepan. Add the cacao butter (I did not chop it further this time) to the top-bowl, gently simmer the water over medium-low heat and let the butter melt in the gentle heat. (Medium-low heat is the key, and make sure the water doesn’t come to a rolling boil. Also, many add the cacao butter after the water comes to a simmer, but adding it, in the beginning, worked for me)

Prepare the dark chocolate.
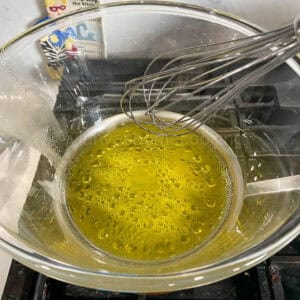
- Let the cacao butter melt. Make sure to whisk the cacao butter during the melting process for even melting. Here are my melted cacao butter and the double-boiler setup.

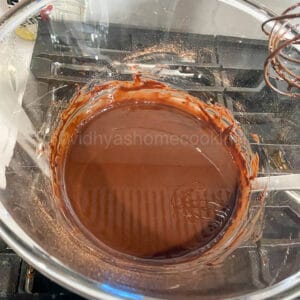
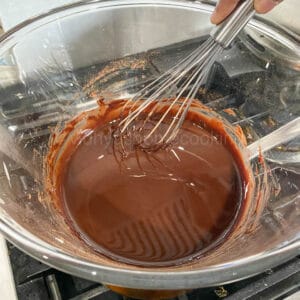
- Now add the sifted cacao powder and mix well using a hand whisk. I always sift the cacao powder separately.

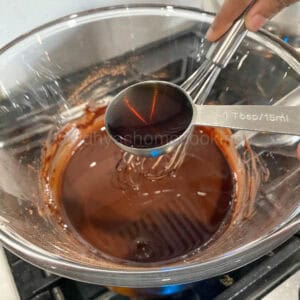
- Reduce the heat to low (on a number scale, 1) and add the maple syrup.
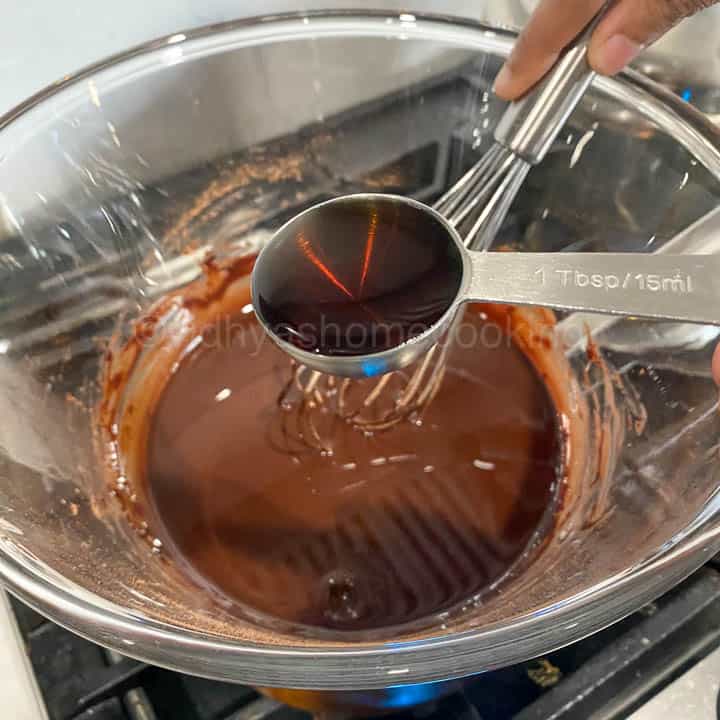
- Mix well and turn off the heat.
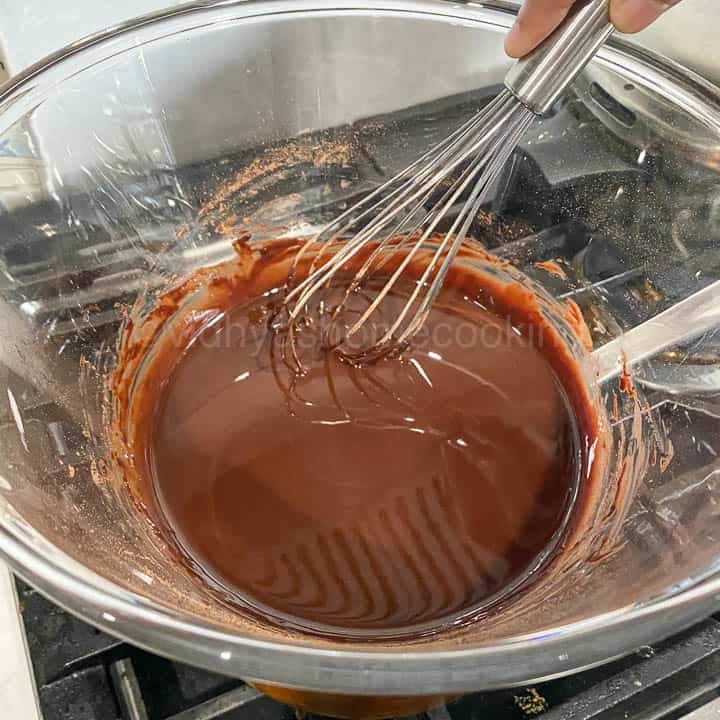
Set the dark chocolate.
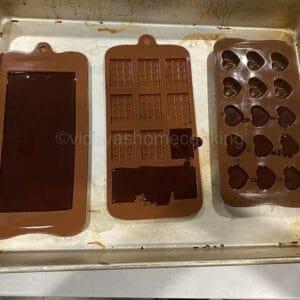
- Now pour the dark chocolate mixture into the molds. I usually pour the chocolate mixture and let it sit for 5 minutes and bring it to room temperature and keep it in the fridge.
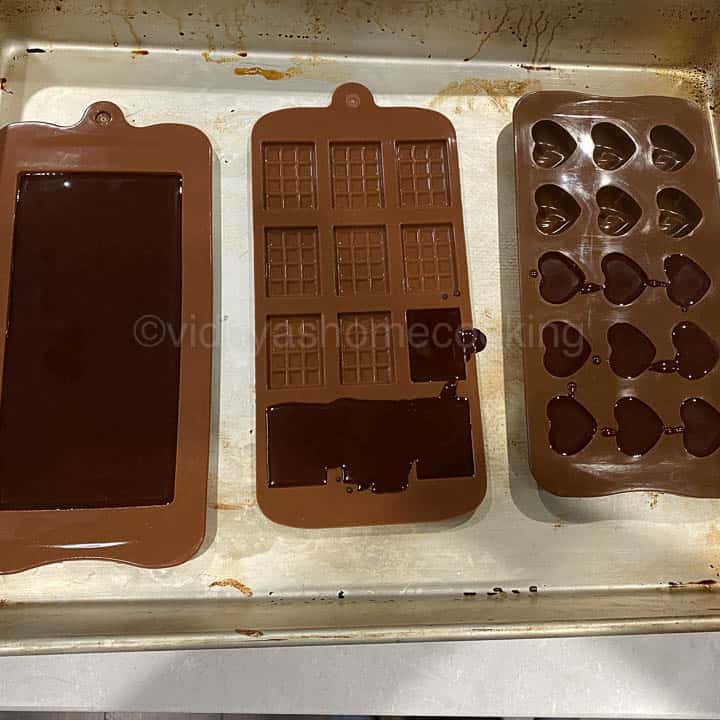
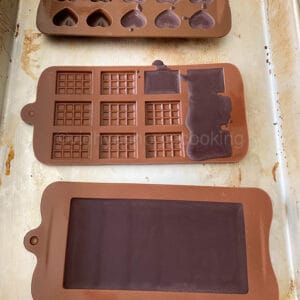
- Place it in the fridge or freezer to set. I always keep it in the fridge for 1.5 to 2 hours.
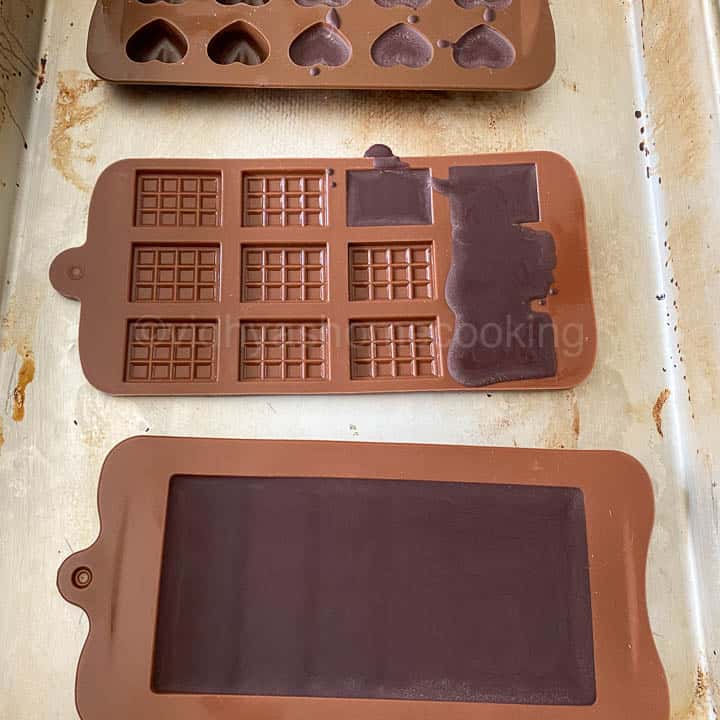
- Once the chocolate is firm and set, you can easily unmold it and enjoy it!
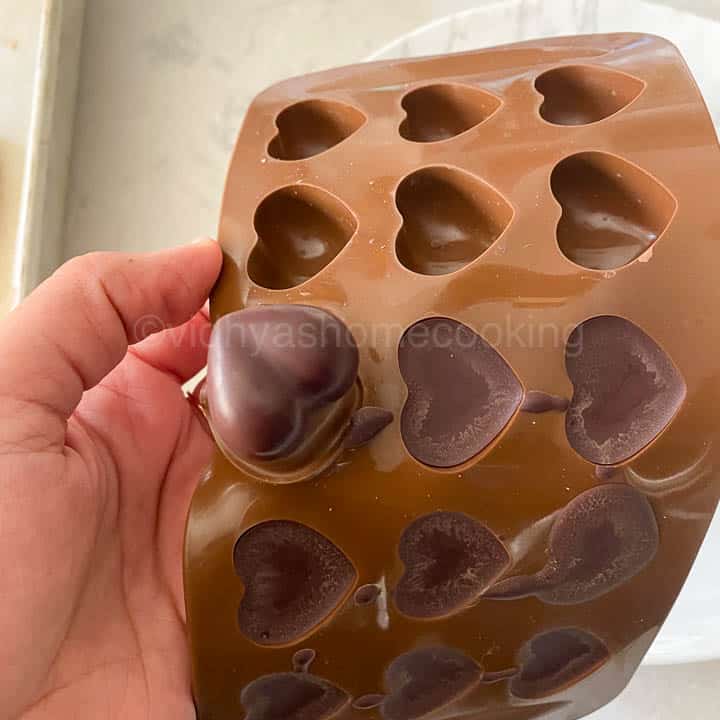
- Store the chocolate in an air-tight container in the fridge for longer shelf life.
Health benefits of dark chocolate:
Every one says dark chocolate is healthy. But how and why?
Dark chocolate is known for its antioxidants(Flavanols), making it a superfood. It helps to improve our mood, thereby relieving stress. It helps to improve the HDL amount and reduces the risk of heart disease. Also, it improves the skin. I can continue to add to this list as research is ongoing on this topic. You can read more about the health benefits of dark chocolate on the Healthline website.
Note: Sugar-loaded milk chocolate and white chocolate are not in this superfood game. We are talking only about dark chocolate. Also, moderation is the key. The daily recommended dose for dark chocolate is 1 to 2 ounces.
Ok, to reap the full benefits of dark chocolate, I highly recommend using cacao powder. Again, I am not making a typo here.
Cacao Powder | Cacao Vs. Cocoa
As I have already explained about cacao butter in the white chocolate post, let me get straight into cacao powder.
Theobroma cacao is the tree that gives us chocolate. We get both cacao and cocoa from the beans/pod of this tree. But the difference lies in the way they are processed.
Cacao refers to unroasted beans, and these beans are processed minimally at a very low-temperature and milled to get the cacao powder. Cacao powder is raw without any additives, and it is bitter than cocoa, but it is full of nutrients.
On the other hand, the beans are roasted at a high temperature to get the cocoa powder. During this process, some may add preservatives.
(You can read more about cacao and cocoa here and here where I referred mainly)
Dutch-processed cocoa: Cacao is acidic by nature, and it is bitter as well. The Dutch-processed or alkalized cocoa means that it is treated with an alkaline solution to reduce the raw cacao’s acidity and bitterness.
I understood and learned that all the raw and minimally processed chocolate items are using the term “cacao,” and the processed ones use the term “cocoa.”
These days raw cacao and cacao nibs are quite famous, and they are readily available online and in stores. You can use raw cacao powder for baking as well. As they are highly acidic, you might have to adjust the baking soda amount, but you can very well substitute raw cacao powder in the place of cocoa. You can read further about it here.
I have tested this chocolate recipe with raw cacao powder. You can use cocoa powder, but the nutritional profile will be different. Also, I tested dark chocolates before white ones, but I posted white chocolates first as I wanted to start with the kiddo’s favorite one.
My dark chocolate experiments:
1) Experiment 1 with maple syrup & handling overheat the chocolate
I first started with a 1:1 ratio of cacao powder and cacao butter. I took 50 grams of each and used 1 tbsp of maple syrup. After adding the maple syrup, instead of reducing the heat, I increased the heat by mistake. And that few seconds were sufficient to make my chocolate thick. Luckily, I did not burn it and noticed it soon so that I could rescue it. This article from spruce eats helped a lot.
This is what I did to rescue the chocolate. I let it cool a bit, melted some more cacao butter, added the thickened chocolate, and added it to the molds. The chocolates got correctly set, and it tasted great, and because of the extra cacao butter, the melt-in-mouth texture was great. But the dark chocolates weren’t shiny, and the texture was a bit muddy.
I want to insist that medium-low heat is the key in the double-boiler method and ensure the water doesn’t come to a rolling boil and steam doesn’t escape your double-boiler setup.
2) Experiment 2 without any sweeteners
I was a bit adventurous and thought I could handle dark chocolate’s bitterness, so I decided to experiment with dark chocolate without any sweeteners. So this time, I tried it with the same 1:1 ratio, but I did not add any maple syrup or honey. Also, I did not overheat the chocolate, and it came out well. But oh boy, we couldn’t handle the bitterness of pure 100% dark chocolate. We need time to get acquired to 100% dark chocolate. :-)
But this experiment helped me to decide the final ratio of cacao powder to cacao butter. Cacao butter plays a significant role in the melt-in-mouth texture, and we liked the chocolate with more cacao butter (experiment 1)
3) Experiment 3 with maple syrup and the new ratio
After the above two experiments, I went with the 2:3 ratio of cacao powder to cacao butter and used 1 tbsp of maple syrup, and it came out well. And that’s what I am sharing here today. These dark chocolate experiments helped me to decide my white chocolate ratio easily.
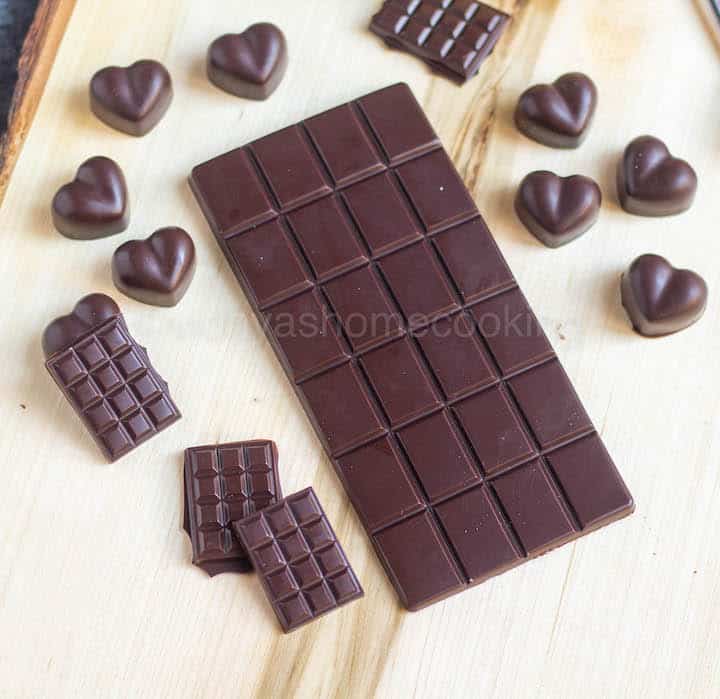
Recipe Notes
- Ensure steam doesn’t escape your double-boiler setup, and do not bring the water to a rolling boil. A gentle simmer over medium-low heat is the key.
- I did not add any nuts. You can add nuts and dried fruits, and you can add other flavors like vanilla extract of your choice.
- We like this 2:3 ratio of cacao powder to cacao butter. But you can go with a 1:1 ratio of cacao powder to cacao butter.
- For best results, I recommend weighing your ingredients with a digital scale.
- Make sure to use the edible cacao butter/cocoa butter. I highly recommend using cacao powder or raw cocoa to reap the full benefits of dark chocolate.
- Adjust the measure of maple syrup as per your preference. The more you add, the percentage of dark chocolate might vary.
- You can also use honey if you are not particular about vegan. I haven’t tested this recipe with other sweeteners like coconut sugar or stevia.
- If you face chocolate seizing issues, then add some more cacao butter (20 grams approx) and melt the chocolate mix in the double-boiler method, and it should help. (I have shared more details on the post.)
- I have tested this chocolate recipe with raw cacao powder. You can use cocoa powder, but the nutritional profile will be different.
Edible gift ideas for this Xmas
PS: Follow me on Instagram or join my Facebook Group for more gardening and recipe updates. If you try this homemade dark chocolate recipe, please don’t forget to comment and rate this recipe. If you have any questions, please leave a comment, and I will get to it asap. Make sure to follow me on my Pinterest for more healthy and delicious ideas!
📖 Recipe
Homemade Dark Chocolate | Healthy Dark Chocolate Recipe
Equipment
- saucepan and bowl for double boiler
- silicone molds
- mixer jar or blender
Ingredients
- 50 grams cacao powder
- 75 grams cacao butter
- 1 tbsp maple syrup approx 14 grams
Instructions
Prepare the chocolate molds.
- Make sure the molds you are using are completely dry. I did not add any nuts, but you can sprinkle them on the molds if you are using nuts or add it to the chocolate mix.
Set up the double-boiler and melt the cacao butter.
- Add one-two inches of water in a saucepan and place a bowl that fits the saucepan on top. (you want a snug-fit or perfect -fit here and make sure the steam doesn’t escape from the sides) Make sure the bowl on top doesn’t touch the water in the saucepan. Add the cacao butter (I did not chop it further this time) to the top-bowl, gently simmer the water over medium-low heat and let the butter melt in the gentle heat. (Medium-low heat is the key, and make sure the water doesn’t come to a rolling boil. Also, many add the cacao butter after the water comes to a simmer, but adding it, in the beginning, worked for me)
Prepare the dark chocolate.
- Let the cacao butter melt. Make sure to whisk the cacao butter during the melting process for even melting. Here are my melted cacao butter and the double-boiler setup.
- Now add the sifted cacao powder and mix well using a hand whisk. I always sift the cacao powder separately.
- Reduce the heat to low (on a number scale, 1) and add the maple syrup.
- Mix well and turn off the heat.
Set the dark chocolate.
- Now pour the dark chocolate mixture into the molds. I usually pour the chocolate mixture and sit for 5 minutes and keep it in the fridge.
- Place it in the fridge or freezer to set. I always keep it in the fridge for 1.5 to 2 hours.
- Once the chocolate is firm and set, you can easily unmold it and enjoy it!
- Store the chocolate in an air-tight container in the fridge for longer shelf life.
Notes
- Ensure steam doesn’t escape your double-boiler setup, and do not bring the water to a rolling boil. A gentle simmer over medium-low heat is the key.
- I did not add any nuts. You can add nuts and dried fruits, and you can add other flavors like vanilla extract of your choice.
- We like this 2:3 ratio of cacao powder to cacao butter. But you can go with a 1:1 ratio of cacao powder to cacao butter.
- For best results, I recommend weighing your ingredients with a digital scale.
- Make sure to use the edible cacao butter. I highly recommend using cacao powder or raw cocoa to reap the full benefits of dark chocolate.
- Adjust the measure of maple syrup as per your preference. The more you add, the percentage of dark chocolate might vary.
- You can also use honey if you are not particular about vegan.
- If you face chocolate seizing issues, then add some more cacao butter (20 grams approx) and melt the chocolate mix in the double-boiler method, and it should help. (I have shared more details on the post.)
- I have tested this chocolate recipe with raw cacao powder. You can use cocoa powder, but the nutritional profile will be different.
Nutrition
I am not a nutritionist. The nutritional information is provided as a courtesy and is an estimate only. It varies depending upon the product types or brands.




Hello Vidya, I’m enjoying reading about your experiments. I have also been experimenting with making healthy dark chocolate bars at home. Last winter I tried a sample of a healthy dark chocolate bar sold at a farmer’s market and it had such a curious and amazing flavor! I purchased several bars. I am experimenting now with making my own version at home and my online search is about finding possible spice ingredients, combinations of spices and ratios. Those farmer’s market chocolate bars had a subtle kick from maybe chili pepper spice or something similar? And maybe some cinnamon? Some allspice? I’m not sure what her secret spice mix was, and I’m not finding much online about spices ingredients to add, rather there is a lot on “simple 3-ingredient” recipes or adding dried fruit, nuts, etc.
Anyway, I ran across your website during my healthy-dark-chocolate-bar-spice-ingredient-search! :)
Hi Cindy, thanks a lot and sorry for the delayed response. You can try adding smoked paprika. I have seen some truffle recipes with smoked paprika flavor. You can also try Nutmeg-paprika, cinnamon-paprika combination. I need to start experimenting too now. :-)
This is a wonderful recipe. After many failures, this recipe made us enjoy home made chocolates.
Thanks Vidya
Thanks so much. Very glad to hear.
Thank you for this recipe. The chocolates were awesome. I used this mould for making chocolates.
Really liked how they turned out.