
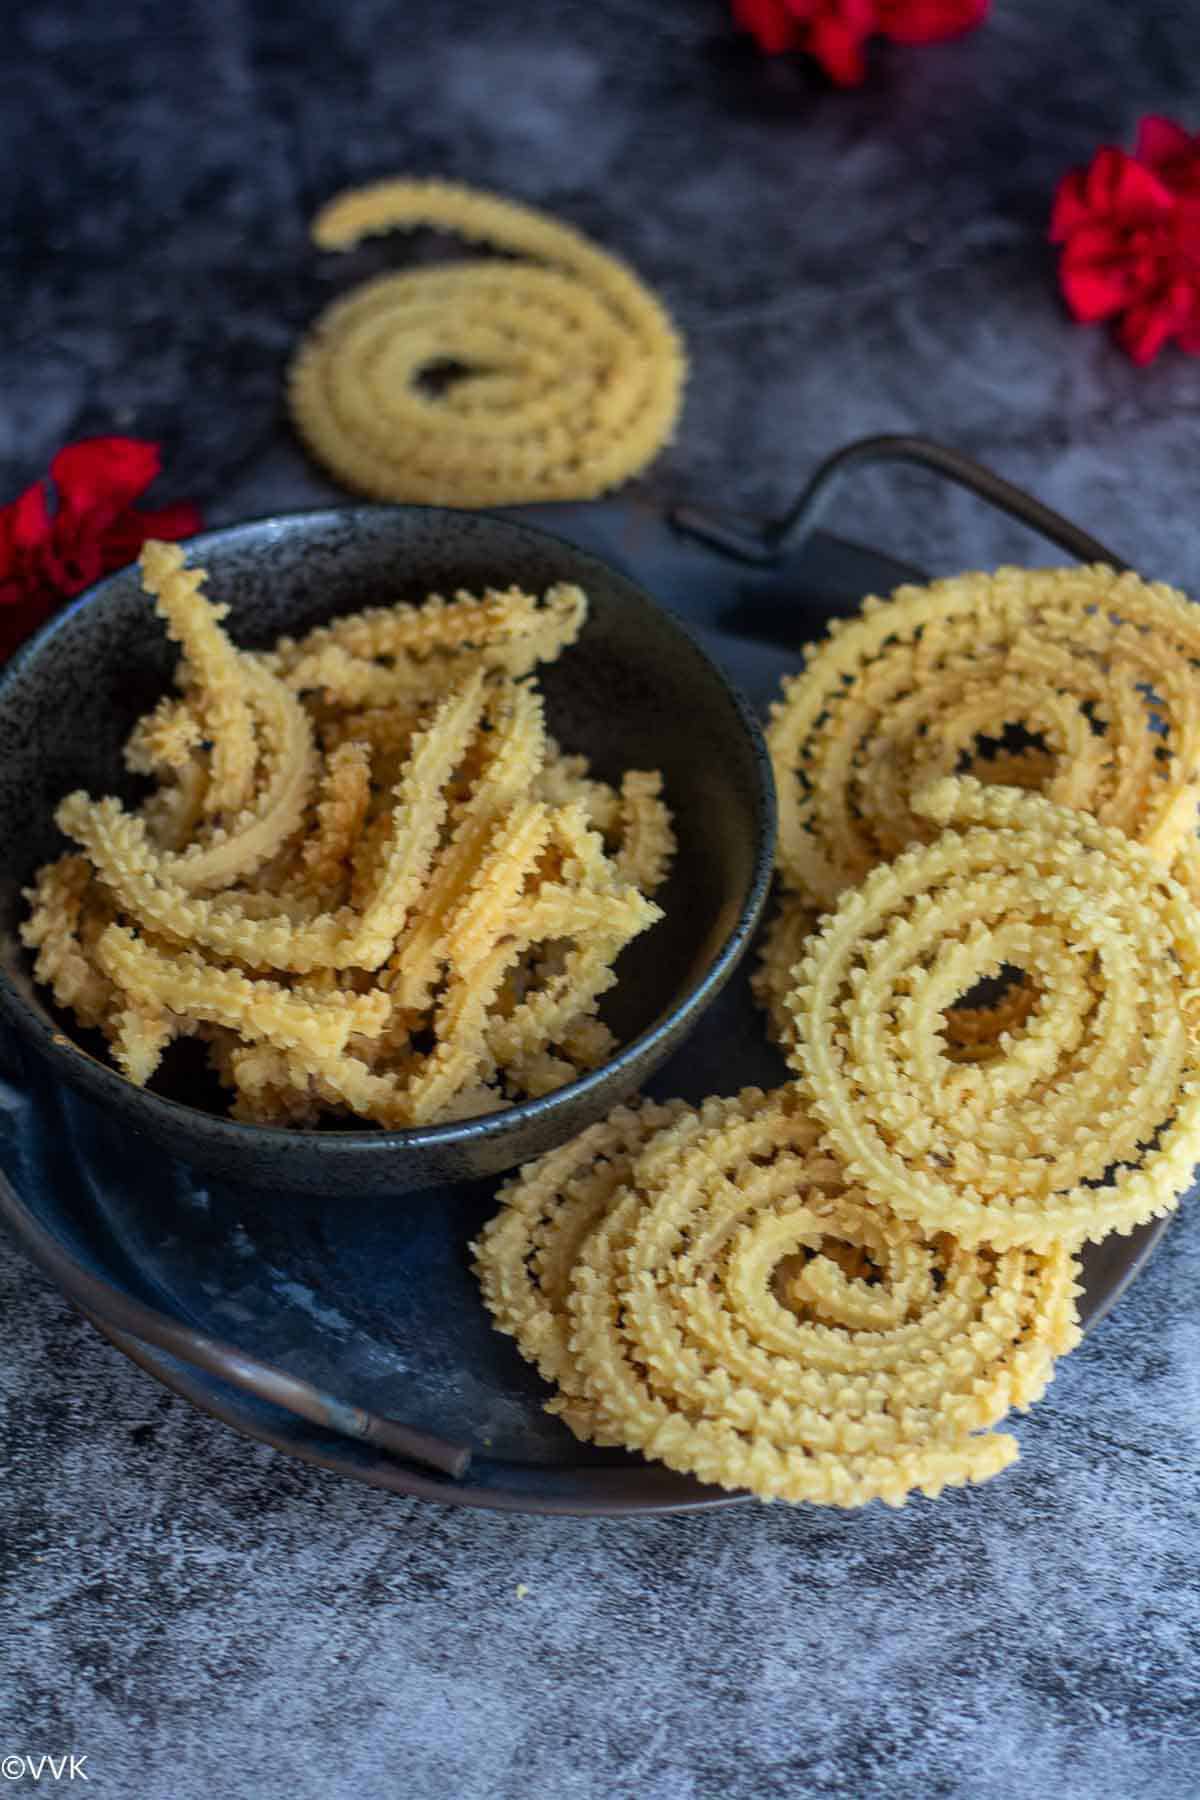
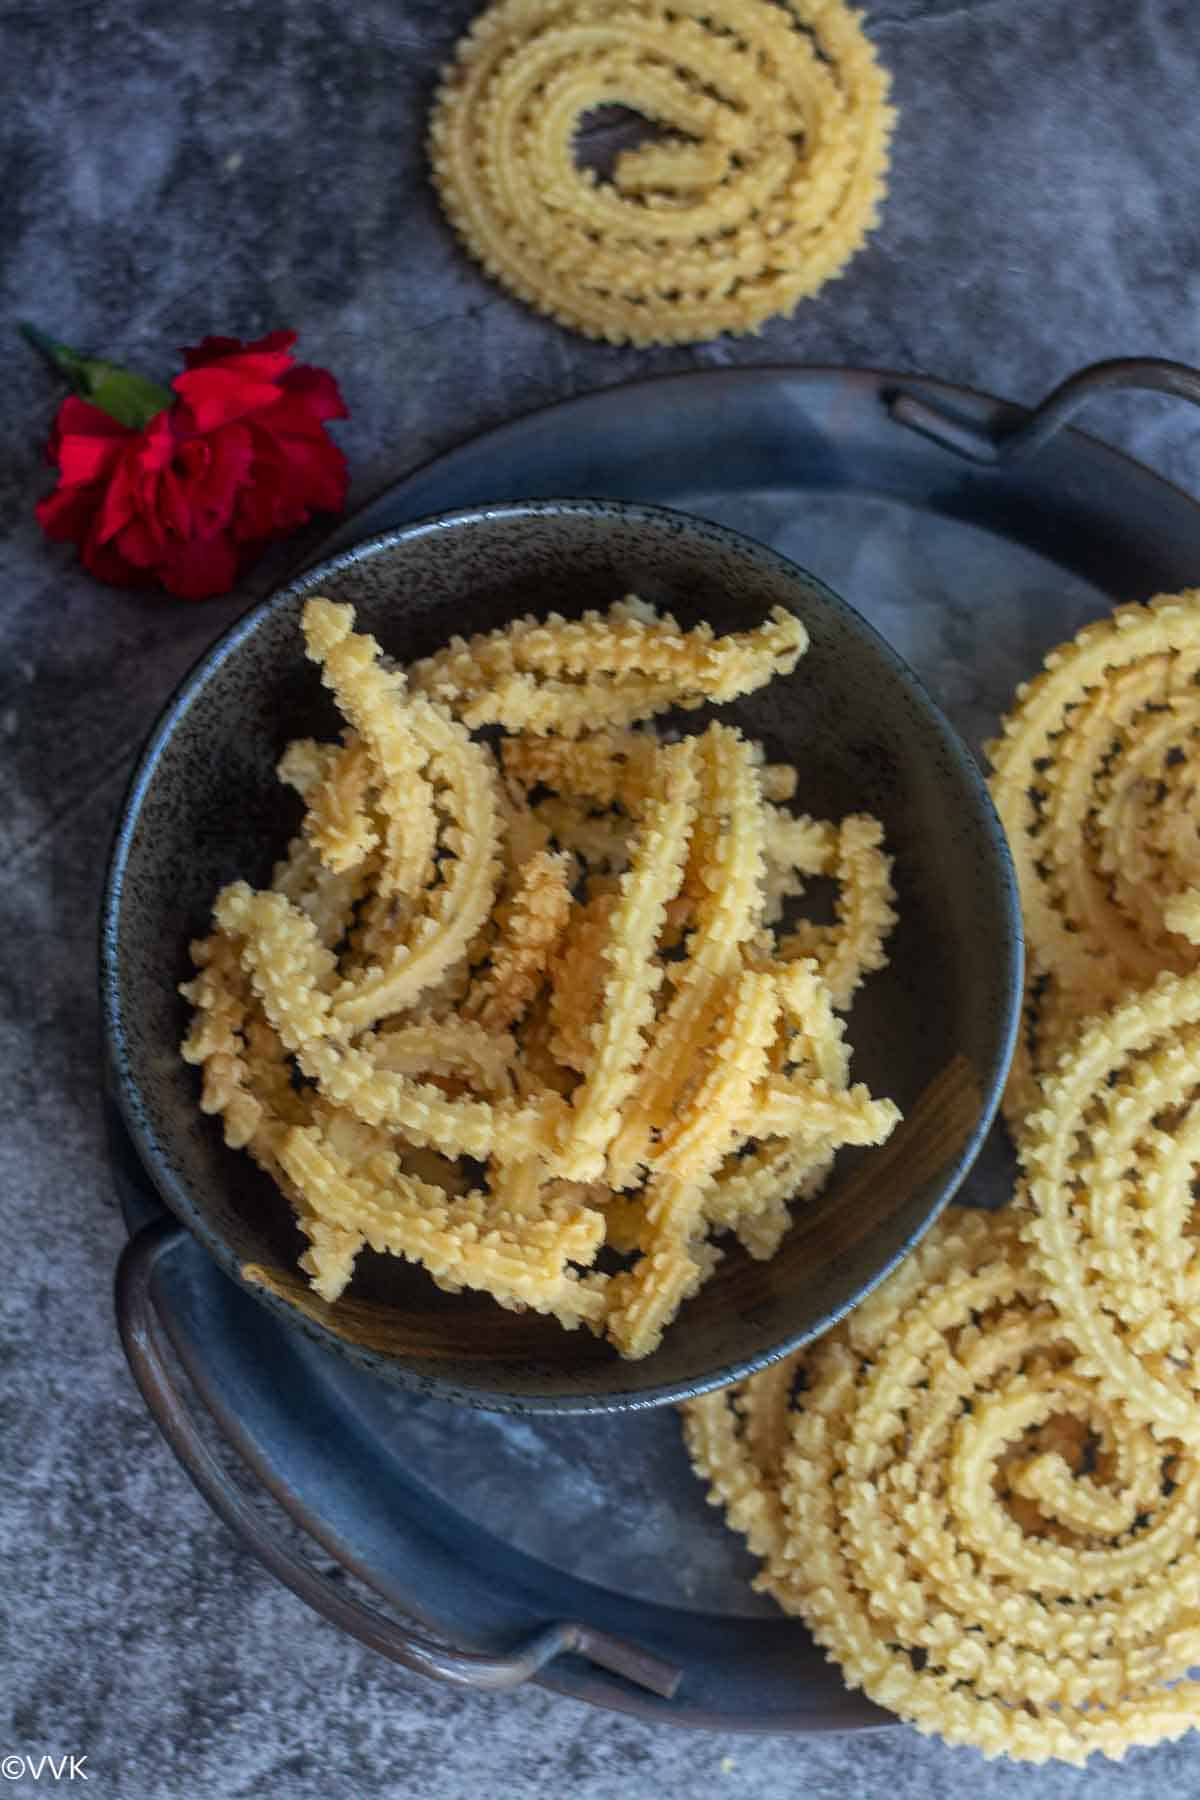
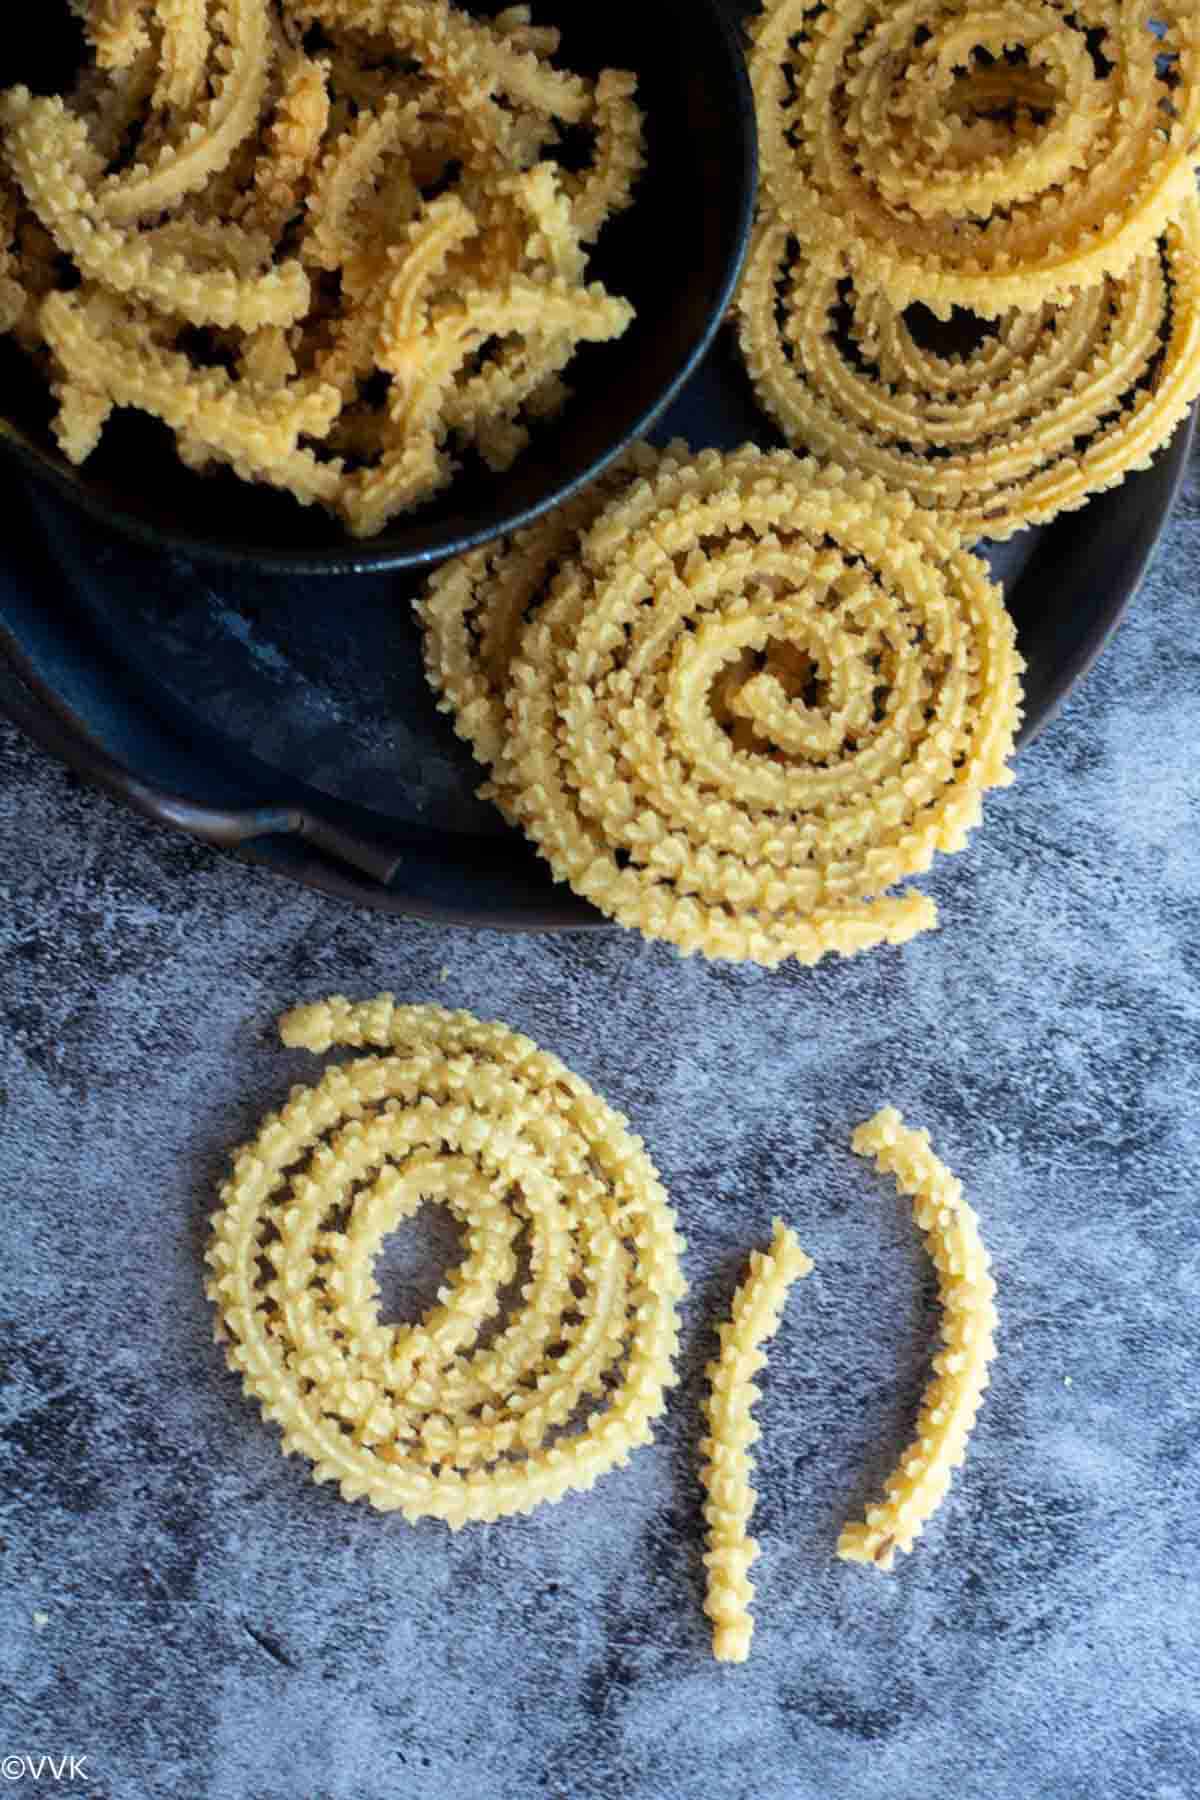
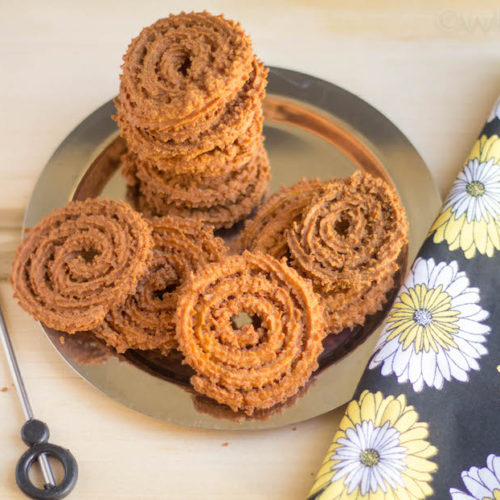
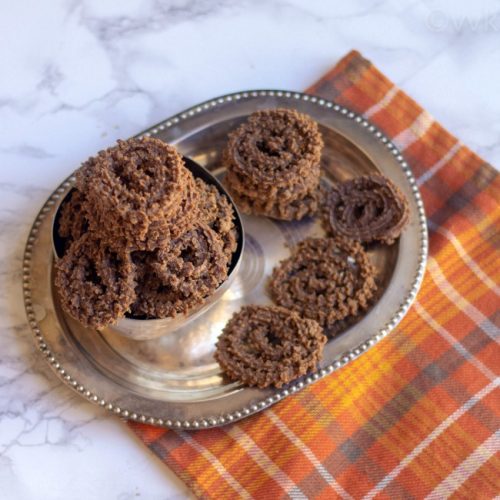
Learn how to make crunchy, addictive butter murukku (chakli): detailed instructions and a video. The addition of roasted gram makes the murukku light and crispy without making it hard. Be it Janmashtami, Deepavali, or any occasion, these murukkus are the best savory snack.
I hope you all had a chance to check out my coconut burfi recipe. Next in this Deepavali bakshanam recipe series is butter murukku.
Jump to:
Murukku is a deep-fried, savory snack that is quite popular across the Indian subcontinent and known by different names, such as murukku in Tamil, jantikalu in Telugu, and chakli in the North. Murukku is a Tamil word meaning twisted, and as we press the dough into a spiral shape and deep-fry it, it is hence called murukku.
I have a handful of murukku recipes on my blog, and adding this butter murukku / benne murukku, which is quite popular in Tamil Nadu and Karnataka, to that list.
Why roasted gram flour?
Honestly, I don’t know if I should call it butter murukku or pottukadalai murukku, as we use roasted gram flour instead of urad dal flour, which we typically use for thenkuzhal.
Most butter murukku recipes call for besan (chickpea flour), and I personally felt the texture of murukku with besan added wasn’t exactly what I was going for in butter murukku. So I always use roasted gram flour, which is also a form of chickpea flour, but trust me, the texture and bite change a lot. Please check the variation section for different options.
While I am not a big fan of creating restaurant-style recipes on my blog, for this murukku, I was going for a grand-sweets-style murukku with a pale color and that not-so-hard texture, and I got it with this roasted gram flour. It’s melt-in-your-mouth, but it also has a crunchy, crisp texture.
I always wonder why people expect homestyle food when they go to restaurants and make restaurant-style food at home. Isn’t that odd? Anyways, I digress. Let’s get back to the recipe.
Ingredients required
- Rice flour – I have used store-bought rice flour. You can also use idiyappam flour.
- Roasted gram flour – You can buy roasted gram and grind it into a fine powder; that’s what I did. Roasted gram is a very common ingredient in all South Indian kitchens. It’s the dal we use to make coconut chutney. You can use the leftover flour for this murukku in chutney or as a thickening agent in kurma.
- Salt, cumin seeds, and asafoetida — We don’t use any red chili powder or other spices. These ingredients provide all the flavor.
- Butter – Yet another key ingredient; I used 1 tbsp of room-temperature, softened butter.
- Water – We need water to make a soft and pliable dough.
- Oil – We also need oil for deep-frying. I highly recommend using neutral oil or peanut oil for the traditional flavor.
Ratio that I followed
This is the ratio I followed:
For every 1 cup of rice flour, I used ¼ cup of roasted gram flour and 1 tbsp of butter. The other ingredients — such as salt, cumin seeds, asafoetida, and water — can be adjusted to taste.
Variations with flour
I have tried testing by adjusting the amount of roasted gram flour and adding besan. I have tried using 4 tbsps of roasted gram for 1 cup of flour, and also 3 tbsp roasted gram and 1 tbsp besan for 1 cup of rice flour.
But my personal favorite with texture is this measure below:
4 tbsp roasted gram for 1 cup of rice flour.
You can try the above variation with the below tips and see which one you prefer. You can also add ½ tbsp more butter for that melt-in-mouth texture to the same measurements. But don’t go beyond this measure as too much butter to the murukku dough makes it soft, and sometimes too much butter will cause the murukku to disintegrate while frying.
VVK tips
- The murukku dough should be soft and pliable. It should not be too hard, dry, or very tight.
- Deep-fry on medium heat, (140–155 °C / 285–310 °F) just below the usual deep-frying temperature for snacks (typically 170–180 °C / 340–355 °F). At this range, the murukku cooks slowly, allowing the inside to dry out gently without browning the outside too fast. If you don’t have a thermometer, use the dough drop test: Heat oil over medium, then lower the heat slightly. Drop a tiny piece of dough in the oil. If the temperature is right, the piece sinks first, then rises slowly with a gentle stream of small bubbles. That’s the right temperature.
- Using lukewarm water to make the dough helps achieve a soft texture and ensures the butter mixes evenly.
- Beginner’s pressing tip: If you are comfortable, press it directly into hot oil; if not, press it onto the back of a ladle, a greased plate, or parchment paper, and carefully slide it into the oil.
Murukku press
For any murukku recipe, you need a murukku press with different molds; we use the same to press idiyappam (string hoppers), sev, and other snacks. I got mine from India, but you can also find this online.
How to make butter murukku
- In a large mixing bowl, add the rice flour, roasted gram flour, asafoetida, cumin seeds, and salt.
- Add the butter (I usually keep the oil for frying on a low flame and start mixing) and mix until all the ingredients are combined.
- Add water little by little until you have a soft, smooth dough. I used about ½ cup plus 2 tablespoons of water. Make sure the dough is not too hard. It becomes hard to press, and also the murukku breaks if it is too hard. If it’s too soft with more moisture, the murukku will absorb oil.
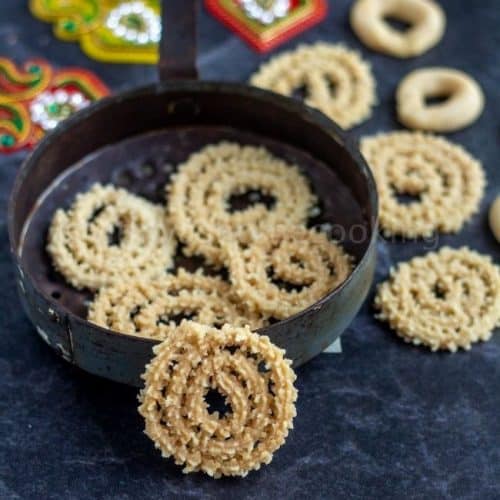
- I used the star-shaped mold for this murukku. You can use your preferred mold, but traditional butter murukku is made with a star-shaped mold. Grease the murukku press with oil.
- Then add a handful of dough to the murukku press.
- If you are comfortable, you can press it directly into hot oil; if not, press it onto the back of a ladle, a greased plate, or parchment paper, as I did.
- Slowly and carefully drop the murukku into the oil, and fry until golden brown. Flip the murukku over after 40–45 seconds, and fry until the bubbles stop forming. It usually takes 2:30 to 3:00 per batch. Make sure you fry over a low to medium flame so the murukku cooks thoroughly and retains its pale color.
- Place the fried murukku on parchment paper or tissue paper and drain the excess oil. Break into small pieces for the store-bought style butter murukku.
- Store in an airtight container and enjoy.
Recipe Notes
- You can slightly roast the rice flour for a couple of minutes. Also, ensure you sieve the flour.
- Adjust the salt to your taste.
- Make sure the dough is neither too hard nor too soft.
- Fry the murukku over a low-medium flame (on a scale of 1 to 10, around 4).
- You can add an extra ½ tbsp of butter for that melt-in-the-mouth murukku. Since we prefer crispy, crunchy ones, I did not add extra butter. Adding too much butter to the murukku dough makes it soft, and sometimes too much butter will cause the murukku to disintegrate while frying. So be cautious with butter.
More murukku recipes

Loved this recipe?
If you try this butter murukku, please don’t forget to comment and rate this recipe. If you have any questions, please leave a comment, and I will get to it ASAP. Make sure to follow me on my Pinterest or Instagram or join my Facebook Group for recipe updates and simple Indian meal ideas.
📖 Recipe

Butter Murukku: Crunchy and Addictive Treat
Ingredients
Measurement Details: 1 cup = 240ml; 1 tbsp = 15ml; 1 tsp = 5ml;
- 1 cup rice flour
- ¼ cup roasted gram flour
- ¾ tsp salt
- 1 tbsp butter at room temperature
- ½ cup lukewarm water + 2 tbsp
- ½ tsp cumin seeds
- ¼ tsp asafoetida
- 1.5 cup oil for deep frying
Instructions
- In a large mixing bowl, add the rice flour, roasted gram flour, asafoetida, cumin seeds, and salt.
- Add the butter (I usually keep the oil for frying on a low flame and start mixing) and mix until all the ingredients are combined.
- Add water little by little until you have a soft, smooth dough. I used about ½ cup plus 2 tablespoons of water. Make sure the dough is not too hard. It becomes hard to press, and also the murukku breaks if it is too hard. If it’s too soft with more moisture, the murukku will absorb oil.
- I used the star-shaped mold for this murukku. You can use your preferred mold, but traditional butter murukku is made with a star-shaped mold. Grease the murukku press with oil.
- Then add a handful of dough to the murukku press.
- If you are comfortable, you can press it directly into hot oil; if not, press it onto the back of a ladle, a greased plate, or parchment paper, as I did.
- Slowly and carefully drop the murukku into the oil, and fry until golden brown. Flip the murukku over after 40–45 seconds, and fry until the bubbles stop forming. It usually takes 2:30 to 3:00 per batch. Make sure you fry over a low to medium flame so the murukku cooks thoroughly and retains its pale color.
- Place the fried murukku on parchment paper or tissue paper and drain the excess oil. Break into small pieces for the store-bought style butter murukku.
- Store in an airtight container and enjoy.
Video
Notes
- You can slightly roast the rice flour for a couple of minutes. Also, ensure you sieve the flour.
- Adjust the salt to your taste.
- Make sure the dough is neither too hard nor too soft.
- Fry the murukku over a low-medium flame (on a scale of 1 to 10, around 4).
- You can add an extra ½ tbsp of butter for that melt-in-the-mouth murukku. Since we prefer crispy, crunchy ones, I did not add extra butter. Adding too much butter to the murukku dough makes it soft, and sometimes too much butter will cause the murukku to disintegrate while frying. So be cautious with butter.
Nutrition
I am not a nutritionist. The nutritional information is provided as a courtesy and is an estimate only. It varies depending upon the product types or brands.

Very Nice and its very simple and superb method. I tried it first time now. Romba arumayaa irundhudu.. thank you.
Thank you. Love your Tamil.