

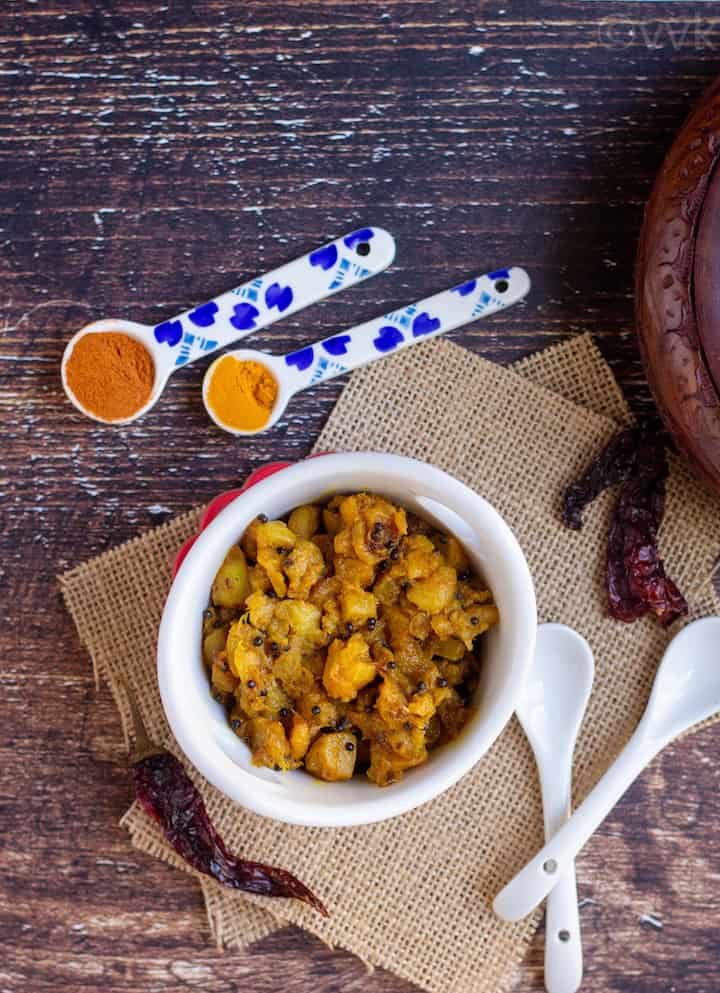
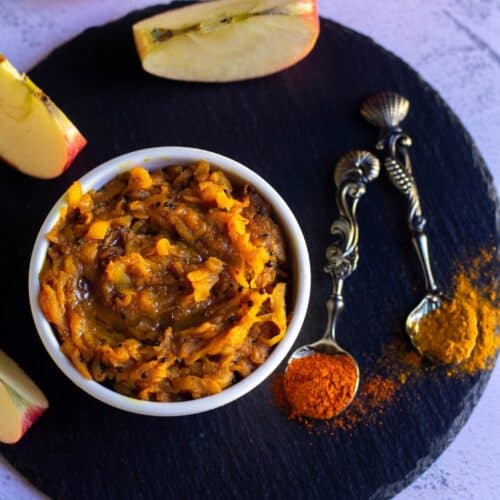
A tangy, irresistible instant gooseberry pickle—known as nellikai oorugai in Tamil—made using frozen gooseberries! Yes, you read that right: a pickle prepared with frozen gooseberries. Let me show you how to make this incredibly simple and flavorful gooseberry pickle at home.
I absolutely love pickles, and this gooseberry pickle is one of my all-time favorites, right after sweet and spicy lemon pickle. Growing up, I enjoyed both varieties of gooseberries—the small star-shaped ones (called arai/ari/aru nellikai in Tamil) and the larger round ones.
Jump to:
There are indeed two main types of gooseberries. The smaller, star-shaped variety—known as arinellika in Tamil—is more sour, tender, and juicy. The larger round gooseberries, on the other hand, are firmer and quite bitter but leave behind a pleasant sweet aftertaste, especially after drinking water.
Amla Pickle (Indian Gooseberry Pickle) – A Childhood Favorite
When we lived in Pannaipuram, we had a star-shaped gooseberry (arinellika) tree right in our quarters. My mom used to make both sweet and spicy pickles with those gooseberries. The sweet version was truly the best—she would simmer the whole gooseberries in sugar syrup and allow them to rest. Those sour gooseberries soaked in sugar syrup were such a delight. Oh, how I miss fresh gooseberries!
Alright, let’s refocus and get back to today’s recipe. In India, fresh gooseberries—both the round and star-shaped varieties—are easily available, especially during peak season. However, here in the US, fresh gooseberries are hard to find, and even when they are available, they tend to be quite expensive. That’s when I turned to frozen gooseberries.
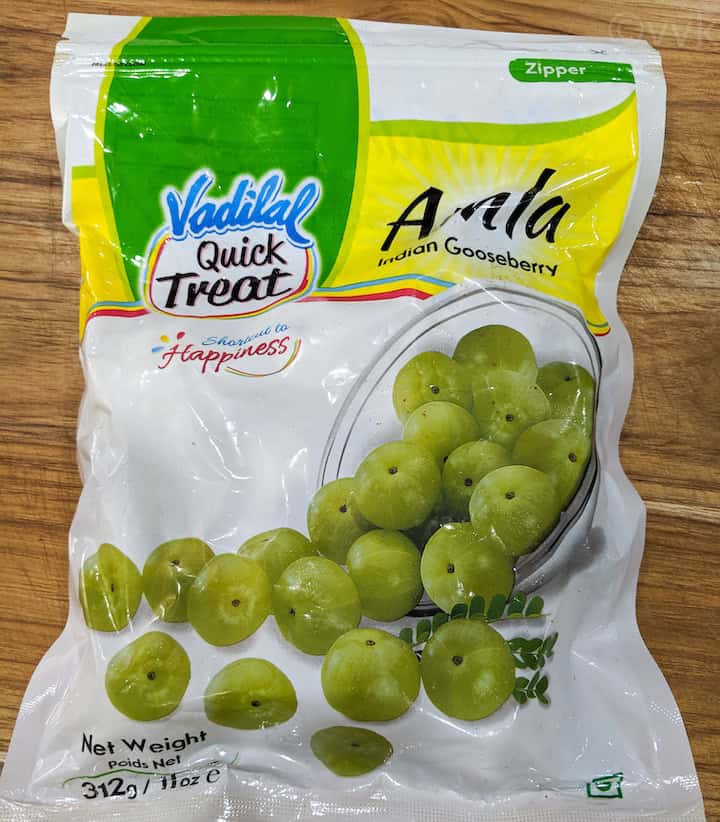
These days, several brands sell frozen amla, making it much more accessible. Here’s the brand I purchased (PS: this is not a sponsored post).
We all know that amla, or gooseberry, is packed with vitamin C and supports immunity, metabolism, and overall health. The internet is full of information about its benefits, so I won’t go into detail here. But one important question remains—do frozen gooseberries offer the same nutritional benefits as fresh ones?
Fresh Vs. Frozen Gooseberry-
It’s true—nothing can fully replace the taste of fresh fruit. However, when fresh gooseberries aren’t available, frozen ones are a practical alternative.
So, do frozen fruits retain their nutritional value? The short answer is yes. Frozen fruits are nutritionally comparable to fresh fruits, assuming they are frozen at peak ripeness. While there may be a small nutrient loss, it is not significant. Healthline explains this clearly in one of its articles.
After learning this, I now confidently pick up frozen gooseberries from the grocery store whenever needed.
Now, let’s get into the South Indian–style amla pickle recipe.
How to make gooseberry pickle?
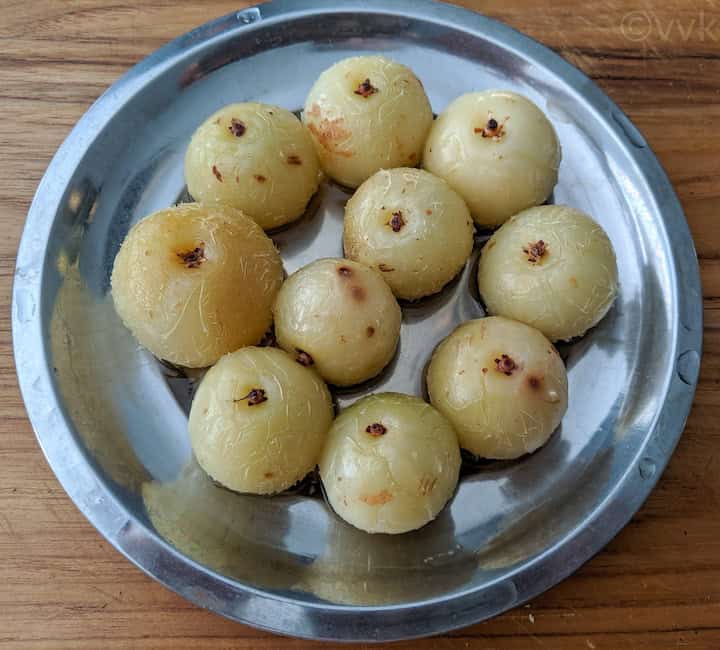
- Pressure cook or steam the gooseberries for 2 to 3 whistles in a pressure cooker (refer to recipe notes for timing adjustments). You may use your preferred pressure-cooking method.
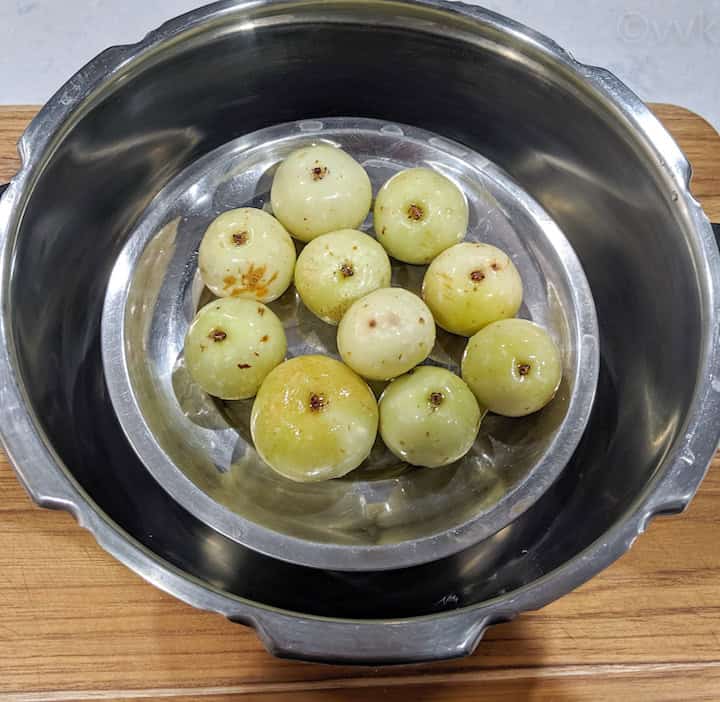
- Allow the pressure to release naturally and let the gooseberries cool completely.
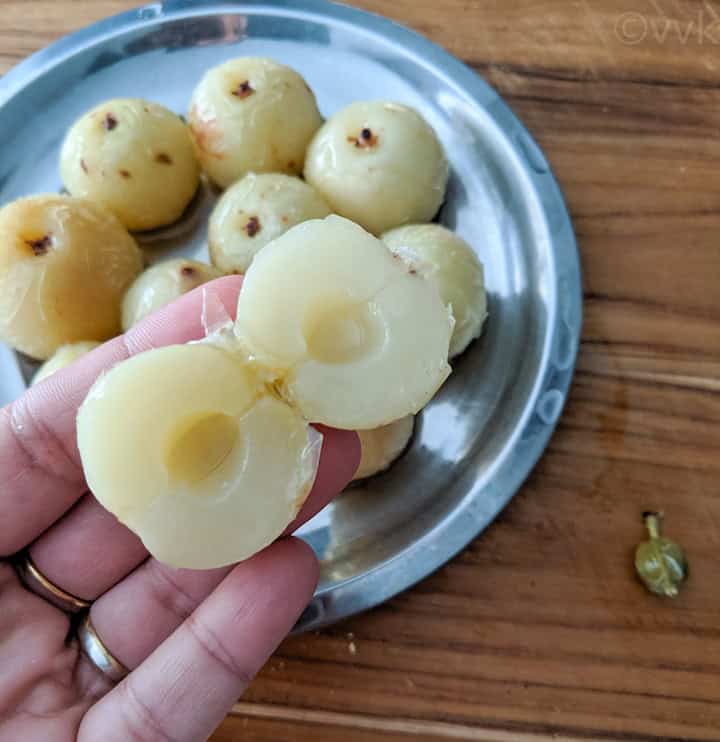
- De-seed the cooked gooseberries. This step is very easy—simply press each gooseberry, and it will split into two.
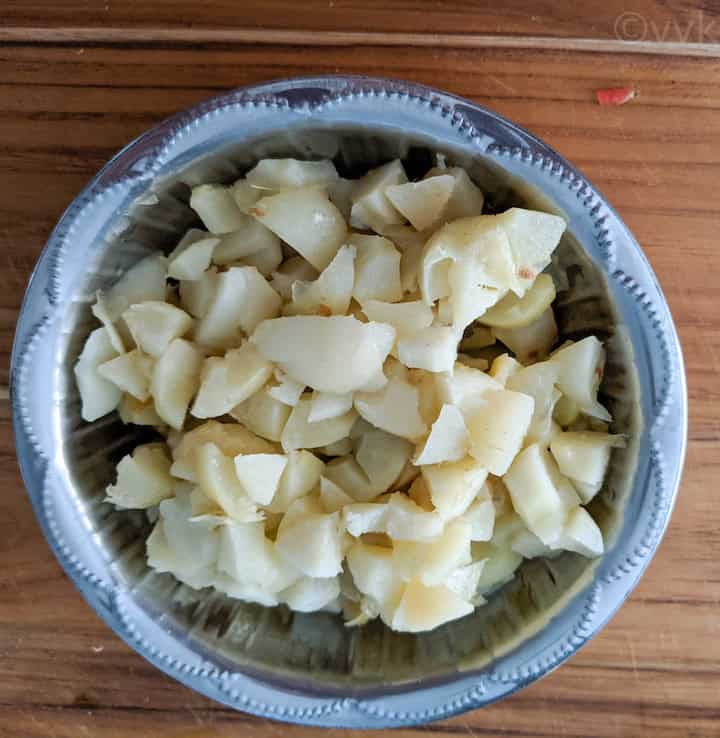
- Remove the seeds and chop the gooseberries into small pieces.
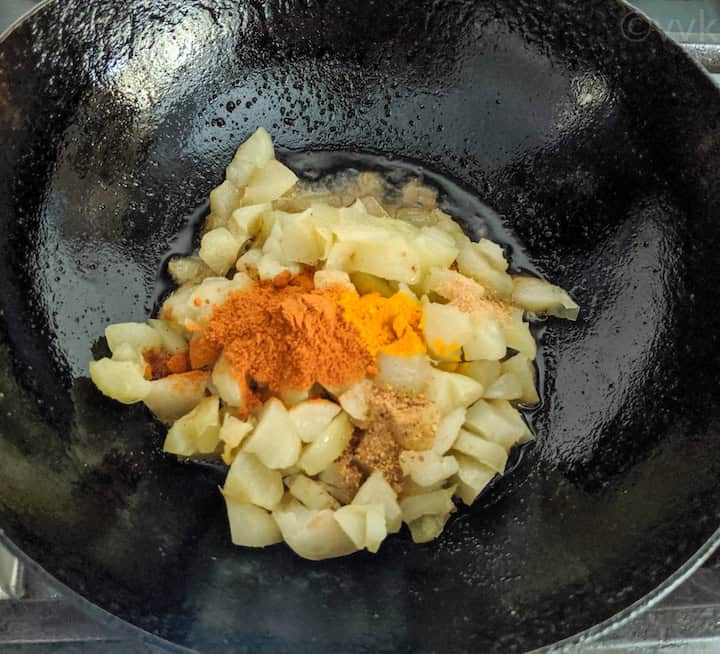
- Heat oil in a pan or kadai. Once the oil is hot, add mustard seeds. When they begin to splutter, reduce the heat. Add the chopped gooseberries, red chili powder, fenugreek powder, turmeric powder, hing, and salt.
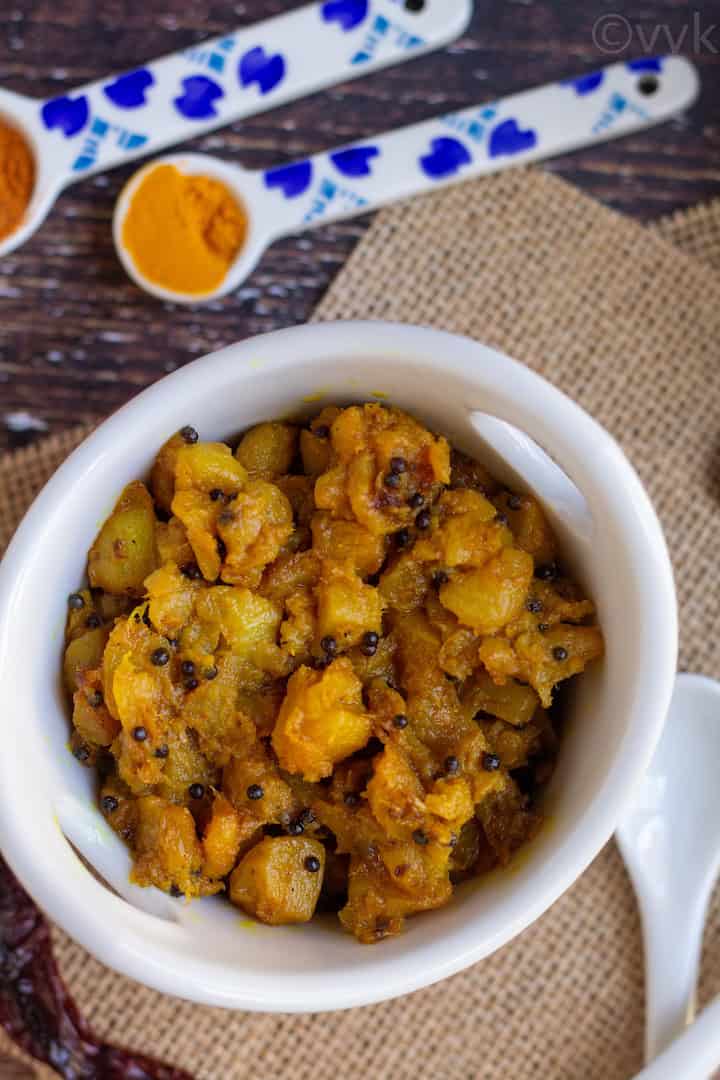
- Mix everything well. If you prefer a thokku-style pickle, you can mash the gooseberries while mixing. I chose not to mash them completely. Refer to the recipe notes for more options.
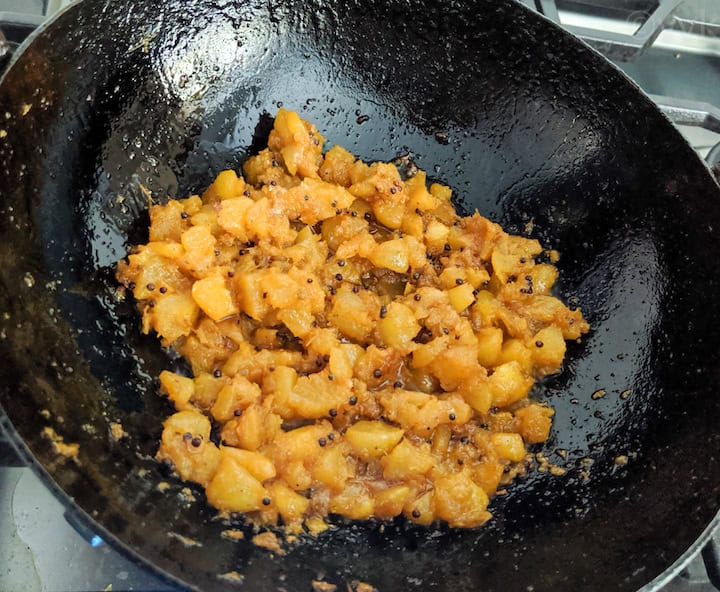
- Cook over medium-low heat for 5 to 7 minutes, until the oil separates and oozes out along the sides and surface.

- Allow the pickle to cool completely, then transfer it to a clean, airtight container for storage.
Recipe Notes-
- This gooseberry pickle stays fresh for several months when refrigerated. Always use a clean, dry spoon to maintain shelf life.
- To make a thokku (mashed or grated pickle), pressure-cook the gooseberries for 4 whistles. After deseeding, you can roughly mash them instead of chopping, or mash them while mixing in the pan.
- Fenugreek Powder: If you don’t want to buy fenugreek powder, you can easily make it at home. Dry roast 1 tablespoon of fenugreek seeds until they turn light brown and crisp, then grind them into a coarse powder. This powder works well for pickles and kuzhambu. My grandmother roasts fenugreek, grinds it with dried turmeric root, stores it, and adds a pinch to sambar and vathal kuzhambu.
- You may also add ¼ teaspoon of mustard powder, which acts as a natural preservative.
- I prefer using gingelly oil (sesame oil) for pickles, but regular cooking oil works just fine.
- Adjust salt and spice levels according to your taste.
- Yield: This recipe yields approximately 1 cup of pickle, serving about 15 to 20 portions. The serving size mentioned is an estimate.

More pickle recipes from my archives
PS: Follow me on Instagram or join my Facebook Group for more gardening and recipe updates. If you try this frozen gooseberry pickle recipe, please don’t forget to comment and rate this recipe. If you have any questions, please leave a comment, and I will get to it asap. Make sure to follow me on my Pinterest for more healthy and delicious ideas!
📖 Recipe
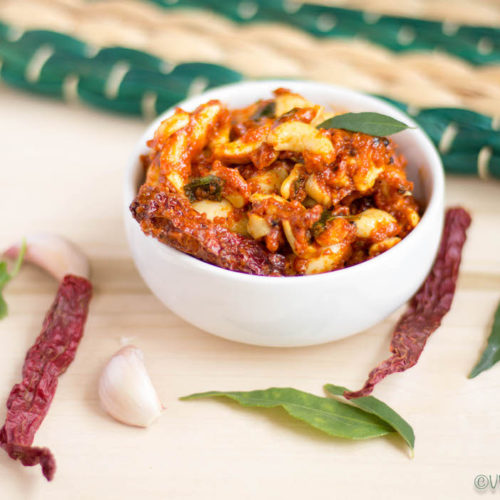
Indian Gooseberry Pickle | Nellikai Oorugai
Ingredients
- 10 gooseberries frozen,the big green ones. Thaw it to room temperature
- 2 tbsp water or as required to pressure cook + water to add in the pressure cooker
- 3 tbsp oil preferably gingelly or sesame oil
- 1 tsp mustard seeds
- 1 tsp salt heaped tsp or to taste
- ½ tsp asafetida
- ½ tsp fenugreek powder vendiya podi
- 1 tsp red chili powder
- ¼ tsp turmeric powder
Instructions
- Pressure cook or steam the gooseberries for 2 to 3 whistles in a pressure cooker (refer to recipe notes for timing adjustments). You may use your preferred pressure-cooking method. Allow the pressure to release naturally and let the gooseberries cool completely.
- De-seed the cooked gooseberries. This step is very easy—simply press each gooseberry, and it will split into two.
- Remove the seeds and chop the gooseberries into small pieces.
- Heat oil in a pan or kadai. Once the oil is hot, add mustard seeds. When they begin to splutter, reduce the heat. Add the chopped gooseberries, red chili powder, fenugreek powder, turmeric powder, hing, and salt.
- Mix everything well. If you prefer a thokku-style pickle, you can mash the gooseberries while mixing. I chose not to mash them completely. Refer to the recipe notes for more options.
- Cook over medium-low heat for 5 to 7 minutes, until the oil separates and oozes out along the sides and surface.
- Allow the pickle to cool completely, then transfer it to a clean, airtight container for storage.
Video
Notes
- This gooseberry pickle stays fresh for several months when refrigerated. Always use a clean, dry spoon to maintain shelf life.
- To make a thokku (mashed or grated pickle), pressure-cook the gooseberries for 4 whistles. After deseeding, you can roughly mash them instead of chopping, or mash them while mixing in the pan.
- Fenugreek Powder: If you don’t want to buy fenugreek powder, you can easily make it at home. Dry roast 1 tablespoon of fenugreek seeds until they turn light brown and crisp, then grind them into a coarse powder. This powder works well for pickles and kuzhambu. My grandmother roasts fenugreek, grinds it with dried turmeric root, stores it, and adds a pinch to sambar and vathal kuzhambu.
- You may also add ¼ teaspoon of mustard powder, which acts as a natural preservative.
- I prefer using gingelly oil (sesame oil) for pickles, but regular cooking oil works just fine.
- Adjust salt and spice levels according to your taste.
- Yield: This recipe yields approximately 1 cup of pickle, serving about 15 to 20 portions. The serving size mentioned is an estimate.
Nutrition
I am not a nutritionist. The nutritional information is provided as a courtesy and is an estimate only. It varies depending upon the product types or brands.
Update Notes: This recipe was originally posted in 2011 but now updated with new photos and step-wise pictures.


Leave a Reply